Home Improvement

Recent Content

Cedar Birdhouse: Why the Drain Holes Matter

Cedar Birdhouse: Why the Drain Holes Matter

Build a simple cedar birdhouse in an afternoon for about $15. Drilling drain holes in the floor keeps rain from pooling and rotting the nest. Beginner-friendly.

Make Leather-Look Luggage Tags in 40 Minutes for $12

Make Leather-Look Luggage Tags in 40 Minutes for $12

Last-minute gift panic? Cut, stamp, and rivet your own faux-leather luggage tags in 40 minutes for $12 and send someone off in style. No sewing needed!

Renter-Safe Over-Sink Cutting Board Trick for Tiny Kitchens

Renter-Safe Over-Sink Cutting Board Trick for Tiny Kitchens

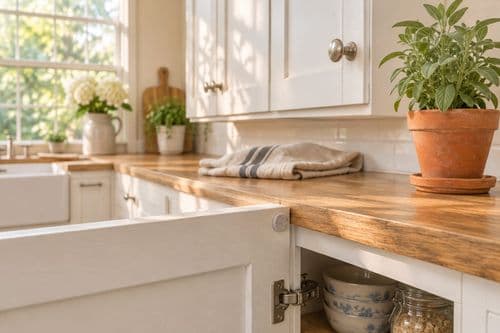
No counter space? Slide a cutting board over your sink for instant prep room. No drilling, no residue, deposit safe. Easy renter win in 5 minutes!

Dollar Store Tinsel Tree: The Cone Base That Stands

Dollar Store Tinsel Tree: The Cone Base That Stands

Turn a $1 foam cone and dollar-store tinsel into a glittery tabletop Christmas tree for under $8. A weighted base keeps it from tipping. Thrifty Tuesday!

Install Pipe Foam Insulation in 45 Minutes for $20

Install Pipe Foam Insulation in 45 Minutes for $20

Frozen pipes are a nightmare waiting for a cold snap. Snap on foam pipe sleeves in 45 minutes for $20 and sleep easy all winter. Zero plumbing skills needed!

logo
  • Home Improvement
  • DIY Projects
  • Interior Design
  • Gardening & Outdoor
  • Real Estate
  • Home Improvement
  • DIY Projects
  • Interior Design
  • Gardening & Outdoor
  • Real Estate
  • ​

Cabinet Showcase: Installing Elegant Glass Doors

Transform ordinary cabinets into display cases that bring light and sophistication to your kitchen

Before and after of kitchen with newly installed glass cabinet doors
HOME IMPROVEMENT

Glass cabinet doors transform utilitarian kitchen storage into elegant display spaces while creating visual depth and reflecting light throughout the room. Whether you're replacing existing doors or converting open shelving, this moderately challenging weekend project delivers significant design impact without the expense of a full kitchen renovation. By strategically selecting which cabinets to enhance with glass, you can showcase beautiful dishware while maintaining concealed storage for everyday items.

Materials & Options

• Glass Types: Clear, frosted, seeded, textured, antique
• Door Styles: Frame-and-panel, mullioned, full glass
• Frame Materials: Wood, MDF, aluminum, vinyl
• Glass Safety: Tempered glass (recommended)
• Hardware: Hinges, catches, pulls, knobs
• Tools: Drill, screwdriver, measuring tape, level
• Interior Upgrades: Paint, adhesive liner, lighting
• Assembly Materials: Glass clips, glazing points, putty
• Safety Gear: Gloves, eye protection, mask

Installation Approaches

  1. Determine which cabinets to convert. Choose strategic locations for maximum impact—upper cabinets flanking a window, cabinets above a coffee bar, or a single accent cabinet are excellent candidates. Plan to display attractive items while keeping utilitarian storage behind solid doors.
  2. Choose your installation approach:
    • Option 1: Replace entire doors with pre-made glass doors
    • Option 2: Insert glass panels into existing solid doors
    • Option 3: Build custom frame-and-glass doors from scratch
  3. Option 1: Ready-Made Door Replacement
    • Remove existing doors by unscrewing hinges from cabinet frames.
    • Measure door openings precisely—width, height, and depth.
    • Order ready-made glass doors sized to match your cabinet dimensions.
    • Attach new hinges to doors according to manufacturer's instructions.
    • Mount doors to cabinet frames, adjusting hinges as needed for proper alignment.
    • Add coordinating handles or knobs to complete the installation.
  4. Option 2: Convert Existing Doors
    • Remove doors from cabinets and hardware from doors.
    • Measure and mark the center portion to be cut out, leaving a 2-3" frame.
    • Use a router with a straight bit or a jigsaw to carefully cut out the center panel.
    • Sand the interior edges of the frame opening until smooth.
    • Measure the opening and order glass cut ⅛" smaller than the opening dimensions.
    • Apply thin strips of molding to the back side of the door frame with finish nails and glue.
    • Place glass in the opening, resting against the molding.
    • Secure glass with additional molding strips on the inside face, creating a sandwich effect.
    • Reattach doors and hardware to cabinets after paint or finish has dried.
  5. Option 3: Build Custom Doors
    • Measure cabinet openings precisely to determine door dimensions.
    • Cut door frame pieces from 1x2 or 1x3 hardwood, using 45° mitered corners.
    • Assemble frame with wood glue and corner clamps, reinforcing with pocket screws.
    • Cut a rabbet (groove) along the inside edge of the back side to create a recess for the glass.
    • Sand frames smooth and apply desired finish (paint or stain).
    • Order glass cut to fit the rabbet dimensions.
    • Place glass in the rabbeted recess and secure with glazing points or glass clips.
    • Add a thin bead of clear silicone around edges for additional security.
    • Install hinges and mount doors to cabinet frames.
  6. Enhance cabinet interiors. Before rehanging doors, consider painting cabinet interiors a contrasting color, adding adhesive backing paper, or installing LED lighting to showcase contents. Arrange display items attractively, keeping less decorative items in solid-door cabinets.
DESIGNER TIP

For a high-end custom look, consider mixing glass types within the same kitchen. Try clear glass for displaying colorful dishware, seeded glass for cabinets containing everyday items, and frosted glass for pantry contents. If you're concerned about maintaining perfectly organized cabinets, install glass only in the upper portion of doors with solid panels below—this "divided light" style provides the airy feel of glass while allowing some contents to remain concealed. For ultimate sophistication, install soft-close hinges on your new glass doors to prevent slamming, which can be particularly damaging to glass and surrounding contents.

Related Content

Home Improvement

22 December 2026

Post

Install Pipe Foam Insulation in 45 Minutes for $20

Frozen pipes are a nightmare waiting for a cold snap. Snap on foam pipe sleeves in 45 minutes for $20 and sleep easy all winter. Zero plumbing skills needed!...

Home Improvement

20 December 2026

Post

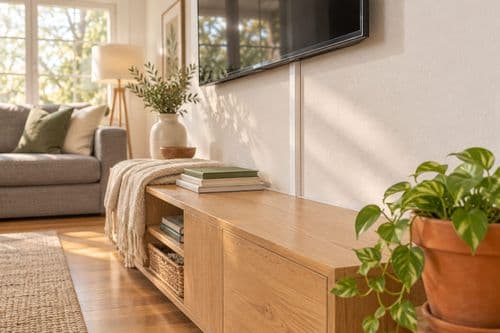
Cord Cover Raceway: The Pre-Fit Test That Holds

Hide a tangled TV cord run in 20 minutes for about $12. Dry-fitting the raceway before peeling any adhesive is what keeps it straight, flush, and put....

Home Improvement

18 December 2026

Post

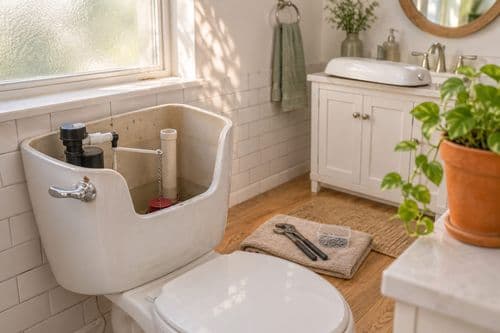
Toilet Flush Handle Fix: The Chain Slack That Works

Fix a sticky or weak toilet flush handle in 20 minutes for under $8. Getting the chain slack right is what makes it flush every time. Fix-It Friday!...

Home Improvement

17 December 2026

Post

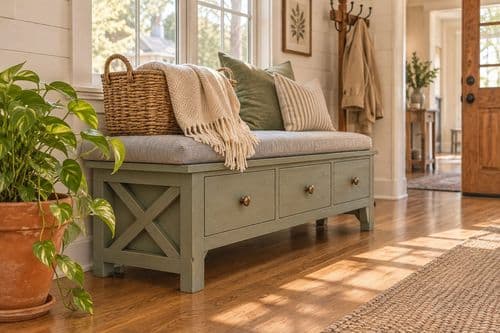
Dresser to Bench: The Leg Brace That Stops Wobble

Turn a thrifted three-drawer dresser top into a storage bench for about $35. Bracing the legs before you add the seat is what stops the wobble for good....

Home Improvement

15 December 2026

Post

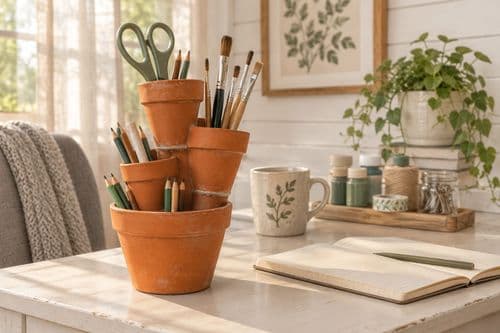
Tin Can Pencil Cups: Thrifty Tuesday Hack

Wait, not that one. Turn $1 dollar-store flower pots into a stacked desk caddy for under $9. The glue cure is what keeps it standing....

Home Improvement

15 December 2026

Post

Insulate Your Water Heater in 45 Minutes for $25

Your water heater is burning cash keeping itself warm. A $25 insulation blanket and 45 minutes cut standby heat loss and make cold-snap showers last longer....

Home Improvement

13 December 2026

Post

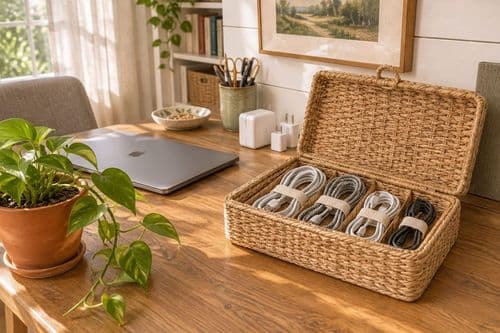
Cord Basket Reset: Why Sort-by-Length Beats Stuffing

Reset your tangled cord and charger pile in 20 minutes for free. Coiling and sorting by length first is what keeps cables from knotting again....

Home Improvement

11 December 2026

Post

Cabinet Door Bumpers: The Felt Pad Fix That Ends Slams

Stop slamming cabinet doors in 15 minutes for under $5. Placing bumpers at the right spot on the frame is what keeps doors quiet and aligned. Fix-It Friday!...

Home Improvement

11 December 2026

Post

Install Foam Outlet Gaskets Behind Plates in 1 Hour for $12

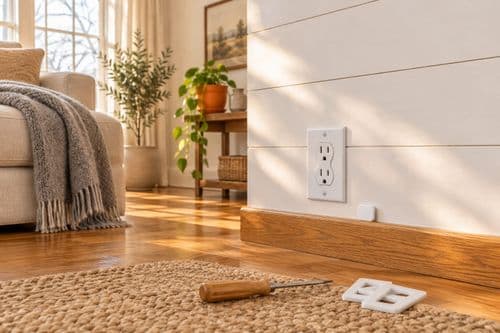
Cold air sneaks through your outlets all winter. Foam gaskets and plug caps stop it in about an hour for $12. No wiring skills required!...

Home Improvement

10 December 2026

Post

Jar Candle Holder Trio: Why the Wax Height Matters

Turn a washed jar and a dish of pebbles into a safe, cozy candle bowl for about $9. Here's the one spacing step that keeps flames away from the rim....

Home Improvement

09 December 2026

Post

Wooden Wall Hooks Rail: The Screw Length That Grips

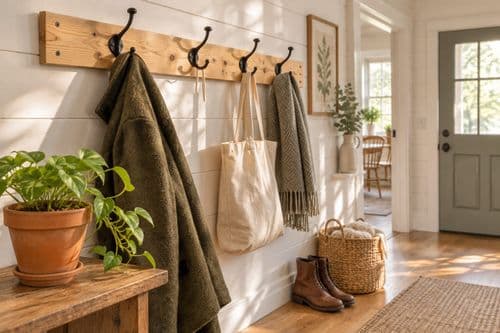
Build a pine hook rail in an afternoon for about $22. Screw length into the stud is what keeps heavy coats from pulling it off the wall....

Home Improvement

08 December 2026

Post

Dollar Store Pan Rack: The Anchor That Holds $8

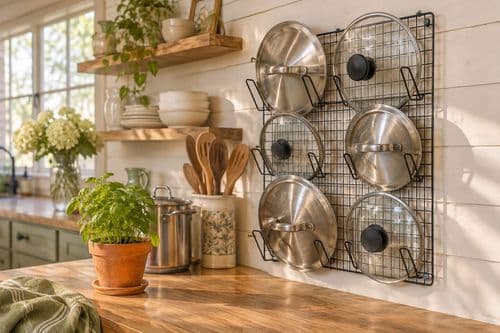
Turn a $1 dollar-store cooling rack into a wall-hung pot lid organizer for under $8. Anchoring into the stud, not bare drywall, keeps it from ripping out....

Home Improvement

07 December 2026

Post

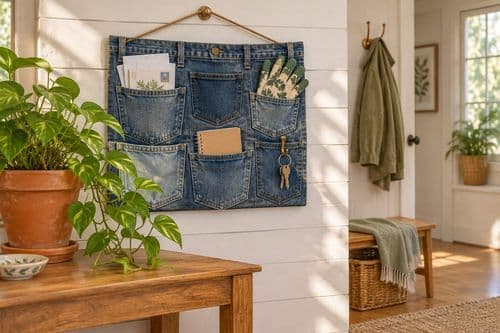
Jean Pocket Organizer: The Hem Stitch That Holds

Turn old jeans into a wall-hung pocket organizer for about $6. Reinforcing the waistband stitching is what keeps it from ripping under the weight of your stuff....

Home Improvement

06 December 2026

Post

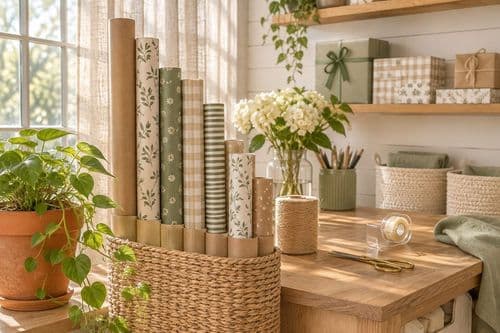
Gift Wrap Station Reset: The Tube Sort That Works

Reset your gift wrap pile into a tidy station in 25 minutes for about $5. Sorting by roll length first is what stops crushed paper and lost tape....

Home Improvement

04 December 2026

Post

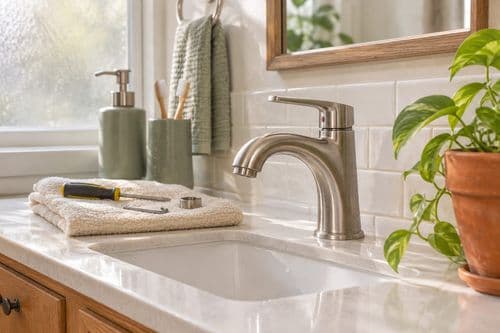
Faucet Handle Fix: The Set Screw Nobody Finds

Fix a wobbly, loose faucet handle in 15 minutes for under $5. Finding the hidden set screw under the cap is what stops the wobble for good....
Terms and ConditionsDo Not Sell or Share My Personal InformationPrivacy PolicyPrivacy NoticeAccessibility NoticeUnsubscribe
Copyright © 2026 DIY HomeBoost