Weak Faucet Fix: The Aerator Is Almost Always It
Weak water flow feels like a plumbing problem, but the actual blockage is almost always sitting in a tiny screen you can unscrew by hand in under a minute — no tools or plumber required.
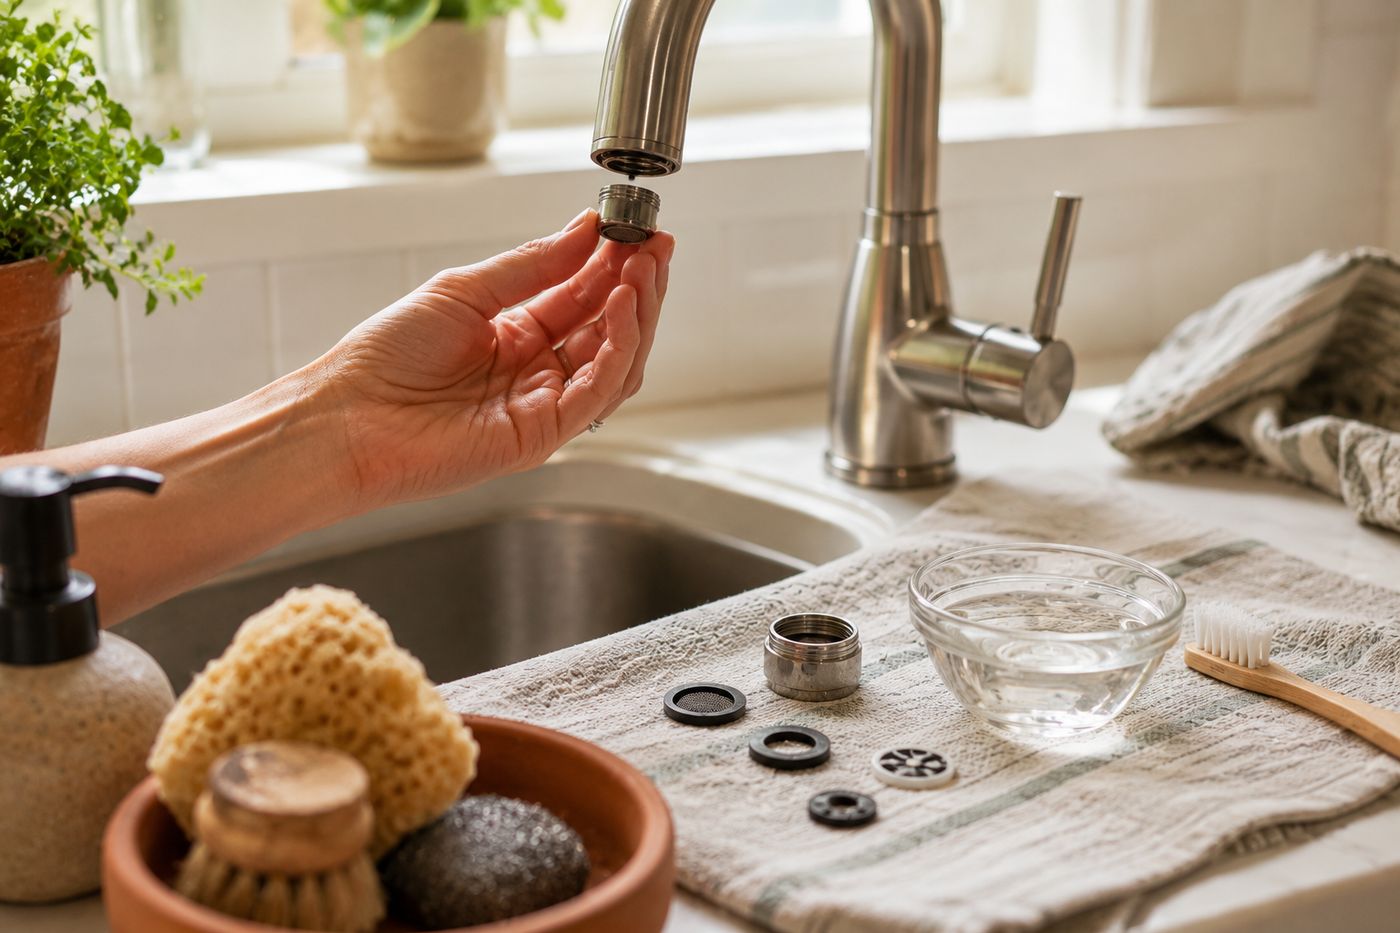
Weak water flow feels like it must be a supply or plumbing issue, but the actual restriction is almost always sitting right at the tip of the faucet: the aerator's small screen traps mineral deposits and debris from the water passing through it every single day, and that buildup narrows the opening gradually until flow drops noticeably without any single dramatic cause. The distinction between a fix that restores full pressure and one that only helps a little is whether you actually disassemble and clean every small part inside the aerator housing, not just rinse the outside — the screen and the tiny flow-restrictor disc both trap sediment in places a quick rinse under the tap never reaches. For heavy mineral buildup specifically, a plain water rinse won't dissolve the deposits at all; a vinegar soak is what actually breaks down mineral scale chemically instead of just scrubbing at the surface of it. Once the aerator is clean, flow improvement is usually immediate and dramatic. The whole fix costs nothing and takes about 15 minutes.
What You'll Need
- Pliers (optional, for a stuck aerator) plus a cloth to wrap around the jaws and protect the faucet finish
- Old toothbrush, for scrubbing debris from small parts
- White vinegar, for soaking parts with heavy mineral buildup
- Small bowl or cup, for the vinegar soak
- Clean cloth, for laying out disassembled parts in order
How to Do It
- Unscrew the aerator by hand, turning counter-clockwise; if it's stuck from mineral buildup, wrap it in a cloth and use pliers for extra grip without scratching the faucet finish.
- Disassemble the small internal parts one at a time, laying them out on a cloth in the exact order you removed them — reassembling correctly depends entirely on getting this order right, and the pieces are easy to mix up once separated.
- Rinse each part under running water and scrub away visible debris with an old toothbrush.
- Soak any parts with heavy mineral buildup in white vinegar for about an hour — this is the step that actually dissolves mineral scale rather than just rinsing around it, so don't skip it if buildup looks chalky or crusted.
- Scrub the soaked parts again with the toothbrush once loosened, then rinse thoroughly to remove any vinegar residue.
- Reassemble the aerator in the same order the pieces came apart, then screw the whole unit back onto the faucet spout by hand.
- Test the water flow — a properly cleaned aerator should show a dramatic, immediate improvement over the weak flow you started with.
- Check further if pressure is still low: confirm the shut-off valves under the sink are fully open, inspect a pull-out sprayer hose for kinks or clogs, and if only hot or only cold water is weak, check that specific supply line's valve.
Plumbers who do routine home maintenance visits often clean every faucet aerator in a house on a fixed schedule — roughly every six months — rather than waiting for flow to noticeably drop, because mineral buildup happens gradually enough that most people don't notice the decline until it's significant. Cleaning aerators proactively on a calendar reminder catches the buildup while it's still light and quick to remove, instead of waiting for the vinegar soak that heavy buildup requires.