Cord Raceway: The Dry-Fit That Keeps It Straight
Peeling the adhesive before you test the path is what turns a clean cord cover into a crooked, peeling mess.

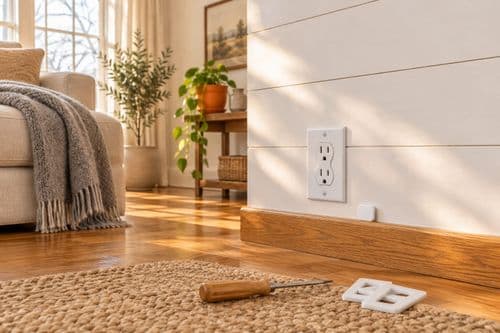
I used to slap cord covers on the wall the second I got home, and every one of them ended up crooked or sagging off the paint within a month. The culprit is always the same: the adhesive grabs on contact, so a path you didn't test first can't be corrected, and a peeled-and-restuck strip loses most of its grip. Dry-fitting the raceway, marking a level line, and cleaning the wall first is what gives the adhesive one clean shot at bonding. Do that and a snarl of TV cords disappears into a paintable strip in about 20 minutes, no drilling and no electrician.
What You'll Need
- Paintable cord raceway kit, self-adhesive, about $10 for 5-6 feet with corners
- Pencil and small level, or a phone level app, free
- Rubbing alcohol and a cloth, about $1 if you don't have it
- Painter's tape, for the dry-fit, about $2
- Scissors or a small hand saw, to trim the raceway to length
- Wall paint sample (optional), to match the wall, about $4
How to Build It
- Unplug the devices whose cords you're covering, and gather the cords into a loose bundle so you can see how thick the run is.
- Plan the shortest, straightest route from the device to the outlet, running vertically or along a baseboard. Mark it lightly with a pencil and check it with the level.
- Measure the route and cut the raceway pieces to length, using the corner or elbow pieces for turns. Make sure the cords fit with room to spare, since a packed channel won't close.
- Dry-fit every piece with its adhesive backing still on, holding it in place with painter's tape along your pencil line. Step back and check that it looks straight and the cords reach.
- Clean the wall along the line with rubbing alcohol and let it dry completely, so the adhesive bonds to bare paint rather than dust or grease.
- Stick each base channel on, one piece at a time, peeling the backing in small sections and pressing firmly for 30 seconds. Start at the outlet end and work toward the device.
- Load the cords into the channel and snap on the covers. Keep plugs reachable at the ends, never bury a power strip inside the raceway.
- Paint the cover to match the wall if you like, using a small brush and thin coats, then let it dry before plugging everything back in.
Paint the raceway the same color as the wall before you stick it up, or the same color as the baseboard if it runs along the floor. Matching the surface it sits against makes the cover read as trim instead of a cord strip, and thin coats keep the snap-on lid closing cleanly.