Dresser to Bench: The Leg Brace That Stops Wobble
The cross brace between the legs is the step that decides whether your bench stays rock solid or racks sideways within a month.

I once turned a low dresser into an entryway bench and loved it for exactly three weeks, until it started leaning like a tired shopping cart. The culprit was a missing brace. A dresser carcass is built to stand with its weight pushed straight down, and once you cut it short and sit on it, the side forces try to twist the frame into a parallelogram. A simple cross brace screwed between the side panels locks the corners square, so your weight goes down into the floor instead of into the joints. Skip it and the screws loosen with every sit. Add it and the bench feels like furniture you paid real money for.
What You'll Need
- Thrifted low dresser or cabinet, solid sides, roughly 18 inches tall after trimming, $15-20
- 1x3 pine board, 8 foot length for braces, about $5
- 1 1/4 inch wood screws, a small box, about $4
- 2-inch foam cushion, cut to size, or a thrifted seat pad, about $8
- Fabric or outdoor cloth, one yard, from the remnant bin, about $5
- Staple gun and staples, borrow one if you can, free to $10
- Sandpaper and paint, 120 grit plus a quart sample, about $6
How to Build It
- Empty the dresser, pull the drawers out, and check that the sides and top are solid wood or sturdy plywood with no crumbling particleboard.
- Measure a comfortable seat height of 17 to 18 inches, then mark it on both side panels with a level line so the cut stays straight.
- Brace the frame by cutting two 1x3s to fit between the side panels, one near the front and one near the back, then screw them in flush with the top edge. Check with a square that the corners sit at 90 degrees before you tighten.
- Sand every surface with 120 grit, wipe off the dust, and fill any old hardware holes with wood filler.
- Paint the frame and drawer fronts in two thin coats, letting each coat dry fully before the next.
- Wrap the foam in fabric, pulling it taut and stapling it underneath so the corners stay neat.
- Set the cushion on top, slide the drawers back in, and test the bench by sitting on each end to confirm there is no rocking.
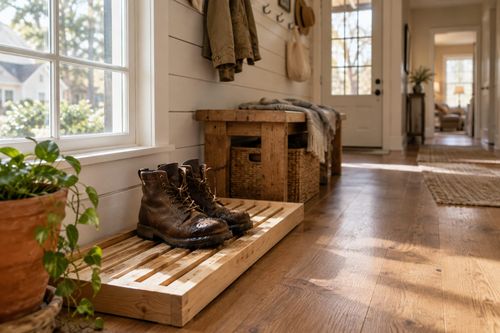
Place the bench against a wall and add two coat hooks above it for an instant mudroom. If you want a plusher seat, glue a layer of quilt batting over the foam before wrapping it, which softens the edges and gives the cushion a tailored, upholstered look.