Insulate Your Water Heater in 45 Minutes for $25
The blanket only saves money if every seam is taped tight and nothing covers the controls, because gaps leak heat and blocked access is a safety risk.

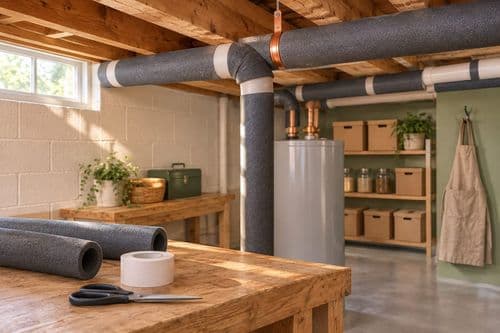
Your water heater sits in a cold garage or basement all winter, and it reheats its tank again and again just to hold the temperature. An insulation blanket slows that heat loss, but the difference between a blanket that saves money and one that wastes it or creates a hazard comes down to one thing: precise cutouts. Fiberglass or foam wrapped tightly with gaps taped shut keeps the heat in the tank, while a blanket that covers the thermostat access panel, the top of the unit, or the pressure relief valve can cause overheating and block safety components. This project is for electric tank heaters only. It takes about 45 minutes and costs $25, and most homes will see a modest drop in standby heat loss right away.
What You'll Need
- Materials (~$25 total):
- Water heater insulation blanket rated for electric tanks, 2-inch thick, sized for a 40-50 gallon tank (~$20)
- Foil HVAC tape, 2-inch wide, 1 roll (~$5)
- Tools (already on hand):
- Utility knife with a fresh blade
- Tape measure
- Work gloves and long sleeves (fiberglass can itch)
- Dust mask or N95
- Marker or chalk
- Step stool
How to Do It
- Confirm your heater is electric by checking the label for a power cord or hardwired electrical supply and no gas line or flue. Gas heaters have a burner and vent that insulation can block, so skip this project if yours is gas.
- Check the manufacturer's label for the tank size and any blanket warnings, then buy a blanket rated for your capacity. Matching the size keeps the wrap snug, and a loose blanket leaves air gaps that waste heat.
- Turn off the power at the breaker before touching the heater. This keeps you safe while you work near the access panels, and you should also let the tank cool for a few minutes after shutting power off.
- Measure the tank height and circumference, then mark where the thermostat panels, the temperature and pressure relief valve, and the pipes sit on the blanket. Test-wrap it first and mark cutouts with chalk so you cut each opening only once.
- Cut the openings with a utility knife, making them slightly larger than the panels. Covering the thermostat access or the relief valve blocks service and safety, so leave a one-inch clear border around each.
- Wrap the blanket around the tank, starting at the side opposite the access panels, and keep it snug from top to bottom. Tape the vertical seam with foil tape, and add rings of tape around the middle so the blanket does not sag.
- Finish by taping the top edge down without covering the top of the tank, which should stay clear for safety. Restore power, check that every panel opens easily, and feel the blanket after a few hours: it should be warm at most, never hot.
Home energy auditors recommend running your hand over the tank surface before and after wrapping to see where heat escapes. Seal every seam with foil tape, then re-check the top, the pipe connections, and the base, since those small gaps usually account for the biggest remaining heat leaks.