Home Improvement

Recent Content

Cedar Birdhouse: Why the Drain Holes Matter

Cedar Birdhouse: Why the Drain Holes Matter

Build a simple cedar birdhouse in an afternoon for about $15. Drilling drain holes in the floor keeps rain from pooling and rotting the nest. Beginner-friendly.

Make Leather-Look Luggage Tags in 40 Minutes for $12

Make Leather-Look Luggage Tags in 40 Minutes for $12

Last-minute gift panic? Cut, stamp, and rivet your own faux-leather luggage tags in 40 minutes for $12 and send someone off in style. No sewing needed!

Renter-Safe Over-Sink Cutting Board Trick for Tiny Kitchens

Renter-Safe Over-Sink Cutting Board Trick for Tiny Kitchens

No counter space? Slide a cutting board over your sink for instant prep room. No drilling, no residue, deposit safe. Easy renter win in 5 minutes!

Dollar Store Tinsel Tree: The Cone Base That Stands

Dollar Store Tinsel Tree: The Cone Base That Stands

Turn a $1 foam cone and dollar-store tinsel into a glittery tabletop Christmas tree for under $8. A weighted base keeps it from tipping. Thrifty Tuesday!

Magnetic Pan Rack Trick: Renter Cabinet Door Fix

Magnetic Pan Rack Trick: Renter Cabinet Door Fix

Cabinet chaos? This clip-on door rack hack adds storage for lids and cutting boards with zero drilling and zero residue. Deposit safe!

logo
  • Home Improvement
  • DIY Projects
  • Interior Design
  • Gardening & Outdoor
  • Real Estate
  • Home Improvement
  • DIY Projects
  • Interior Design
  • Gardening & Outdoor
  • Real Estate
  • ​

Install Pipe Foam Insulation in 45 Minutes for $20

Install Pipe Foam Insulation in 45 Minutes for $20

A foam sleeve only protects a pipe if the seam is sealed tight and every elbow is covered, because the gaps are where freezing starts.

[#~image_alt_1~#]
Home improvement

Every winter, someone wraps their pipes and still wakes up to a burst line, and the reason is almost always the same: gaps. Cold air does not need much of an opening, and a bare inch at a joint or elbow lets the pipe lose heat faster than the insulated stretch can hold it. The difference between insulation that works and insulation that fails comes down to sealing the lengthwise seam and mitering the corners so there are no exposed spots. Foam sleeves slow heat loss, they do not add heat, so continuous coverage is everything. This beginner-friendly project takes about 45 minutes and costs around $20 for a basement, crawlspace, or garage run, and it can save you from a repair bill in the thousands.

What You'll Need

  • Materials (~$20 total):
  • Four 6-foot self-sealing foam pipe sleeves, 1/2-inch wall thickness, sized to your pipe diameter (~$12)
  • One roll of foil HVAC tape, 2-inch wide (~$5)
  • Pack of 8-inch plastic zip ties (~$3)
  • Tools (likely already owned):
  • Tape measure
  • Utility knife with a fresh blade
  • Clean rag for wiping pipes
  • Marker

How to Do It

  1. Inspect every exposed pipe in unheated spaces like the basement, crawlspace, and garage walls. Focus first on pipes along exterior walls, since those freeze first.
  2. Measure the pipe diameter and total length so you buy the right sleeve size. A sleeve that is too loose leaves air gaps, and one that is too tight will not close around the pipe.
  3. Wipe the pipes with a dry rag. Dust and moisture keep the self-sealing adhesive from bonding, which is why many sleeves peel open later.
  4. Cut each sleeve to length with the utility knife, using the marker to mark it first. Cut a clean, square end so neighboring sleeves butt together without a gap.
  5. Slip the sleeve over the pipe through its slit, then press the adhesive strip closed along the full length. Pinching along the seam makes a tight bond that blocks moving cold air.
  6. Miter elbows by cutting two sleeve ends at 45-degree angles so they meet snugly around the bend. Cutting angles prevents the pinched, gappy corners that cause most cold spots.
  7. Tape every joint and elbow with foil HVAC tape, wrapping fully around the pipe. This locks the sections together so thermal movement does not pull them apart.
  8. Secure with zip ties every 12 inches on vertical runs, then do a final walk-through. Gravity will slowly slide a loose sleeve down, exposing the pipe at the top.
DESIGNER TIP

Plumbers who winterize rental properties leave a few inches of exposed pipe at each valve handle but wrap the valve body itself with a snug foam piece. They also dab a little tape around the end of every sleeve run, because ends are where cold air sneaks in first. Mark every shutoff valve with a bright piece of tape so you can find it in an emergency.
Related Content

Home Improvement

20 December 2026

Post

Cord Cover Raceway: The Pre-Fit Test That Holds

Hide a tangled TV cord run in 20 minutes for about $12. Dry-fitting the raceway before peeling any adhesive is what keeps it straight, flush, and put....

Home Improvement

18 December 2026

Post

Toilet Flush Handle Fix: The Chain Slack That Works

Fix a sticky or weak toilet flush handle in 20 minutes for under $8. Getting the chain slack right is what makes it flush every time. Fix-It Friday!...

Home Improvement

17 December 2026

Post

Dresser to Bench: The Leg Brace That Stops Wobble

Turn a thrifted three-drawer dresser top into a storage bench for about $35. Bracing the legs before you add the seat is what stops the wobble for good....

Home Improvement

15 December 2026

Post

Tin Can Pencil Cups: Thrifty Tuesday Hack

Wait, not that one. Turn $1 dollar-store flower pots into a stacked desk caddy for under $9. The glue cure is what keeps it standing....

Home Improvement

15 December 2026

Post

Insulate Your Water Heater in 45 Minutes for $25

Your water heater is burning cash keeping itself warm. A $25 insulation blanket and 45 minutes cut standby heat loss and make cold-snap showers last longer....

Home Improvement

13 December 2026

Post

Cord Basket Reset: Why Sort-by-Length Beats Stuffing

Reset your tangled cord and charger pile in 20 minutes for free. Coiling and sorting by length first is what keeps cables from knotting again....

Home Improvement

11 December 2026

Post

Cabinet Door Bumpers: The Felt Pad Fix That Ends Slams

Stop slamming cabinet doors in 15 minutes for under $5. Placing bumpers at the right spot on the frame is what keeps doors quiet and aligned. Fix-It Friday!...

Home Improvement

11 December 2026

Post

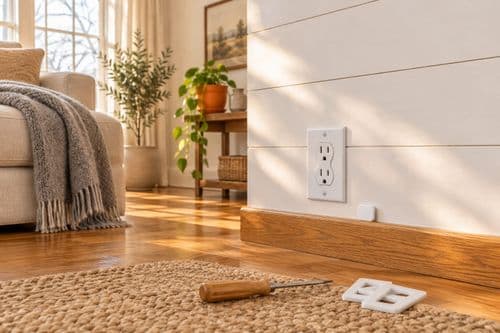
Install Foam Outlet Gaskets Behind Plates in 1 Hour for $12

Cold air sneaks through your outlets all winter. Foam gaskets and plug caps stop it in about an hour for $12. No wiring skills required!...

Home Improvement

10 December 2026

Post

Jar Candle Holder Trio: Why the Wax Height Matters

Turn a washed jar and a dish of pebbles into a safe, cozy candle bowl for about $9. Here's the one spacing step that keeps flames away from the rim....

Home Improvement

09 December 2026

Post

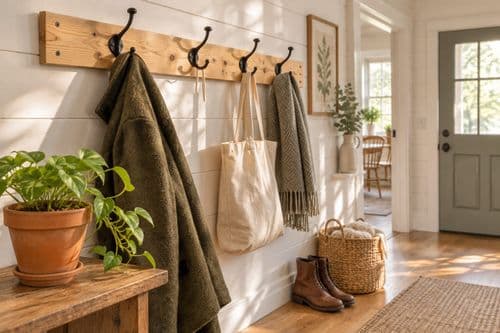
Wooden Wall Hooks Rail: The Screw Length That Grips

Build a pine hook rail in an afternoon for about $22. Screw length into the stud is what keeps heavy coats from pulling it off the wall....

Home Improvement

08 December 2026

Post

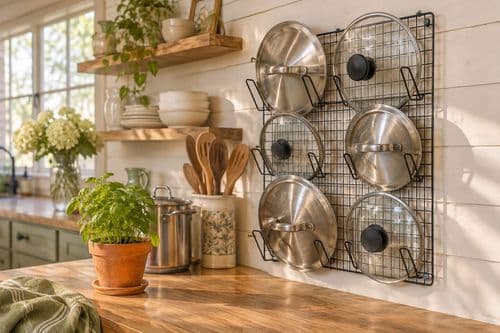
Dollar Store Pan Rack: The Anchor That Holds $8

Turn a $1 dollar-store cooling rack into a wall-hung pot lid organizer for under $8. Anchoring into the stud, not bare drywall, keeps it from ripping out....

Home Improvement

07 December 2026

Post

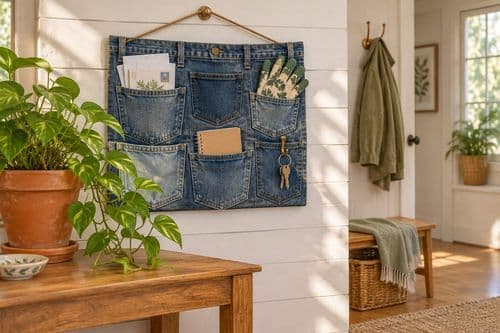
Jean Pocket Organizer: The Hem Stitch That Holds

Turn old jeans into a wall-hung pocket organizer for about $6. Reinforcing the waistband stitching is what keeps it from ripping under the weight of your stuff....

Home Improvement

06 December 2026

Post

Gift Wrap Station Reset: The Tube Sort That Works

Reset your gift wrap pile into a tidy station in 25 minutes for about $5. Sorting by roll length first is what stops crushed paper and lost tape....

Home Improvement

04 December 2026

Post

Faucet Handle Fix: The Set Screw Nobody Finds

Fix a wobbly, loose faucet handle in 15 minutes for under $5. Finding the hidden set screw under the cap is what stops the wobble for good....

Home Improvement

02 December 2026

Post

Wooden Boot Tray: The Slat Gap That Drains Right

Build a slatted pine boot tray for about $20 in an afternoon. The slat gap is what lets meltwater drain instead of pooling and rotting your entryway floor....
Terms and ConditionsDo Not Sell or Share My Personal InformationPrivacy PolicyPrivacy NoticeAccessibility NoticeUnsubscribe
Copyright © 2026 DIY HomeBoost