Home Improvement

Recent Content

Wooden Boot Tray: The Slat Gap That Drains Right

Wooden Boot Tray: The Slat Gap That Drains Right

Build a slatted pine boot tray for about $20 in an afternoon. The slat gap is what lets meltwater drain instead of pooling and rotting your entryway floor.

Magnetic Window Sill Herb Garden: Renter-Safe Trick

Magnetic Window Sill Herb Garden: Renter-Safe Trick

Grow fresh herbs on a bare rental window with a no-drill hanging trick. Zero holes, zero residue, deposit safe. Winter greens for your tiny kitchen!

Build a Wooden Gift Wrap Station in 2 Hours for $28

Build a Wooden Gift Wrap Station in 2 Hours for $28

Stop wrestling curling paper on the floor! Build a slim wooden gift wrap station with a paper rod and ribbon pegs in 2 hours for $28, just in time for gifting.

Dollar Store Spice Tiers: The Riser Lip That Holds

Dollar Store Spice Tiers: The Riser Lip That Holds

Turn $1 plastic risers into a tiered cabinet spice organizer for about $8. The lip height is what stops jars from sliding forward.

Under-Bed Rolling Bins: Renter Storage Hack

Under-Bed Rolling Bins: Renter Storage Hack

Tiny space, big stash. Rolling under-bed bins add hidden storage with zero drilling, zero residue, and a safe deposit. Set up in 15 minutes!

logo
  • Home Improvement
  • DIY Projects
  • Interior Design
  • Gardening & Outdoor
  • Real Estate
  • Home Improvement
  • DIY Projects
  • Interior Design
  • Gardening & Outdoor
  • Real Estate
  • ​

Stripped Screw Fix: Toothpicks and Glue

The repair your contractor friend knows and never thinks to mention — four toothpicks and it's done.
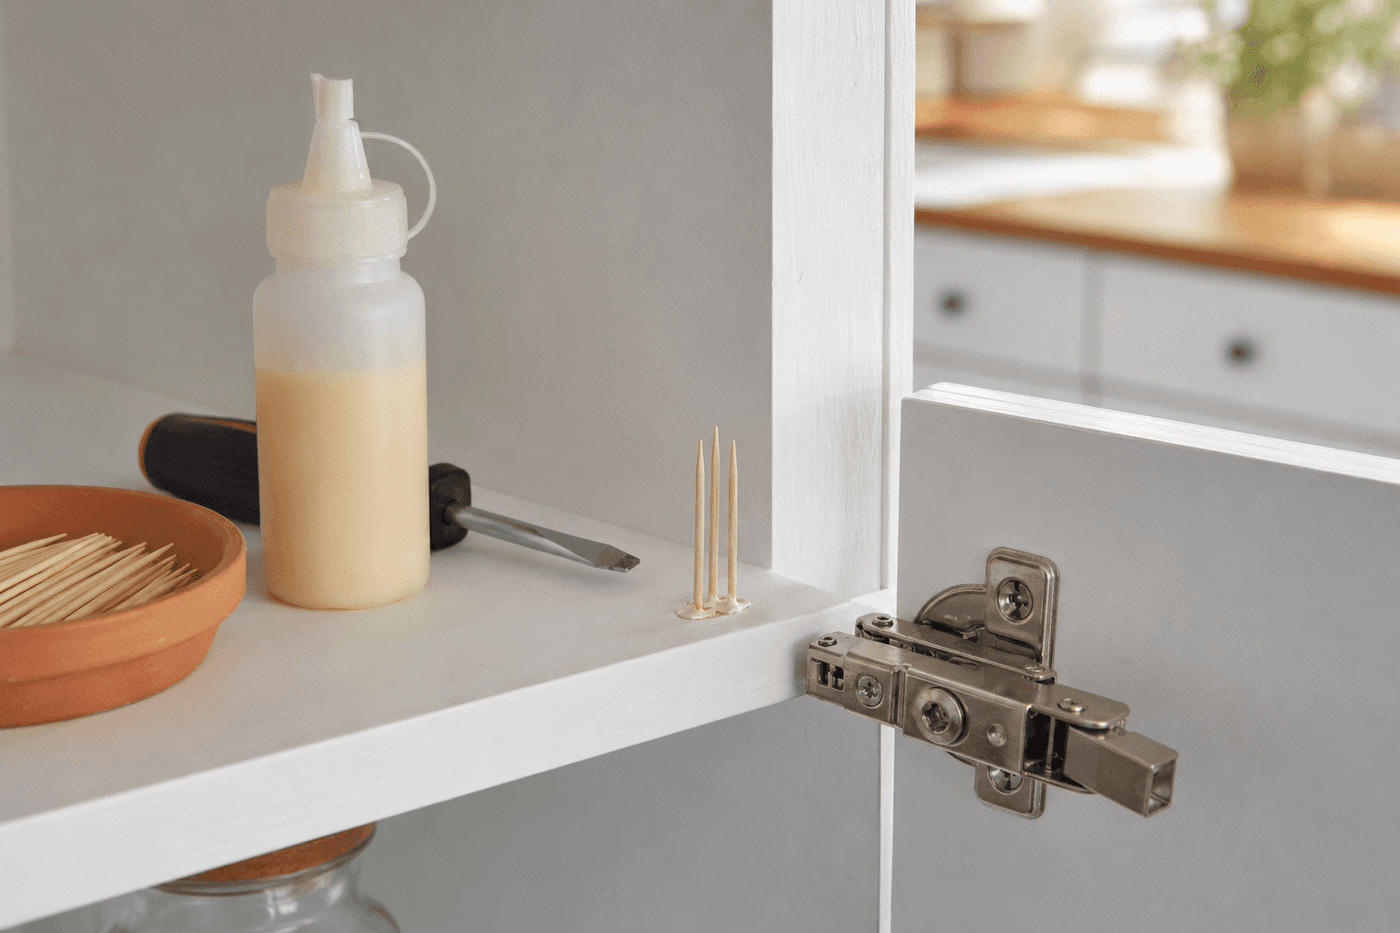
Close-up of toothpicks being packed into a stripped cabinet hinge screw hole with wood glue, showing the repair process on a white painted cabinet
Home Improvement

If you have a screw that spins uselessly in its hole no matter how hard you tighten it, you already know the particular frustration of a stripped screw hole — the hinge that won't catch, the cabinet door that sags, the curtain rod bracket that pulls away from the wall the moment any weight goes on it. The fix that every experienced carpenter knows and somehow never gets passed along is so simple it sounds like a joke until you try it: toothpicks and wood glue. Four toothpicks packed into a glue-filled hole, left to cure for an hour, and trimmed flush give the screw completely fresh wood fiber to bite into — and the repaired hole is genuinely stronger than the original. This works on cabinet hinges, door hardware, furniture joints, curtain brackets, and anywhere else a screw has lost its grip in wood. The materials cost pennies, the repair takes ten minutes of actual work, and once you know this trick you will use it in every room of your house.

What You'll Need

  • Wooden toothpicks — standard round or flat; you'll use 3–6 per hole depending on size (a box costs under $2 and fixes dozens of holes)
  • Wood glue — Titebond Original or any PVA wood glue; do not substitute super glue or construction adhesive, which don't bond wood fiber the same way
  • Screwdriver or drill — for removing the hardware before repair and driving the screw back in after
  • Utility knife, chisel, or flush-cut saw — for trimming toothpicks flush with the wood surface after curing
  • Sandpaper, 120-grit — optional, for smoothing any remaining toothpick stub before reattaching hardware
  • Toothpick or scrap wire — for working glue down into the hole before packing
  • Damp rag — for wiping glue squeeze-out from the wood surface before it cures

How to Fix It

  1. Remove the hardware completely — unscrew the hinge, bracket, or fitting and set it aside. Trying to work glue into a hole with hardware still partially attached is the main reason this repair gets done sloppily; clear access to the hole is what makes the difference between a clean fix and a messy one.
  2. Clean the hole by blowing out any loose wood dust or debris — compressed air works best, but a few firm puffs of breath do the job. Glue bonds poorly to dusty surfaces, and a stripped hole often has a lot of loose fiber sitting at the bottom that needs to be cleared before you start.
  3. Apply wood glue into the hole using the tip of a toothpick or a thin wire to work it down to the bottom and coat the sides — you want glue contact with as much of the hole surface as possible, not just a drop sitting at the top. Use enough to see it in the hole but not so much that it immediately overflows before the toothpicks go in.
  4. Pack toothpicks into the glue-filled hole, pushing them in firmly one at a time until the hole is snugly full and will not accept another — typically 3–6 toothpicks depending on hole diameter. The toothpicks should feel tight and resist being pushed in rather than sliding freely; snug packing is what creates the solid wood mass the screw will thread into.
  5. Wipe any glue squeeze-out from the surrounding wood surface immediately with a damp rag — dried PVA glue on a painted or stained surface requires sanding to remove and leaves a visible patch under painted finishes.
  6. Cure for a full hour without disturbing the repair — this is the step most people shorten and regret. Wood glue needs the complete cure time to bond the toothpick fibers into a solid mass; driving the screw back in at 20 minutes means driving it into glue that hasn't set, which compresses rather than grips.
  7. Trim the toothpicks flush with the wood surface using a utility knife, chisel, or flush-cut saw — score around the base of the protruding toothpick cluster and snap cleanly, then pare any remaining stub flat. Sand lightly with 120-grit if needed so the hardware will sit completely flat against the surface.
  8. Drive the original screw back into the repaired hole slowly using moderate pressure — you will feel it biting into fresh material almost immediately, which is the confirmation the repair has worked. Do not overdrive; the goal is firm and snug, not stripped again on the first installation.
DESIGNER TIP

Finish carpenters and cabinet installers who work with production-built cabinetry — where particle board and MDF cores strip out faster than solid wood — use one refinement that makes the toothpick repair hold longer under heavy-use hardware like frequently opened cabinet doors: apply a small drop of thin cyanoacrylate (super glue) over the fully cured wood glue repair before driving the screw. The CA glue wicks into any remaining micro-gaps between the toothpick fibers and the hole wall by capillary action and cures rigid within 60 seconds, creating a hybrid bond that combines the wood-fiber grip of PVA with the gap-filling hardness of CA. This two-glue technique is standard practice on high-cycle hardware installations and is the reason a professional cabinet repair holds for years while a rushed single-glue fix sometimes strips again within months.
Related Content

Home Improvement

02 December 2026

Post

Wooden Boot Tray: The Slat Gap That Drains Right

Build a slatted pine boot tray for about $20 in an afternoon. The slat gap is what lets meltwater drain instead of pooling and rotting your entryway floor....

Home Improvement

01 December 2026

Post

Dollar Store Spice Tiers: The Riser Lip That Holds

Turn $1 plastic risers into a tiered cabinet spice organizer for about $8. The lip height is what stops jars from sliding forward....

Home Improvement

01 December 2026

Post

Install a Door Latch Guard in 30 Minutes for $20

A strike plate with 3-inch screws turns a flimsy door frame into a real barrier. Upgrade your entry door security this weekend in 30 minutes for about $20!...

Home Improvement

29 November 2026

Post

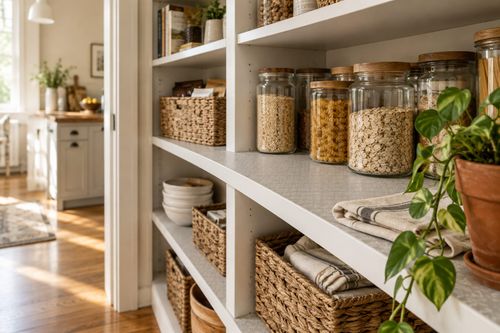
Pantry Shelf Liner Reset: Why Wiping Dry Comes First

Reset your pantry shelves in 25 minutes for about $8. Letting shelves dry fully before laying liner is what stops peeling corners and musty smells....

Home Improvement

27 November 2026

Post

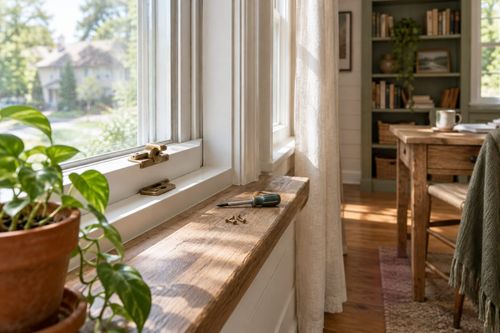
Stuck Window Lock Fix: The Keeper Gap Check

Fix a window latch that won't close tight in 20 minutes for about $5. Checking the keeper gap first is what stops the drafts for good....

Home Improvement

23 November 2026

Post

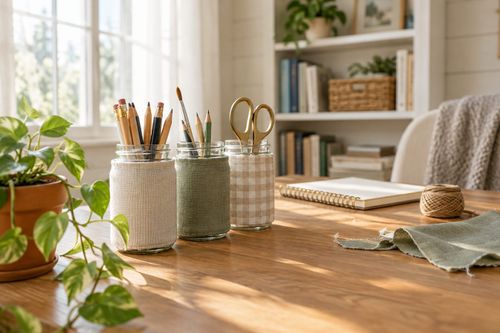
Mason Jar Pencil Cups: The Glue Cure That Holds

Turn old jars and scrap fabric into a desk-ready storage trio for about $8. The glue cure time is what keeps wraps from peeling off. Easy Monday upcycle!...

Home Improvement

23 November 2026

Post

Install Window Insulation Film in 45 Minutes for $18

Single-pane windows leaking heat all winter? Shrink-film insulation kits turn them into a sealed barrier in 45 minutes for $18. Hair dryer required, skills not....

Home Improvement

22 November 2026

Post

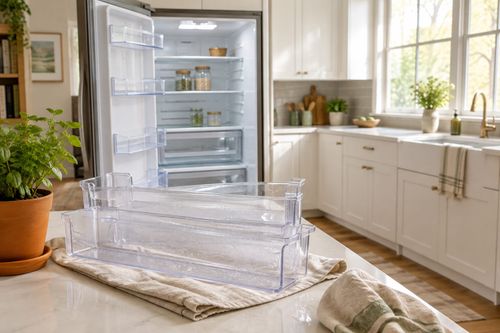
Fridge Door Bins: The Wipe Order That Stops Mold

Reset your refrigerator door shelves in 20 minutes for free. Washing bins and warming them dry before restocking is what stops sticky film and musty smells....

Home Improvement

20 November 2026

Post

Sticking Drawer Fix: Wax the Runners, Not the Wood

Fix a sticking wooden drawer in 20 minutes for about $4. Finding the rub marks first is what makes the repair last, not just waxing and hoping....

Home Improvement

19 November 2026

Post

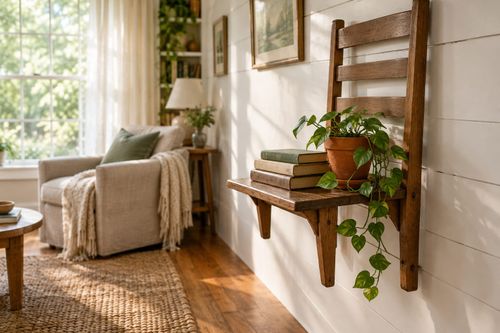
Chair to Wall Shelf: The Stud Anchor That Holds

Turn a thrifted wooden ladder-back chair into a wall shelf for $18. Anchoring into a stud, not drywall, is what keeps it holding books and plants....

Home Improvement

17 November 2026

Post

Thrifty Tuesday: Tension Rod Curtain Closet for $8

Turn a doorless closet into a clean, hidden space for about $8. The rod placement is what keeps your dollar-store curtain from sagging or popping down....

Home Improvement

15 November 2026

Post

Sunday Reset: Hall Closet Light Fix in 20 Minutes

Dim closet bulbs hide dust and clutter. A 20-minute Sunday reset: wipe the fixture, swap in a cool LED, and finally see what you own. Free to $6....

Home Improvement

15 November 2026

Post

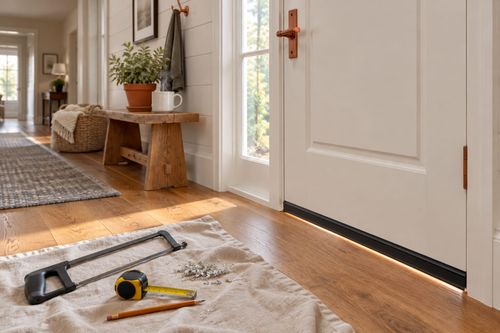
Install a Door Bottom Threshold Seal in 30 Minutes for $15

Cold air creeping under your exterior door? A $15 threshold seal and a hacksaw stop the draft, and you can finish before your coffee gets cold. Easy win!...

Home Improvement

13 November 2026

Post

Cracked Caulk Fix: The Dry Time That Seals Tubs

Fix a cracked, peeling tub caulk line in under an hour for about $8. Letting the joint dry fully before you recaulk is what keeps mold from coming back....

Home Improvement

10 November 2026

Post

Dollar Store Tray Shelf: The Anchor That Holds $5

Turn two $1 dollar-store trays into a wall-hung bathroom shelf for under $5. Hanging it from a sturdy hook, not tape, keeps it from crashing down....
Terms and ConditionsDo Not Sell or Share My Personal InformationPrivacy PolicyPrivacy NoticeAccessibility NoticeUnsubscribe
Copyright © 2026 DIY HomeBoost