Repair Torn Window Screens in 15 Minutes for Under $15
Clear nail polish for pin holes, a patch kit for small tears, a spline roller for full replacement — every screen in your home fixed before summer
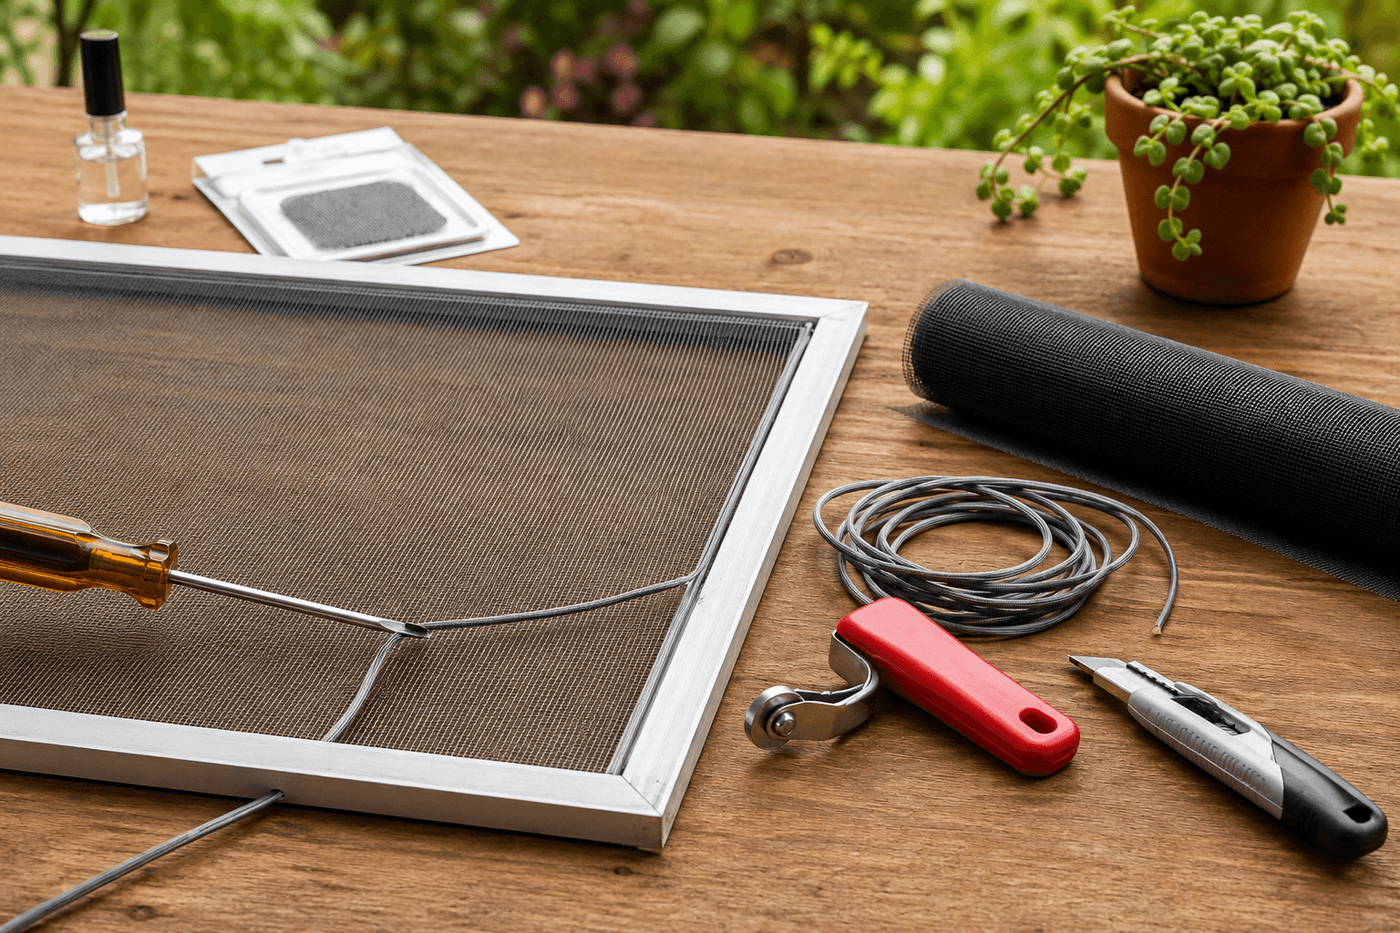
A torn window screen is the specific home maintenance issue that becomes genuinely consequential exactly once per year — the first warm evening when you want the windows open and the alternative is either sleeping with the screen hole and the mosquitoes, or sleeping with the window closed and the heat. Addressing every damaged screen before that evening arrives takes fifteen to thirty minutes per screen and costs between nothing and fifteen dollars depending on the damage type, and the repair methods scale perfectly to the damage: clear nail polish for the pinhole tears that look like nothing until a mosquito finds them, woven patch kits for the small tears that developed when something passed through the screen, and a spline roller and replacement screen for the panels that have simply reached the end of their useful life. This is the spring maintenance task that has the highest quality-of-life return per hour of any repair on the list — because the alternative to doing it is spending the first night of open-window season in a room with mosquitoes and no good options.
What You Need
- Clear nail polish — for pinhole repairs under ½ inch; the dried polish bridges the tiny gap in the screen mesh and creates a flexible, clear seal that is essentially invisible and holds through a full season of outdoor exposure (free if you already own it, ~$2 otherwise)
- Screen repair patch kit — for holes ½ inch to 3 inches; these kits include pre-cut aluminum or fiberglass mesh patches with fringe strands for weaving into the existing screen and clear adhesive for securing the woven repair (~$3–5 at any hardware store)
- Replacement screen material, fiberglass or aluminum — for screens requiring full replacement; fiberglass is easier to work with and less prone to the creasing that makes aluminum screen difficult to keep taut during spline installation (~$8–12 for a roll that replaces multiple screens)
- Spline and spline roller tool — the rubber gasket that holds the screen in the frame groove; new spline is required when re-screening because old spline compresses permanently over years of installation and no longer holds the new screen taut after reinstallation (~$5–8 for spline plus roller tool)
- Flathead screwdriver — for removing the old spline from the frame groove at the start of a full screen replacement; the flat tip follows the groove cleanly without damaging the aluminum frame
- Utility knife — for trimming the excess screen material flush with the outside edge of the frame after the spline has been fully installed in the groove
- Scissors — for cutting patch material to size for the woven patch repair method
How to Fix Every Type
- Assess every screen in the home before beginning any repairs — remove each screen from its window and hold it up to bright outdoor light to reveal pinhole damage that is invisible in indoor lighting. Pinholes that show no light through them from one side will admit mosquitoes from the other; the clear nail polish repair works only if the hole is identified, and a screen with three visible patches and four undetected pinholes will admit mosquitoes through the unpaired holes regardless of how well the patches were applied.
- Repair pinhole damage with clear nail polish by applying one thin coat directly over the hole and the surrounding mesh, allowing it to dry for two minutes, and applying a second coat. Two to three thin coats build a flexible, clear layer that bridges the gap without the visible white haze that a single heavy coat produces before it dries clear. Work from the interior side of the screen so the repair faces inward and is less exposed to weather that would eventually loosen a polish repair applied to the exterior face.
- Repair medium holes with the woven patch method by cutting a patch from the kit material that extends at least ½ inch beyond the hole on all sides, removing four to five strands from all four edges of the patch to create the fringe that will weave into the existing screen, and threading each fringe strand alternately over and under the wires of the existing screen in the rows immediately surrounding the hole. When all fringe strands are woven through, fold the strand ends back against the patch face and press clear adhesive along the patch perimeter to seal the woven connection against the existing screen surface.
- Replace heavily damaged screens by first removing the screen from the window frame and laying it flat on a hard work surface. Insert the tip of a flathead screwdriver under the spline — the rubber gasket visible in the groove around the frame perimeter — and work it around the full frame perimeter until the spline is completely removed and the old screen pulls free from the frame. Discard the old screen and old spline; reusing old spline over new screen material is the most common cause of a freshly installed screen that fails to stay taut and develops waves and sags within the first season of use.
- Cut the replacement screen material to the frame dimensions plus 2 inches of overlap on all four sides — the excess material is what gives you the tension you can work with during spline installation, and too little excess produces a screen that goes taut in the center but bags at the corners before the spline installation is complete. Lay the cut screen material flat over the frame, centered so the 2-inch overlap is consistent on all sides, and hold it in position with small clamps or binder clips at the corners while you begin the spline installation.
- Install the new spline using the spline roller tool by pressing the spline into the frame groove along one long side first — work from the center of that side toward each corner rather than from a corner toward the opposite corner, which keeps the screen tension even across the side rather than allowing it to pull diagonally. The spline roller's concave wheel presses the spline into the groove while the screen material folds into the groove ahead of the spline; maintaining steady forward pressure on the roller while pulling lightly outward on the overhanging screen edge keeps the screen taut as the spline sets it in place.
- Complete the spline installation around all four sides in sequence — first long side, then opposite long side pulling the screen taut across the frame, then first short side, then opposite short side — pulling the screen gently outward at each side before running the spline roller to maintain consistent tension across the full frame. At each corner, fold the excess screen material neatly before continuing the spline into the corner groove; a neatly folded corner holds the spline more securely than excess material bunched into the groove, which can cause the spline to pop out at the corners during the first season of temperature cycling.
- Trim the excess screen material by running a utility knife blade along the outer edge of the spline groove with the blade angled slightly outward — cutting right at the spline edge rather than against the frame aluminum produces a clean, flush trim without the ragged screen wire ends that scratch the window frame and hands during reinstallation. Reinstall the finished screen in its window and confirm it sits flat and taut with no visible waves, sags, or lifted spline sections before closing the window over it for the first time.
Window and door contractors who re-screen residential frames professionally always replace aluminum screen mesh with fiberglass screen mesh when given the choice — fiberglass mesh is significantly more resistant to the creasing, kinking, and permanent denting that makes aluminum screen difficult to keep looking smooth and new after the first season of opening and closing windows against it. Fiberglass mesh also has a slightly smaller opening size than standard aluminum mesh at the same mesh count, which reduces the passage of tiny gnats and no-see-ums that aluminum screen admits while still allowing full airflow. The material costs the same per linear foot as aluminum screen and installs with identical technique, and a home re-screened entirely in fiberglass mesh looks noticeably cleaner and more consistent two seasons after installation than the same home re-screened in aluminum mesh.