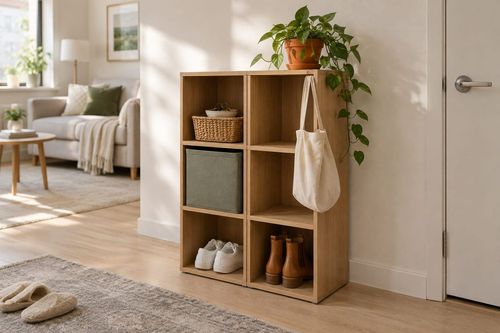
The Stacking Crate Trick That Builds a Pantry Anywhere
Stack a few sturdy crates and your pantry-less rental suddenly has a very real, very movable pantry.

Apartment Win
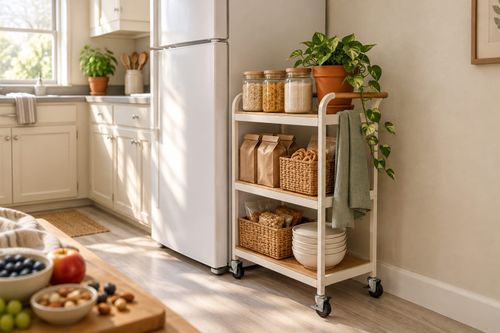
No pantry? No problem. Stacking crates turn any bare wall or corner into open pantry storage for snacks, cans, and dry goods. It's fully freestanding, so there's no drilling, no glue, and your deposit stays safe.
What You'll Need
- 4-6 wooden or sturdy plastic crates in matching sizes, about $10-$15 each
- Removable-rated hook-and-loop strips or zip ties to link crates together, about $5
- Felt furniture pads for the bottom crates to protect floors, about $4
- Small drawer liners or shelf mats to keep items from sliding, about $6
- Blank, unlabeled bins or baskets to corral loose snacks, about $10
How to Do It
- Pick a spot along a wall or in a corner with a flat floor, leaving the wall untouched. Nothing attaches to it, so nothing can mark it.
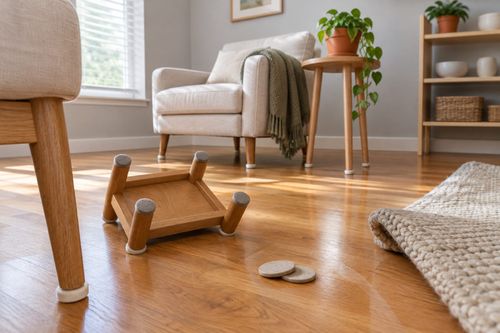
- Stick felt pads to the bottom corners of your base crates. They peel off clean and protect your floor.
- Stack the crates open-side-out in a grid, two or three high. Keep the heaviest items in the lowest ones.
- Link the crates with zip ties or hook-and-loop strips so the tower stays steady. Snip or peel them off at move-out with no trace.
- Line shelves with grip mats, then load in cans, boxes, and baskets of loose snacks.
- Test the stack with a gentle push. If it wobbles, add a crate beside it for width or keep the stack shorter.
DESIGNER TIP
Mix crate orientation, with some open sides up and some facing out, to create a playful, staggered look that hides uneven items and feels designed instead of improvised.