The Peel-and-Stick Tile Trick for a Renter Backsplash
Give your drab kitchen wall a designer glow-up that peels off clean when your lease ends.

Apartment Win
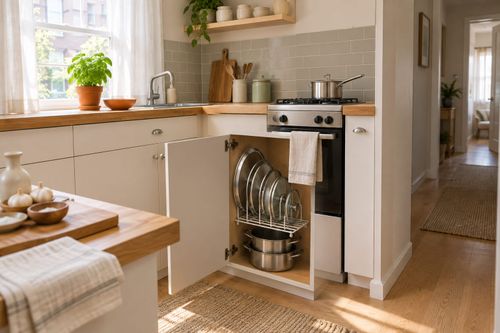
Stuck with a bare, stained, or builder-beige kitchen wall behind your counter? Removable-rated peel-and-stick backsplash tiles add instant style with no grout, no paint, and no drilling. Applied over a clean, smooth surface and peeled slowly with a little heat, they come off without damaging your deposit.
What You'll Need
- Removable-rated peel-and-stick backsplash tiles (about $20-$40 for a small backsplash; check the label says removable or renter-friendly)
- Test sample tile (often free or about $3, to try on a hidden spot first)
- Tape measure and pencil (already in your junk drawer)
- Gentle all-purpose cleaner and microfiber cloth (about $5)
- Scissors or a craft knife for trimming around outlets (about $5)
- Hair dryer for removal day (borrowed or already owned)
How to Do It
- Test a sample tile on a small hidden area for 24-48 hours, then peel it off to confirm it leaves no residue or paint damage. If it pulls paint, stop here and pick another hack.
- Clean the wall with a gentle cleaner and let it dry fully. Grease and dust are the enemy of a good stick.
- Measure the area and mark a level starting line with pencil so your first row stays straight.
- Peel the backing a few inches at a time and press the first tile into place along your line, smoothing from the center outward.
- Repeat row by row, lining up edges snugly. Trim tiles around outlets with scissors, and turn off power at the breaker before working near them.
- Remove at move-out by warming each tile with a hair dryer and peeling slowly at a low angle. The adhesive releases without residue on sealed, smooth walls.
DESIGNER TIP
Choose a tile with a subtle pattern, like a classic subway or soft geometric, and run it only to the bottom of your upper cabinets for a custom look that is also easier to remove.