Loose Door Handle Fix: 10 Minutes, Free
A screwdriver, an Allen wrench, and ten minutes per door — and every wobbly handle in your house is fixed before the weekend is over.
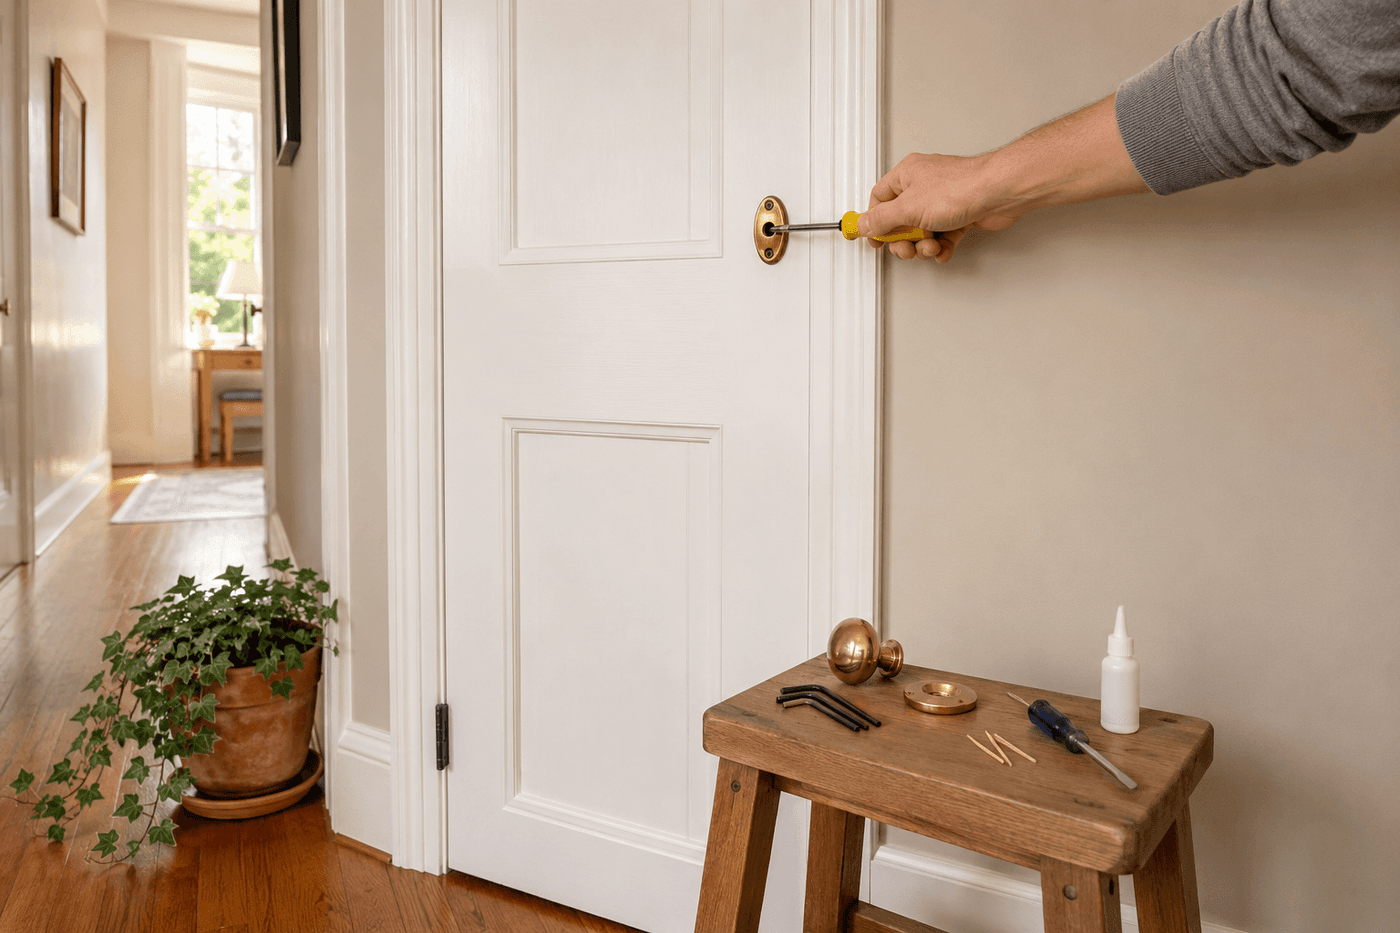
A wobbly door handle is one of those household problems that announces itself clearly — that slight give, that rotation that feels just a little too free, the mental note every time you use it that says this is going to fail at some point — and then gets used dozens of times per day while the fix that would take ten minutes stays on the to-do list. The reason door handles loosen over time is simple: the screws that hold the mounting plate to the door back out gradually under the torque and vibration of repeated daily use, and the fix is tightening them. For most handles this requires removing the decorative knob or cover plate to access the mounting screws — which sounds more complicated than it is — and then driving the screws back to snug. For stripped screw holes where screws spin without biting, the toothpick and wood glue technique that fixes stripped screw holes anywhere works identically here. The whole house audit — testing every handle and knob for wobble and fixing each one — takes less than an hour total, prevents the specific frustration of a handle that comes off in your hand at a genuinely inconvenient moment, and costs exactly nothing if a screwdriver and Allen wrench are already in the house.
What You'll Need
- Flathead screwdriver — for releasing the detent pin or slot that holds most interior door knobs on their spindle, and for tightening slotted mounting screws on older hardware
- Phillips head screwdriver — for tightening the mounting screws on the rose plate or interior escutcheon once the decorative cover is removed; most residential door hardware uses Phillips mounting screws
- Allen wrench set — for tightening the set screw found on the underside of most lever-style door handles; the set screw is typically 3/32" or 1/8" hex, and a full set guarantees the correct size is available without guessing (~$5–8 for a full metric and imperial set if not already owned)
- Toothpicks and wood glue — for stripped screw holes where screws spin without biting; the same toothpick repair technique that fixes stripped screw holes in cabinet hinges and furniture works identically in door hardware mounting holes
- Utility knife or flush-cut saw — for trimming toothpicks flush with the mounting surface after the wood glue cures, required only for stripped hole repairs
- Flashlight or phone torch — for locating the detent slot on the knob neck and the set screw on lever handles, both of which are intentionally small and positioned where they are not visible during normal use
- Needle-nose pliers — optional, for pressing the detent pin on knobs where finger pressure alone is not sufficient to depress it while simultaneously pulling the knob free from the spindle
How to Fix It
- Audit every door handle and knob in the house before fixing any of them — grip each handle firmly and apply rotational pressure while pushing and pulling along the door axis to feel for any movement beyond the designed rotation of the latch mechanism. Even slight wobble that feels minor now will progress to significant looseness within weeks of continued daily use; fixing handles at the first sign of wobble takes half the time of fixing them when they are fully loose and the mounting hardware has had time to work further out of position.
- Identify your handle type before reaching for any tool — round knobs with a visible slot or small hole on the neck below the knob body are detent-release knobs; lever handles with a smooth underside are set-screw levers; handles with a visible screw on the interior plate are direct-access designs that require no disassembly; and exterior deadbolts and passage sets have two long through-bolts connecting the interior and exterior assemblies that are accessible from the interior side. Identifying the type first determines which tool to reach for and prevents the exploratory prying that scratches finish hardware.
- Remove round knobs by locating the detent slot or small hole on the neck of the knob — shine a flashlight along the neck while rotating the knob slowly until the slot becomes visible, then insert a flathead screwdriver into the slot and apply inward pressure while pulling the knob away from the door. The detent releases with moderate pressure; if the knob does not pull free after the detent releases, a second detent slot on the opposite side of the neck needs simultaneous release — most knobs have only one, but some older hardware has two.
- Remove the decorative rose plate or escutcheon that remains after the knob is pulled — most snap off by inserting a flathead screwdriver under the rim and applying gentle outward pressure at one point around the circumference; some have a small setscrew visible on the edge that must be loosened first. The rose plate conceals the two mounting screws that attach the entire lockset assembly to the door, and these are the screws that need tightening to eliminate the wobble.
- Tighten both mounting screws firmly with the appropriate screwdriver — snug rather than overtightened, which strips the screw hole or cracks the rose plate on older hardware. Test the knob wobble by reinstalling it temporarily before replacing the rose plate; if wobble persists after the screws are fully tight, the issue is a worn spindle connection inside the knob rather than loose mounting screws, and the knob mechanism itself needs replacement rather than tightening.
- Locate and tighten the set screw on lever-style handles by tilting the lever upward to expose its underside and shining a flashlight along the lever body near the base where it meets the rose plate — the set screw is a small hex socket screw recessed into the underside of the lever that is invisible during normal use. Insert the correct Allen wrench size and tighten clockwise until firm; the set screw bears directly on the spindle and its tightness is entirely what determines whether the lever feels solid or wobbles in use.
- Tighten exterior deadbolt and passage set hardware by opening the door and locating the two long screws on the interior rose plate or escutcheon that pass all the way through the door thickness to the exterior assembly — these through-bolts are what hold both sides of the hardware together and their loosening is what produces the rocking or pulling sensation in exterior handles. Tighten both screws evenly rather than fully tightening one before starting the other, which can pull the exterior assembly out of alignment and make the latch mechanism bind.
- Repair stripped screw holes — where screws spin freely without biting — using the toothpick and wood glue method: remove the screw completely, squeeze a small amount of wood glue into the hole, pack in as many toothpicks as fit snugly, allow to cure for a full hour, trim flush with a utility knife, and drive the original screw back into the fresh wood material. Allow the glue to cure for the complete hour rather than shortening the wait; wood glue applied to a screw hole that is reloaded before full cure compresses rather than grips the screw and the repair fails within days rather than holding for years.
- Reassemble each handle in reverse order — rose plate snapped or screwed back into position, knob pressed onto the spindle until the detent clicks, lever seated and set screw tightened — and test the full function of the latch mechanism before moving to the next door. A handle that operates the latch correctly and feels solid with no wobble under firm rotational and axial pressure is the confirmation the repair is complete; a handle that still wobbles after reassembly needs the mounting screws retightened with the rose plate removed, as the plate itself can mask incomplete tightening during the reassembly test.
Finish carpenters and door hardware installers who specify and install residential hardware for new construction and renovation projects use one installation technique at initial mounting that virtually eliminates the loosening-over-time problem that makes this repair necessary in the first place: apply a single drop of medium-strength thread-locking compound such as Loctite Blue 243 to each mounting screw thread before driving it to final position. Thread-locking compound fills the microscopic gaps between screw thread and hole wall and cures to a flexible bond that prevents the vibrational back-out that loosens door hardware screws over months of daily use — while remaining removable with a screwdriver when hardware replacement is eventually needed, unlike permanent-strength red Loctite which bonds screws irreversibly. Hardware installers who use this technique on every mounting screw at installation report door hardware that stays solid for five to ten years of daily use without any re-tightening — and applying a drop to the freshly tightened screws during this repair session converts a recurring annual fix into a one-time job that holds until the hardware itself wears out.