Install Foam Outlet Gaskets Behind Plates in 1 Hour for $12
The gasket only works if it sits flush against the wall box with the breaker off, because even a tiny gap lets cold air keep flowing.

Every outlet on an exterior wall is a small hole in your insulation, and in December those holes pull cold air straight into your living room. Foam gaskets fix this, but the difference between a seal that works and one that does nothing comes down to one thing: the gasket must press flush against the wall box with no gaps around the edges, and the outlet cover must be tightened evenly to compress it. A crooked or loose gasket lets air slip around the foam, so you gain nothing. Done right, you cut those drafts in about an hour. The whole project costs around $12 for a pack of gaskets, child-safe plug caps, and a screwdriver you probably already own. Power off at the breaker first, every time.
What You'll Need
- Materials (~$12 total):
- Pre-cut foam outlet and switch gaskets, 12-pack (~$6)
- Child-safe outlet plug caps, 6-pack (~$3)
- Painter's tape (~$3, or use what you have)
- Tools (likely on hand):
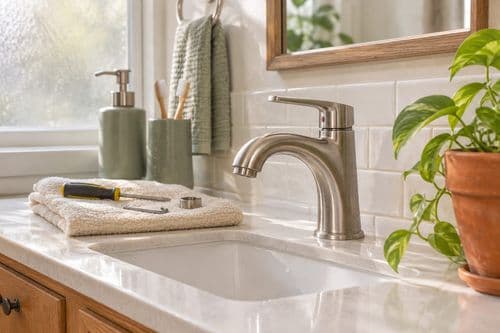
- Flathead and Phillips screwdrivers
- Non-contact voltage tester (~$10 if you don't own one; strongly recommended)
- Flashlight
- Small bowl for holding screws
How to Do It
- Locate every outlet and switch on exterior walls first. These leak the most because the wall behind them borders the outdoors, so you get the biggest payoff there.
- Shut off the power at the breaker panel for the circuit you're working on. Switching off a light isn't enough; the outlet itself must be dead before you remove any cover.
- Test each outlet with the voltage tester held against the slots and screw area. This confirms the breaker was the right one, and it takes ten seconds to prevent a nasty shock.
- Unscrew the cover plate and set the screws in your bowl. Don't touch the outlet's wiring or the screws holding the outlet itself; you only need the plate off.
- Press the foam gasket over the outlet face so its openings line up with the receptacle. It should lie flat against the wall box edges, because gaps there let air bypass the foam.
- Replace the cover plate and tighten the screws a little at a time, alternating sides. Even pressure compresses the foam uniformly, while overtightening one side can crack the plate.
- Cap any unused outlets with plug caps. They block air through the slots and double as a safety measure if kids are around.
- Restore power and check each outlet with a lamp. Then hold a hand near the plate on a windy day; if you still feel a draft, loosen and reseat the gasket.
Energy auditors performing blower-door tests often find the worst leaks at outlets on north-facing walls, so they seal those first and work around the house. Hold a lit stick of incense near each plate on a windy day: if the smoke wavers or streams sideways, that outlet gets a gasket before any other.