
Hang a Backyard Tire Swing for $18
A free tire from a local garage, $18 in rope and hardware, and two hours — the backyard project your kids will use every single day for years
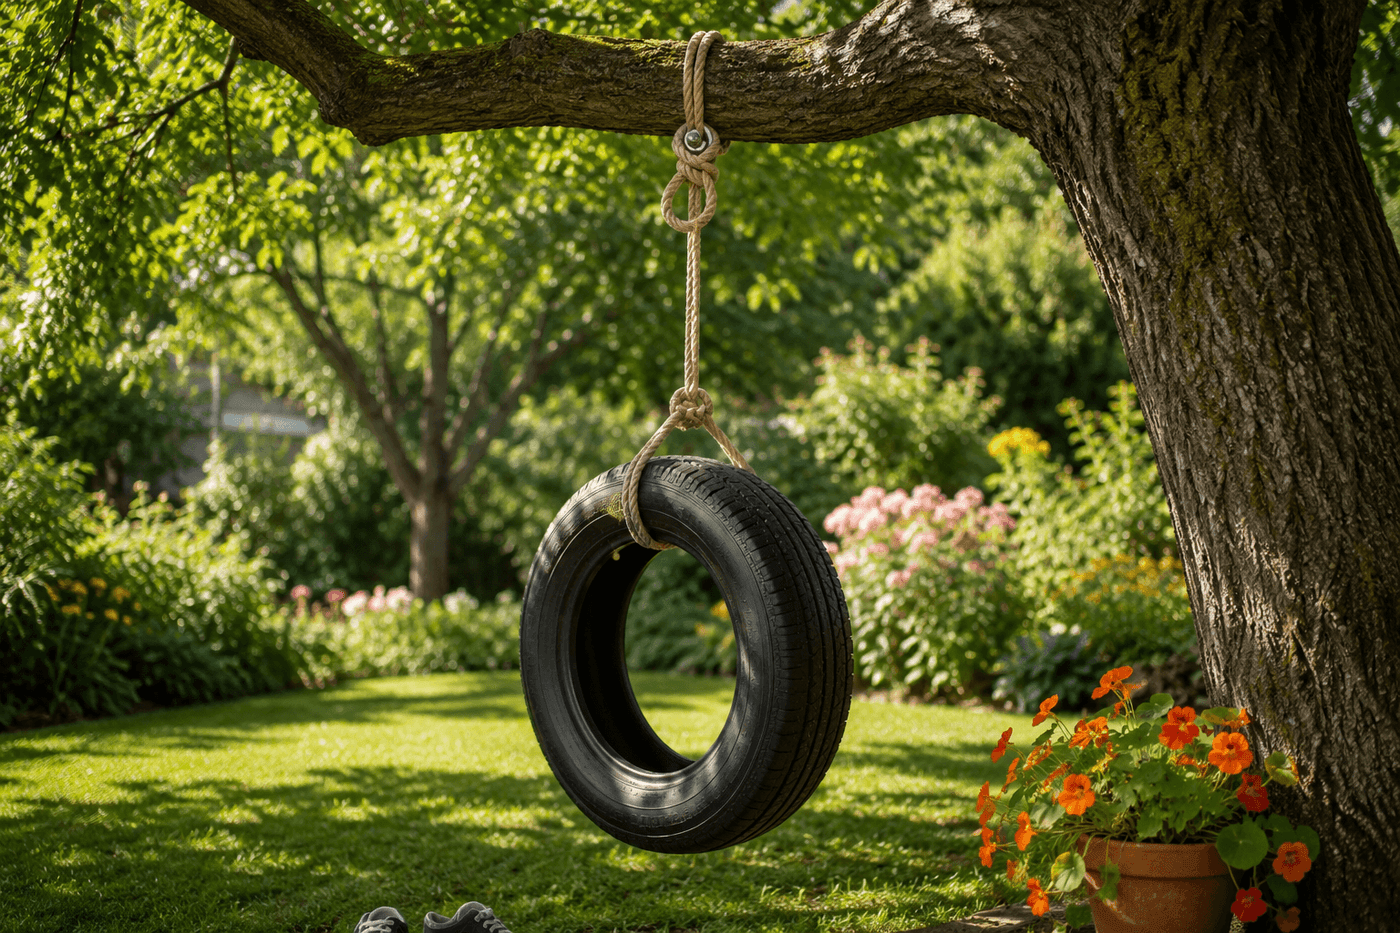
There are very few backyard additions that deliver the return on investment of a tire swing — the materials cost almost nothing, the installation takes two hours, and the result is the thing your kids gravitates toward every single afternoon for years without the novelty ever quite wearing off the way it does with more elaborate and expensive play equipment. A clean tire from any local garage or tire shop, a length of thick nylon rope, and a solid branch with a good horizontal run is all the raw material required, but the difference between a tire swing that is genuinely safe and one that is an accident waiting to happen lives entirely in the preparation and installation decisions that take the most time and deserve the most attention. Drainage holes drilled before hanging, branch integrity confirmed before any weight is applied, the right knot tied correctly and inspected carefully — these are the twenty minutes of thoughtful work that make the difference between a swing that serves your family safely for a decade and one that fails.
What You Need
- Passenger car tire, clean — ask any local garage, tire shop, or auto dealer; most accumulate used tires and will hand them over free to avoid disposal fees. Avoid tires with steel belt damage visible at the interior surface, deep sidewall cracking, or any structural deformation (free)
- Nylon rope, ¾" diameter, 15–20 feet — rated for at least 500 lbs static load; nylon stretches slightly under load which absorbs shock, and it resists UV degradation and moisture far better than natural fiber ropes that weaken significantly after a single wet season outdoors (~$10–12)
- Galvanized screw-in eye bolt, ½" diameter — rated for outdoor use; sized so the eye is large enough to pass the rope through with room to spare, and long enough to extend fully through the branch with threads exposed for the nut on top (~$4–6)
- Large galvanized washer and lock nut — the washer distributes load across the branch surface above the eye bolt; the lock nut prevents the nut from working loose under the vibration of regular swing use (~$1–2)
- Drill with ½" spade bit — for drilling the eye bolt hole through the branch and the drainage holes through the tire base
- Stiff scrub brush and dish soap — for cleaning the tire interior and exterior thoroughly before installation
- Ladder tall enough to reach the branch comfortably — never overreach from a ladder during installation; the branch should be at a height you can work at without stretching or losing balance
- Helper — a second person to steady the ladder, hold the tire during rope attachment, and provide an additional set of eyes during the branch inspection phase
How to Install It Safely
- Inspect the branch thoroughly before purchasing any materials — look for a horizontal branch at least 8 inches in diameter with no visible cracks, splits, or cavities at the attachment point or anywhere between the attachment point and the trunk. Probe suspicious areas with a screwdriver; sound wood resists penetration while rot allows the tip to sink in with little resistance. A branch that passes visual and probe inspection should also be assessed by bouncing on it from the tree trunk if safely accessible — a structurally compromised branch sounds and feels different from a sound one under dynamic load. If any doubt exists about branch integrity, choose a different branch or consult a certified arborist before proceeding.
- Drill five drainage holes in the lowest point of the tire using the spade bit — four holes spaced evenly around the tire base and one at the absolute lowest point ensure water drains completely after rain rather than pooling in the tire interior. A tire swing without drainage holes becomes a standing water reservoir within the first rainstorm and creates the perfect mosquito breeding environment directly over where children play; drainage holes are the single most important tire preparation step and take three minutes to complete.
- Scrub the tire thoroughly inside and out with dish soap and a stiff brush, removing road grime, tire release compounds, and any debris from the interior. Rinse completely and allow to dry before installation — a clean tire is safer for children to handle and touch during play, and the cleaning process gives you a thorough final look at the tire's interior structure for any damage that wasn't visible during initial inspection.
- Drill the eye bolt hole through the branch at the chosen attachment point — bore the hole slightly smaller than the eye bolt diameter so the bolt threads into the wood with significant resistance rather than sliding through loosely. Position the hole at least 18 inches from the trunk to reduce the bending stress on the branch base, and at least 18 inches from the outer branch end where the wood diameter narrows and structural integrity decreases.
- Install the eye bolt by threading it into the drilled hole by hand until resistance increases, then using a screwdriver or rod through the eye for additional turning leverage until the bolt is fully seated with the eye flush against the branch underside. Place the large washer and lock nut on the protruding bolt threads above the branch and tighten firmly — the washer distributes the upward load from the swing across the branch surface rather than concentrating it at the bolt threads, which is the connection geometry that prevents the bolt from pulling through the branch under swing load over time.
- Cut the rope to length — measure from the eye bolt to the desired tire height with the tire hanging level, add 4 feet for the knots at both ends, and cut cleanly. Melt the cut end of nylon rope immediately with a lighter to fuse the fibers and prevent fraying that weakens the rope at the cut point over time; a frayed rope end that goes unnoticed in regular inspection can indicate a significantly weakened section of the rope above the visible fraying.
- Tie the rope to the eye bolt using a bowline knot — the knot that forms a fixed loop that cannot slip or tighten further under load, making it the correct choice for any load-bearing application where a slipping knot would be dangerous. Practice the bowline on the ground before climbing the ladder; the sequence is "the rabbit comes out of the hole, goes around the tree, and goes back down the hole." A correctly tied bowline gets stronger under load; an incorrectly tied one can slip. Confirm the knot is correct before trusting any weight to it.
- Attach the lower end of the rope to the tire using a second bowline threaded through the tire itself — pass the rope through the tire opening, form the bowline loop around the tire's inner bead where the rope will be protected from chafing against the tire edge during swinging, and seat the knot firmly. Test the complete installation by applying your full body weight while hanging from the rope for thirty seconds before allowing any child on the swing — this load test confirms both knots, the eye bolt installation, and the branch integrity under dynamic load before the swing enters regular use.
Certified arborists who assess trees for play equipment installation always recommend inspecting the rope and all hardware connections at the start of every season and after any significant storm — UV exposure degrades nylon rope from the outside in, and a rope that appears intact from a distance may have significant fiber weakening at the knot points where bending stress concentrates and where moisture is most likely to be retained. They also recommend replacing the rope every three to five years regardless of visible condition, because nylon loses tensile strength through UV degradation at a rate that is not visible to the naked eye and that standard inspection cannot reliably detect. A $12 rope replacement every few years is the maintenance investment that keeps a beloved backyard feature genuinely safe through the years of use that make it worth having built in the first place.














