Sew Reusable Fabric Gift Bags in 90 Minutes for $15
Reinforcing the drawstring channel with a double-folded hem is what keeps these bags cinching for a decade instead of ripping on the first re-use.

Every December, mountains of wrapping paper get ripped open and tossed in about ten seconds flat. Fabric gift bags fix that, but the difference between bags that last for years and bags that fray by next Christmas comes down to one step: the drawstring channel. If you fold the raw edge under twice before stitching, the fabric can't unravel and the cord slides without tugging at a weak seam. Skip that fold and the channel shreds the first time someone yanks the cord. Four bags in assorted sizes cost about $15 in total, and you can sew them in roughly 90 minutes with a basic sewing machine, just in time for holiday wrapping season.
What You'll Need
- Materials (~$15 total):
- 1.5 yards of medium-weight cotton or cotton-blend fabric, pre-washed (~$9)
- 3 yards of 1/4-inch cotton twill ribbon or cord for drawstrings (~$3)
- All-purpose polyester thread in a coordinating color (~$3)
- Tools:
- Sewing machine with a straight stitch
- Fabric scissors and straight pins or sewing clips
- Iron and ironing board
- Tape measure or ruler
- Large safety pin for threading the cord
How to Do It
- Wash and press your fabric first. Pre-washing prevents shrinking later, so your bags don't pucker after the first laundering.
- Cut two rectangles per bag, for example 10 by 14 inches for a medium bag. Using a ruler keeps edges square so seams line up cleanly.
- Fold the top edge of each rectangle down 1/2 inch toward the wrong side and press, then fold down another 1 inch and press again. This double fold hides the raw edge and creates the drawstring channel.
- Stitch the folded hem close to the lower edge on each piece, about 1/8 inch from the fold. Do this before sewing the sides so the channel stays open at both ends instead of getting sealed shut.
- Pin the two pieces right sides together and sew the sides and bottom with a 1/2-inch seam allowance, stopping at the bottom of each channel. Backstitch at both ends because these seams take the most stress.
- Finish the seams by zigzagging the raw edges or trimming with pinking shears. This prevents fraying through repeated use and washing.
- Thread the cord through the channel with a safety pin, knot the ends together, and trim any extras. A single looped cord pulls evenly from both sides.
- Turn the bag right side out, poke the corners square with a pencil, and press flat. Fill with gifts, cinch the cord, and enjoy.
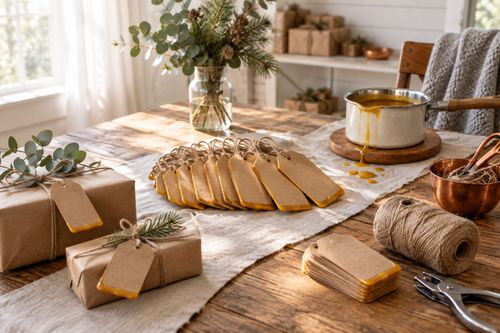
Professional gift stylists and boutique packagers often add a small fabric tag or a sprig of evergreen tucked into the drawstring knot instead of a paper tag. Write the recipient's name on a scrap of ribbon with a fabric pen so the bag itself becomes part of the present. Label each bag's size inside the hem with a laundry marker so you can match bags to gifts next year in seconds.