Build a Wooden Knife Block in 2 Hours for $28
The slot angle and depth decide whether your knives stay sharp and secure or dull, wobble, and slide out of the block.

Knives rattling around in a drawer chip their edges against each other, and that's usually why they feel dull before the holidays. A knife block fixes it, but the difference between a block that protects blades and one that ruins them comes down to the slot fit. Slots cut too tight scrape the edge on every pull, while slots cut too wide let blades tilt and bang the walls. The trick is a tablesaw-free build: you glue up thin hardwood strips with spacer layers sized to your blade thickness, so every slot is exactly the right width. This whole build takes about 2 hours and costs $28 total, plus glue drying time. It's a satisfying beginner project just in time for holiday cooking.
What You'll Need
- Materials (~$24 total):
- Two 1x6 poplar or maple boards, 4 feet long (~$16)
- Wood glue, food-safe type such as Titebond III (~$5)
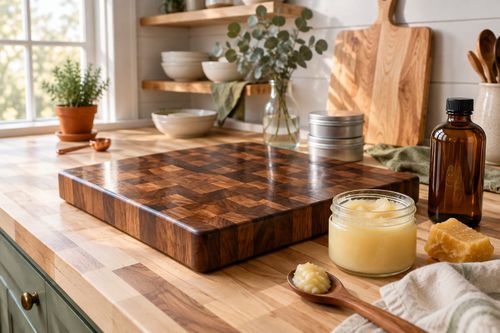
- Food-safe mineral oil, 4 oz bottle (~$3)
- 1/8-inch thick craft wood strips or paint stirrers for spacers, 4 pieces (~$free to $2)
- Tools (~$4 if needed):
- Handsaw or miter box saw with fine-tooth blade
- Four 6-inch bar clamps or heavy rubber bands (~$4 if you lack them)
- 120-grit and 220-grit sandpaper sheets
- Tape measure, pencil, and a speed square
- Clean rags for oiling
How to Do It
- Measure your longest knife blade and its thickness. Add 1 inch to the blade length for the block depth so the handle sits clear, and use the thickness to pick spacer size, since a snug slot protects the edge.
- Cut six poplar pieces to 8 inches long using your miter box. Cutting them all at once from a marked line keeps ends square, which helps the finished block sit flat instead of rocking on the counter.
- Dry-fit the pieces, alternating them with spacer strips at a slight 10-degree angle on each end. Angled slots hold knives against gravity, so test with your actual knives before any glue touches wood.
- Glue each board face with a thin, even coat of food-safe wood glue, then stack them with spacers between layers. Thin glue prevents squeeze-out into the slots, which would block the blades later.
- Clamp the stack with bar clamps or rubber bands and wipe off squeezed-out glue right away with a damp rag. Let it cure for at least 4 hours, because rushing it can cause layers to shift under the weight of a knife.
- Sand the block with 120-grit, then 220-grit, rounding all edges slightly. Sanding smooths splinters your hands and blades would otherwise catch on, and gives oil even absorption.
- Oil the block with food-safe mineral oil, letting it soak for 20 minutes, then wipe off the excess. Oil seals the wood against moisture, which prevents warping and keeps bacteria from settling into the slots.
- Test each knife by sliding it in spine-first or edge-up, never edge-down against the wood. Edge-up insertion protects the cutting edge from dragging, so your blades stay sharp for the holidays.
Professional cabinetmakers who build custom knife blocks always set slots with the cutting edge facing up, so the blade rests on its spine instead of its edge. Mimic that by cutting your spacer layers so the slot is angled slightly toward the back, and re-oil the block every two months to keep the wood from drying out and the slots from swelling.