Grout Refresh: Scrub, Seal, Like New in 2 Hours
Clean grout lines do more for a bathroom than almost any other single thing — and two hours on a Sunday brings them all the way back.
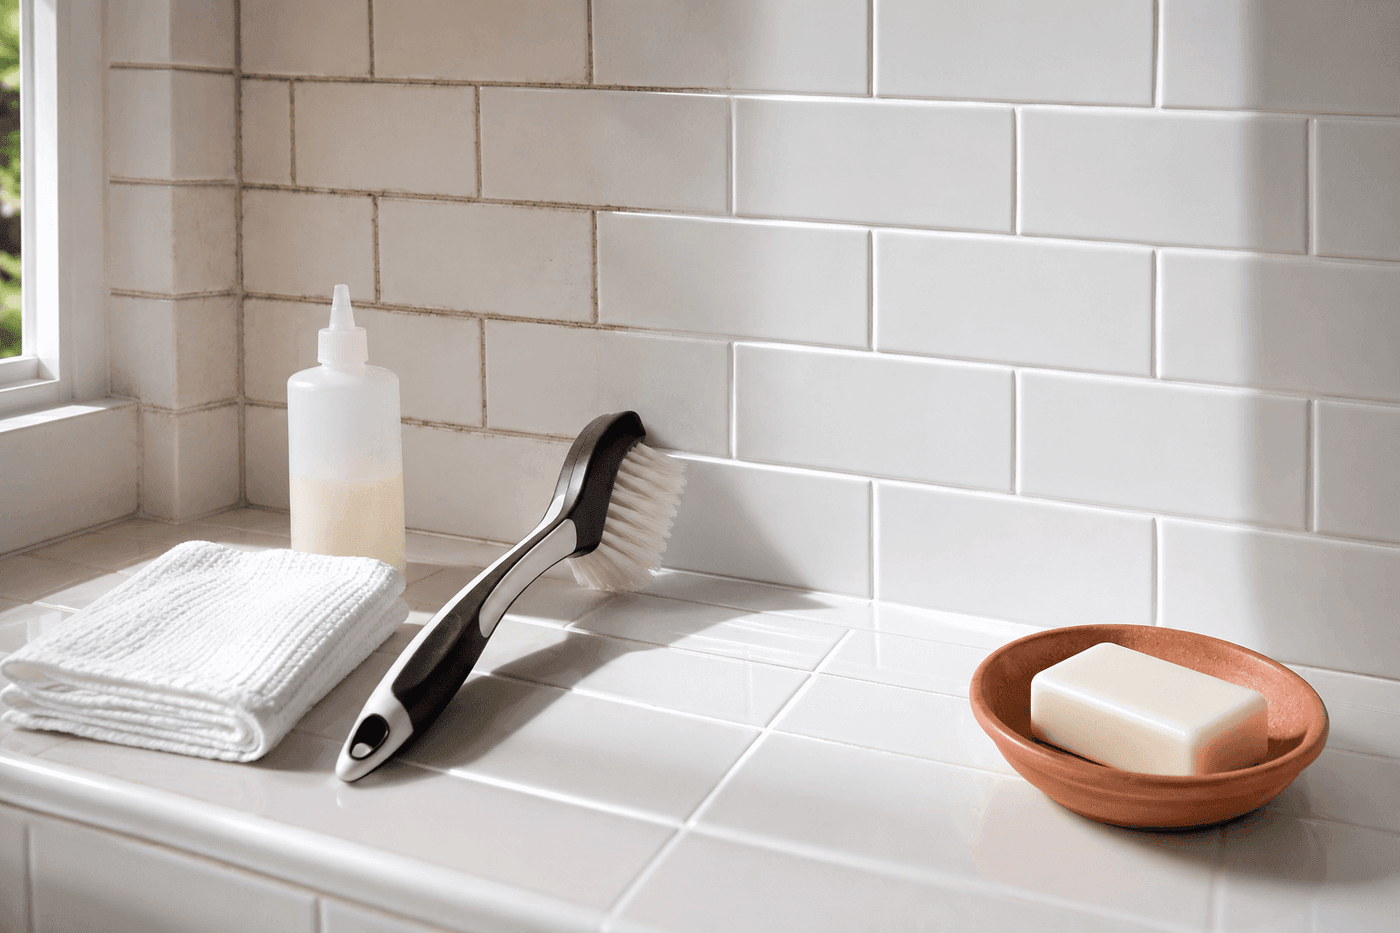
Grout has a particular talent for making an otherwise clean bathroom or kitchen look dingy — it sits in recessed lines that collect soap scum, hard water minerals, and mildew, and once it goes gray or brown it makes every tile around it look worse by association. The good news is that most discolored grout is not stained permanently; it is just dirty, and the right cleaner applied with a stiff brush brings the vast majority of grout lines back to something very close to their original color in a single session. The two-step approach — deep clean first, sealer second — is what makes this a lasting fix rather than a temporary one: clean grout that isn't sealed gets dirty again within weeks because unsealed grout is porous and absorbs everything that touches it, while sealed grout repels moisture and staining agents and stays clean dramatically longer with ordinary surface wiping. Two hours, $15–20 in supplies sourced from scratch, and your bathroom tile looks like it belongs in a renovated space rather than one that's been accumulating years of invisible buildup.
What You'll Need
- Grout brush or stiff-bristle toothbrush — a dedicated grout brush with angled bristles sized to fit grout line width is dramatically more effective than a toothbrush for larger areas (~$4–6)
- Grout cleaner — choose based on stain type:
- Oxygen bleach powder (OxiClean or similar) — best all-purpose choice; safe for colored grout and most tile types, highly effective on soap scum and general discoloration (~$5–8)
- Alkaline tile and grout cleaner (Zep or similar) — for heavy soap scum and hard water deposits in showers (~$5–7)
- Diluted bleach solution (1 part bleach to 2 parts water) — for white grout with mildew only; never use on colored grout or natural stone tile
- Spray bottle — for applying cleaning solution evenly across grout lines
- Old towels or rags — for wiping tile surfaces between cleaning and sealing
- Grout sealer — penetrating sealer in a squeeze bottle or applicator tip is easier to apply precisely than spray sealers; Aqua Mix or Black Diamond sealers are widely available (~$8–12 for a bottle covering one average bathroom)
- Foam paint brush or sealer applicator — for applying sealer precisely along grout lines without coating the tile surface
- Rubber gloves — bleach and alkaline cleaners irritate skin with extended contact; wear them for the full cleaning session
- Ventilation — open windows or run the exhaust fan throughout; cleaning products and sealer both off-gas in enclosed bathrooms
How to Do It
- Identify your grout and tile type before choosing a cleaner — colored grout requires oxygen bleach rather than chlorine bleach, which strips pigment and leaves permanent light patches; natural stone tile including marble, travertine, and slate requires pH-neutral cleaners only, as acidic or alkaline cleaners etch and permanently damage stone surfaces. When in doubt, oxygen bleach is the safest effective option for any grout color on any ceramic or porcelain tile.
- Wet the grout lines thoroughly with plain water before applying any cleaning solution — dry grout absorbs cleaner immediately and unevenly, reducing dwell time before the product can lift staining. A quick spray of plain water across the entire area immediately before applying cleaner gives the product time to work on the surface rather than being drawn straight into the grout body.
- Apply your chosen cleaner along the grout lines and allow it to dwell for the time specified on the product label — typically 5–10 minutes for commercial cleaners, or 15–20 minutes for an oxygen bleach paste mixed to a thick consistency. Dwell time is when the cleaning agent is doing the actual work of breaking down soap scum, mineral deposits, and mildew; scrubbing immediately after application removes the product before it has had time to work and requires significantly more physical effort for a lesser result.
- Scrub each grout line firmly with the grout brush using short back-and-forth strokes along the line rather than across it — scrubbing along the grout channel keeps bristle pressure concentrated in the line rather than dissipating across the tile surface on either side. Apply enough pressure to feel the bristles working into the grout surface without bending the brush head flat, which reduces bristle contact and effectiveness.
- Rinse thoroughly with clean water and assess the results before moving to sealing — most grout responds dramatically to a single cleaning session, but heavily stained lines may need a second application of cleaner and another round of scrubbing before the color has fully recovered. Sealing over grout that still has embedded staining locks that staining in permanently, so confirm you are satisfied with the cleaned color before proceeding.
- Dry the grout completely before applying sealer — this is the step most people try to rush and the one that most directly determines sealer effectiveness. Grout sealer penetrates into the porous grout structure to form a protective barrier; grout that is still damp has its pores partially filled with water, which physically prevents sealer from penetrating to the depth needed for lasting protection. Allow at least 45 minutes of air drying, or speed the process with a fan directed at the tile surface.
- Apply grout sealer along each line using a foam brush or the applicator tip of a squeeze-bottle sealer, working in manageable sections and wiping any sealer that lands on the tile surface immediately with a clean dry cloth — sealer that dries on tile leaves a hazy film that is difficult to remove after the fact and looks worse than unsealed grout. Work methodically from the top of the wall or the far corner of the floor so you are never stepping over or reaching across freshly sealed lines.
- Apply a second coat of sealer 10–15 minutes after the first, which is the standard two-coat protocol that penetrating grout sealers require to form a complete barrier — a single coat leaves microscopic gaps in the sealed surface that allow moisture and staining agents through, while two coats applied while the first is still slightly tacky form an overlapping barrier with no gaps. Allow the final coat to cure for the full time specified on the sealer label before exposing the surface to water, typically two to four hours.
Tile installers and restoration specialists who work on high-end bathroom renovations use one diagnostic step before cleaning that changes which product they reach for and how aggressively they scrub: wet a small section of discolored grout with plain water and observe whether it lightens significantly. Grout that visibly brightens when wet is discolored primarily by surface deposits — soap scum, hard water minerals, and body oil — that sit on top of the grout rather than penetrating it, and these respond quickly to alkaline cleaners and moderate scrubbing. Grout that shows little change when wet has deeper pigment penetration from mold, mildew, or iron staining, and requires either a longer dwell time with a stronger product or an oxygen bleach paste left on for 20–30 minutes before scrubbing. Running this 30-second water test before committing to a cleaning approach saves both product and effort, and is the reason an experienced tile restorer can assess and plan a full bathroom cleaning job in under a minute.