
Gratitude Journal: Paint Your Own Covers
A quiet afternoon, a few colors, and a blank journal — and you make something that holds both the art and the practice.
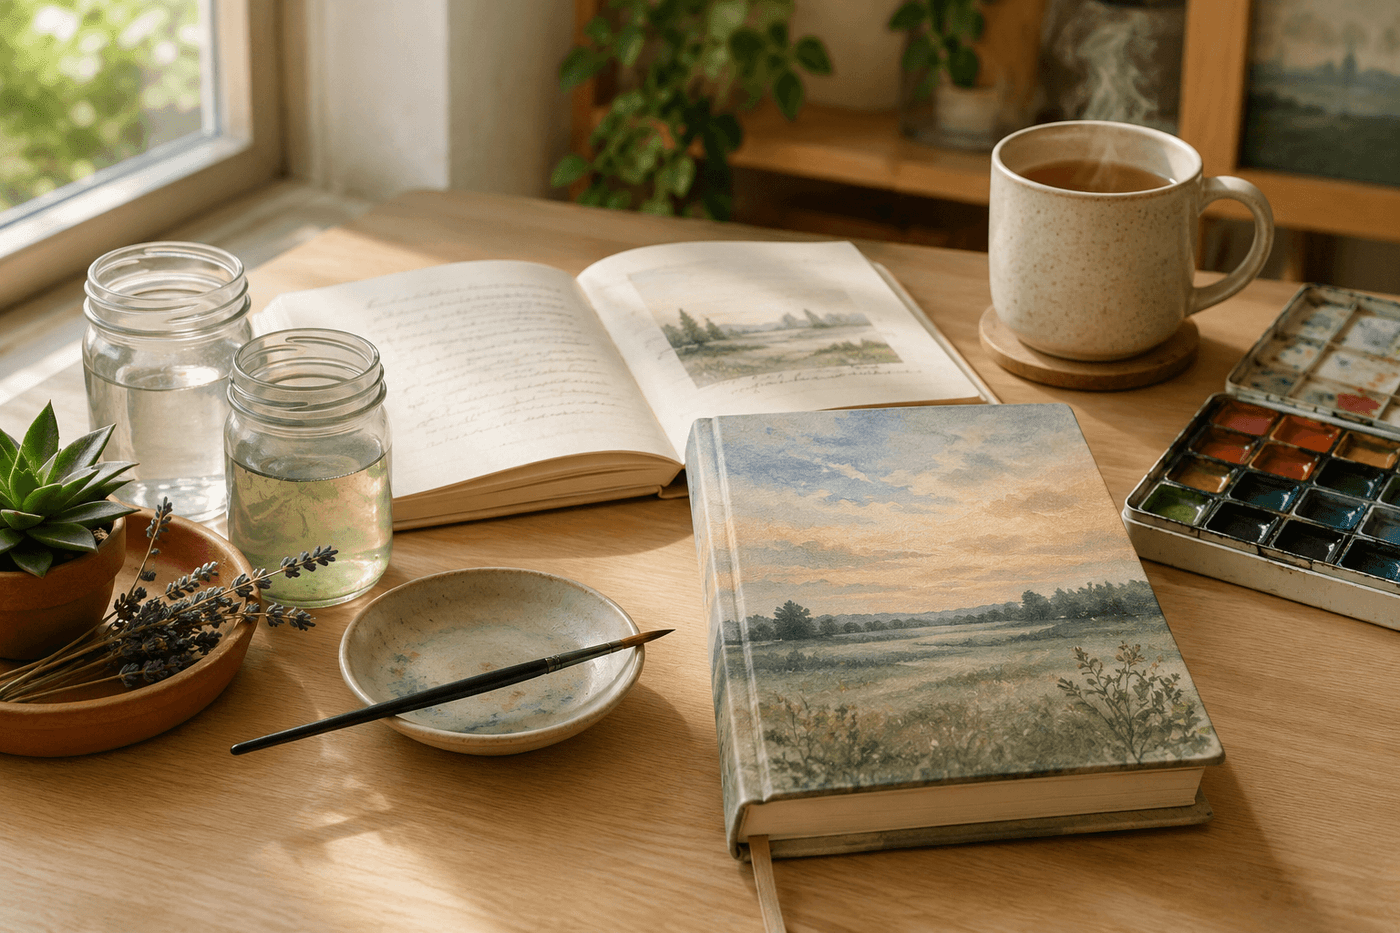
There is something about writing in a journal you made yourself that is categorically different from writing in one you bought — the practice feels more intentional, more personal, and somehow more worth keeping up. This project pairs two things that are independently good for your nervous system: the slow, meditative process of painting a watercolor landscape with no deadline and no audience, and the daily habit of writing down what you are grateful for, which has more research behind it than almost any other simple wellbeing practice. You spend an afternoon painting covers for one or several journals, setting up the interior pages with gentle prompts and section dividers, and end up with something handmade and genuinely beautiful that you will want to return to every morning. The watercolor portion requires no prior painting experience — the loose, wet-on-wet landscape technique used here is specifically forgiving of imperfection and produces results that look intentional and lovely even when they surprise you. Total cost runs about $25–30 sourcing everything from scratch, and several of the supplies carry over into future projects.
What You'll Need
- Blank hardcover journal — look for one with a smooth, slightly textured cover that accepts paint; Leuchtturm1917 or Moleskine hardcovers work well (~$12–16)
- Watercolor paint set — a basic 12-pan set is more than sufficient; Winsor & Newton Cotman or similar student-grade sets produce beautiful results (~$8–12)
- Watercolor brushes — two sizes: a medium round (size 6–8) for washes and a fine liner (size 1–2) for detail work (~$5–8 for a basic set)
- Two jars of clean water — one for rinsing brushes, one for mixing; keeping them separate preserves color clarity throughout the session
- Watercolor medium or gesso — a thin coat of gesso primes the journal cover to accept watercolor without the paint beading or soaking in unevenly (~$6–8)
- Mod Podge or matte varnish spray — for sealing the finished painted cover against handling and moisture (~$5–8)
- Fine-tip pen or brush pen — Micron 05 or similar archival ink pen for adding lettering or fine details over dried paint (~$3–4)
- Ruler and pencil — for lightly marking interior page sections and prompt areas before writing
- Washi tape — optional, for creating clean borders on interior divider pages or decorative section markers (~$3–5)
How to Make It
- Prime the journal cover with a thin, even coat of gesso applied with your medium brush and allowed to dry fully — at least 30 minutes, or speed it along with a hairdryer on low. This step is what allows watercolor to flow and bloom on the cover surface rather than beading up or soaking in unevenly; skipping it is the most common reason painted journal covers look flat and disappointing rather than luminous.
- Plan your landscape loosely before touching brush to cover — a horizon line in the lower third of the cover, sky taking up the upper two-thirds, and one or two simple elements like distant hills, a tree line, or a body of water is all the composition you need. Watercolor landscapes work best when they are simple; complexity fights the medium rather than working with it.
- Wet the entire cover surface with clean water using your medium brush before applying any paint — this is the wet-on-wet technique that produces the soft, blooming edges characteristic of watercolor skies. Work quickly so the surface stays uniformly damp; painting wet color onto a surface that has dried in patches creates hard lines exactly where you want soft gradients.
- Paint the sky first by touching your loaded brush to the damp surface and allowing the color to spread and bloom on its own — pale blue at the top deepening toward the horizon, or warm peach and gold for a sunset landscape. Resist the urge to overwork wet watercolor; set your color down, let it move, and leave it alone. The most beautiful passages in watercolor are almost always the ones the painter stopped touching.
- Add the landscape elements once the sky is fully dry — a soft horizon line of distant hills in muted blue-green, a suggestion of a meadow or water in the foreground, a simple tree silhouette at one side. Keep edges soft by working on slightly damp paper for middle-distance elements and reserving crisp edges only for the closest foreground details, which creates natural depth and atmosphere.
- Letter any title, your name, or a short phrase onto the cover once the paint is completely dry, using your fine-tip archival pen or brush pen. Keep lettering minimal — a single word or short phrase in simple handwriting reads as more intentional than elaborate calligraphy attempted for the first time, and the painting itself should remain the visual focal point of the cover.
- Seal the finished cover with two light coats of matte varnish spray or a thin brushed coat of Mod Podge, letting each coat dry fully before the next. This protective layer is what allows the journal to be handled daily without the painted surface scuffing or lifting at the edges — an unsealed watercolor cover looks beautiful for approximately one week of regular use before showing wear.
- Set up the interior pages while the final seal coat dries — lightly pencil a simple daily prompt structure at the top of alternating pages: three things you are grateful for, one small moment that was good, one thing you are looking forward to. Keep prompts gentle and specific rather than ambitious; a practice that takes three minutes every morning is infinitely more sustainable than one that requires twenty, and sustainability is the entire point.
Art therapists and mindfulness practitioners who use journaling as a structured therapeutic tool consistently recommend one interior design choice that significantly increases how often people return to a gratitude practice: leave the first five pages completely blank and begin your dated entries on page six. The blank opening pages remove the psychological pressure of the first entry being permanent and visible every time the journal is opened, which is one of the most commonly cited reasons people abandon new journals after a week. Those first pages can be used later for pressed flowers, painted color swatches, favorite quotes, or left empty indefinitely — their purpose is purely to create a buffer between the beautiful cover and the vulnerability of beginning. Bookbinding artists who design therapeutic journals call this the "permission space," and its presence or absence has a measurable effect on whether a journal becomes a sustained practice or a beautiful object that sits unused on a shelf.














