
Fold-Away Desk: A Workspace That Disappears
A fold-down desk isn't held up by the hinge — it's held up by the brackets underneath, and getting that division of labor backwards is exactly how this project fails.
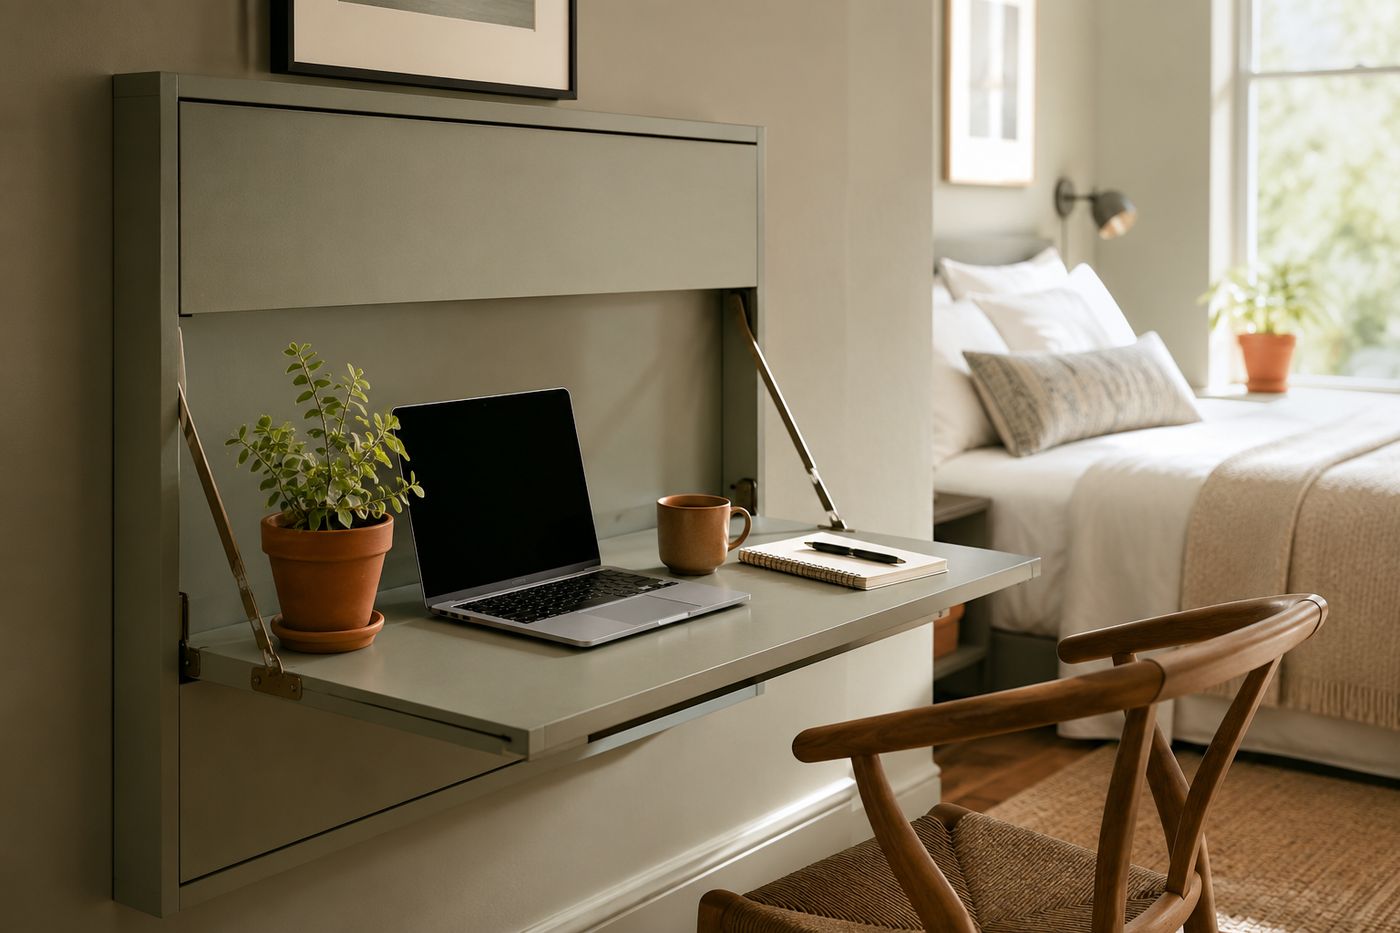
A piano hinge running along the back edge of a fold-down desk is doing exactly one job: letting the surface pivot. It isn't rated to bear the downward weight of a laptop, elbows, and a coffee cup pressing on the far edge of the desk, and treating it as load-bearing hardware is the single most common reason these builds fail — the hinge eventually bends or pulls loose from the wall under weight it was never meant to carry. The actual weight-bearing work belongs entirely to the folding shelf brackets mounted underneath, which lock rigidly into place when the desk opens and transfer that load straight down into the wall studs instead of asking a hinge to do it. Understanding that division — hinge for motion, brackets for weight — is what separates a desk that holds up for years from one that sags or fails within months. Get that right, along with solid stud placement for every mounting point, and the rest of the build is straightforward: about $45 in materials and roughly three hours including layout time.
What You'll Need
- Solid wood panel, cut to your desired desk size (24" deep x 36" wide works well for a laptop and notebook) — about $22
- Heavy-duty continuous piano hinge, sized to the width of the desk panel — about $10
- Two folding shelf brackets (also called drop-down or table leg brackets), rated for the weight you plan to put on the desk — about $10
- Wall mounting hardware (lag screws or wood screws rated for stud mounting) — about $3
- Stud finder
- Level
- Drill/driver
- Sandpaper, for smoothing the desk panel edges
- Paint, matched to your wall color if you want the closed desk to disappear visually — about $5 if not already on hand
How to Build It
- Locate wall studs across the full width of where the desk will mount, marking each one clearly — every mounting point, hinge and brackets alike, needs to land on solid framing rather than drywall alone.
- Sand and finish your wood panel before mounting anything, since it's far easier to paint or seal it flat on a table than after it's hinged to the wall.
- Attach the piano hinge along the back edge of the desk panel, then mount the other side of the hinge to the wall at your chosen height, checking level carefully before driving final screws.
- Mount the two folding shelf brackets to the wall studs beneath the desk panel, positioned to support the desk near its front outer edges rather than close to the hinge, where they'll do the least good.
- Attach the top of each folding bracket to the underside of the desk panel according to the bracket's hardware instructions.
- Test the fold-down motion several times before loading any weight onto the desk, confirming the brackets lock securely into the open position and fold flush when closed.
- Check that the desk sits level when open, adjusting bracket mounting if one side sits noticeably higher or lower than the other.
- Fold the desk down and confirm it sits flush against the wall when closed, with no gap or protrusion that would catch on clothing or furniture in the room.
Space-planning designers who work with small multi-purpose rooms often paint a fold-away desk the exact same color and sheen as the surrounding wall, rather than treating it as a piece of furniture that happens to fold, because matching the finish makes the closed desk read as architectural millwork instead of an obvious appliance bolted to the wall. That single finish decision is often what separates a fold-down desk that feels like a compromise from one that feels like the room was designed around it from the start.














