
Etched Glassware: One Seal Makes It Permanent
A crisp etched pattern and a blurry, bled-out one come down to the exact same variable: whether the stencil edges were actually sealed before the cream ever went on.
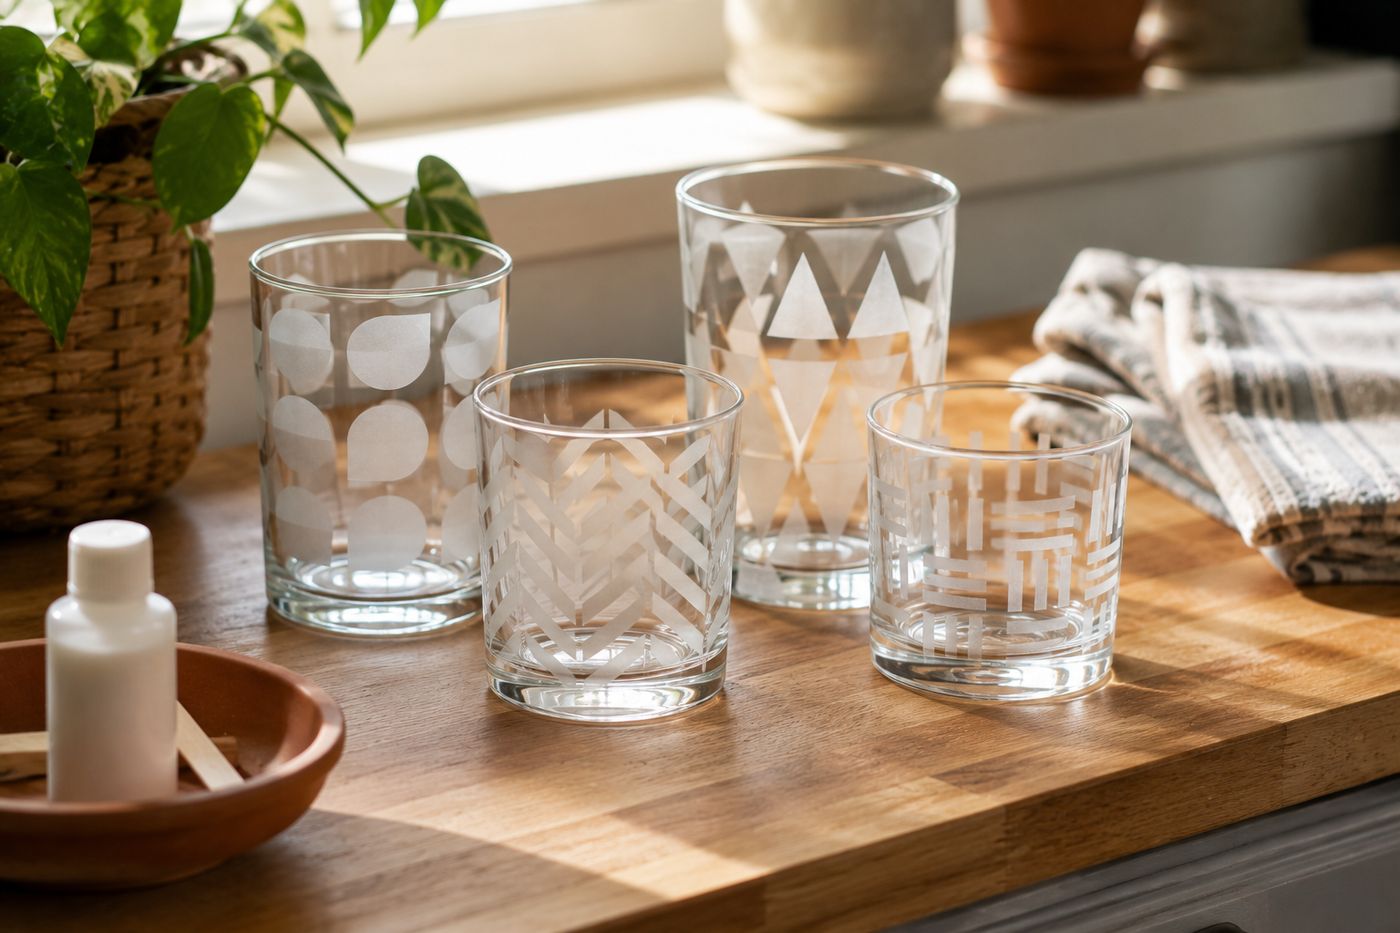
Etching cream doesn't know where your design is supposed to stop — it etches every bit of glass it touches, which means the stencil isn't just a guide, it's the only thing physically preventing the cream from creeping under the edges and blurring your clean lines into a fuzzy, uneven frost. The distinction between an etched glass that looks professionally done and one that looks smudged comes down entirely to how firmly every edge of the stencil is pressed down and sealed before any cream is applied — a single lifted corner is enough to let cream seep underneath and ruin that section of the design permanently, since etching can't be undone once it happens. Rubbing alcohol before stenciling matters for the same reason: any leftover oil or residue on the glass keeps the stencil from adhering fully flat. Get both of those right, and the rest of the process is nearly foolproof. One $10 bottle of etching cream does dozens of glasses, and each one becomes a permanent, dishwasher-safe design in about 15 minutes of working time.
What You'll Need
- Clear drinking glasses, thrifted or from your own cabinet — often free or a couple dollars each secondhand
- Glass etching cream — about $10, enough for dozens of projects
- Adhesive stencils (store-bought, or cut your own from adhesive vinyl or contact paper) — about $5-8
- Rubbing alcohol and a clean cloth, for degreasing the glass before stenciling
- Disposable gloves
- Craft stick or small brush, for applying the etching cream
- Timer
How to Do It
- Clean the glass thoroughly and let it dry fully, then wipe the area you'll be etching with rubbing alcohol to remove any leftover residue or oil that could keep the stencil from sticking flat.
- Choose or cut your design — a monogram, geometric pattern, botanical shape, dots, or stripes — from adhesive stencil material.
- Press the stencil firmly onto the clean, dry glass, running a fingernail or craft stick along every edge to make sure it's fully sealed — this is the step that actually determines whether your design comes out crisp, so don't rush past it.
- Put on gloves before opening the etching cream, since it's a caustic product that shouldn't contact bare skin.
- Apply a thick, even layer of etching cream over the exposed design area with a craft stick or brush, making sure the cream fully covers every part of the design with no thin spots.
- Let the cream sit according to the product's directions, typically 5-15 minutes — leaving it on longer than directed doesn't necessarily etch deeper and can risk uneven results.
- Rinse the cream off thoroughly under running water until no residue remains, keeping gloves on throughout this step.
- Remove the stencil once the glass is fully rinsed and dry, revealing the permanent frosted design underneath.
Glass artists who etch custom gift sets often do a single test etch on the underside of a glass's base before committing to the visible design, since etching cream can behave slightly differently across glass thickness and composition, and a base test reveals the actual frost intensity you'll get without risking a mistake on the visible surface everyone will see.














