Clean Shower Doors and Tracks in 20 Minutes for Free
Warm vinegar, dish soap, and a toothbrush — the soap scum and track grime that have been building all season are gone before lunch
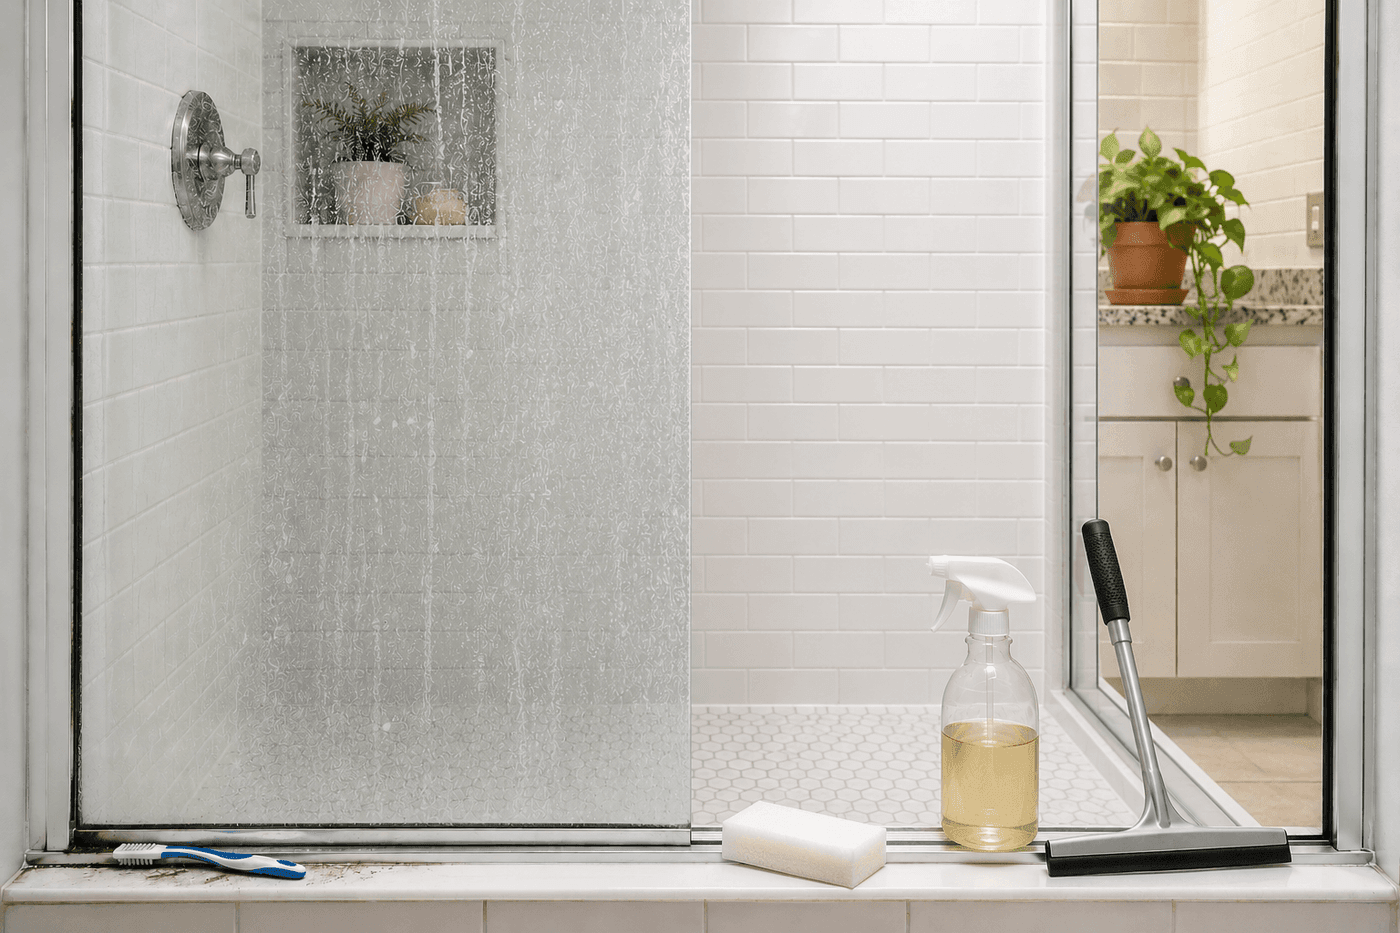
Shower door glass and tracks have a specific failure mode that makes them particularly hard to address: the haze and grime accumulate so gradually that the eye adjusts to the diminished clarity and stops registering it as a problem — and then you actually clean them, and the bathroom transforms so dramatically that you cannot believe you let it get that way. Warm vinegar mixed with dish soap does chemistry that commercial shower cleaners replicate at significant markup: the acid in the vinegar dissolves mineral deposits and soap scum, the surfactant in the dish soap lifts and suspends the dissolved material so rinsing actually removes it rather than redistributing it across the glass surface. A ten-minute contact time, a non-scratch sponge, and a squeegee finish — the glass goes from opaque to transparent in twenty minutes of straightforward work. The track is the part most people skip and the part that makes the bathroom smell vaguely unpleasant regardless of how clean everything else is; a toothbrush and the same solution addresses it in the same session.
What You Need
- White distilled vinegar — warmed in the microwave for sixty seconds before mixing; warm vinegar dissolves mineral deposits and soap scum significantly faster than cold vinegar, and the difference in contact effectiveness between cold and warm vinegar on a well-established soap scum layer is visible in the first minute of contact (~$3 for a large bottle)
- Dish soap — one to two tablespoons mixed with the warm vinegar in a spray bottle; the surfactant in dish soap is what allows the dissolved soap scum to be rinsed away cleanly rather than redistributed across the glass in a thin film that produces streaking
- Spray bottle — for applying the vinegar and dish soap solution evenly across the full door surface; a spray bottle delivers the solution as a fine mist that clings to vertical glass surfaces during the ten-minute contact period rather than running immediately to the bottom
- Non-scratch sponge or scrubbing pad — white or yellow non-scratch pads only; green scrubbing pads scratch glass shower doors and create micro-abrasions that trap soap scum more readily than smooth glass, making future cleaning progressively harder (~$2–4 for a pack)
- Old toothbrush — the essential track cleaning tool; no other implement accesses the corners and channel geometry of a shower door track as effectively as toothbrush bristles working the vinegar solution into every crevice
- Squeegee, 10–12" width — for the streak-free final pass after rinsing that produces the clear, transparent finish that distinguishes a properly cleaned shower door from one that was simply rinsed (~$5–8 if you don't own one, or use the shower squeegee you should already keep hanging in the shower)
- Baking soda — for stubborn mineral deposit spots that resist the vinegar solution after the standard contact time; a paste of baking soda and a few drops of water applied directly to resistant spots and allowed to sit for five minutes before scrubbing dissolves deposits that the spray solution couldn't fully address in the standard contact period
How to Do It
- Warm the vinegar in the microwave for sixty seconds before mixing — pour half a cup into a microwave-safe cup, heat until warm but not boiling, then pour into the spray bottle and add one to two tablespoons of dish soap. Close the spray bottle and swirl gently rather than shaking, which creates foam that reduces the effectiveness of the spray application and makes the solution difficult to spray evenly across the door surface.
- Spray the vinegar solution generously across the full door surface — both sides if accessible, paying extra attention to the lower third where soap scum is typically heaviest from body wash and shampoo runoff. Hold the spray bottle four to six inches from the glass and work from top to bottom so the solution runs downward over areas not yet sprayed rather than across already-sprayed areas where it would disturb the surface contact before the ten minutes has elapsed.
- Allow the solution to sit on the glass surface for a full ten minutes without touching it — set a timer and use the wait time to spray the door tracks with the same solution so both the glass and the tracks are soaking simultaneously. The ten-minute contact time is what differentiates a cleaning that actually dissolves soap scum from one that merely wets it and wipes it around; soap scum is a combination of calcium soap formed from hard water minerals and body oils that requires acid contact time to break the chemical bonds that hold it to the glass surface.
- Scrub the door surface with the non-scratch sponge using firm circular motions, working from top to bottom and paying particular attention to the door edges, corners, and any metal framing where soap scum builds up in geometric ridges that are harder to dissolve than the flat-surface buildup. Press the sponge firmly against the glass rather than using light wiping strokes — the physical scrubbing action removes the loosened soap scum that the vinegar contact has broken down, and light pressure leaves behind the material that the acid has partially but not fully dissolved.
- Apply baking soda paste to any spots that remain hazy or show white mineral deposit halos after the standard scrubbing pass — mix a small amount of baking soda with just enough water to form a thick paste, press it directly onto the resistant spot with a fingertip, and allow it to sit for five minutes before scrubbing with the sponge. Baking soda's mild abrasive quality adds mechanical cleaning action to the chemical dissolving action of the residual vinegar and removes deposits that the spray solution couldn't address in the standard contact period.
- Work the toothbrush into every section of the door track while the glass soaking time is running — scrub along the full channel length, into every corner where the horizontal and vertical track sections meet, and around any drain holes or weep slots in the track bottom where debris and mildew compact most densely. The track corner intersections are where the most concentrated mildew growth typically lives and where the toothbrush bristle tip is the only tool narrow enough to reach all the way into the corner geometry.
- Rinse the door glass thoroughly with the hottest shower water available, running it from top to bottom until the water runs completely clear with no soap bubbles or hazy residue visible in the runoff. Hot water keeps dissolved soap scum in suspension and carries it down the drain; cold rinse water allows it to re-deposit on the glass surface in a thin film that causes streaking even on a glass that was fully cleaned during the scrubbing phase.
- Squeegee the glass immediately after rinsing — starting at the top corner and drawing the squeegee blade in overlapping vertical strokes from top to bottom across the full door width, wiping the blade dry with a cloth between each stroke. The squeegee pass is what produces the crystal-clear, streak-free transparency that distinguishes a properly cleaned shower door from one that was merely rinsed; water allowed to air-dry on glass always leaves a mineral residue ring at the water's edge that recreates the haze within hours of cleaning.
Professional home stagers who prepare bathrooms for listing photography always apply a coat of Rain-X or a similar hydrophobic glass treatment to the shower doors immediately after the final squeegee pass — the same product designed to cause water to bead and sheet off car windshields works identically on shower glass, causing every subsequent shower's water to roll off the door surface rather than forming the flat pools that evaporate into mineral deposits. A single application of hydrophobic glass treatment after a thorough cleaning extends the interval before the next required cleaning from two to four weeks to two to three months, and the treatment application takes about three minutes and costs about $8 for a bottle that treats every glass surface in the bathroom multiple times over. It is the maintenance investment that professional stagers describe as the single highest-return product for bathroom appearance maintenance.