Clean and Maintain Your Kitchen Disposal in 15 Minutes for Free
Baking soda, ice, citrus peels, and fifteen minutes — the disposal that smells and performs like it was just installed
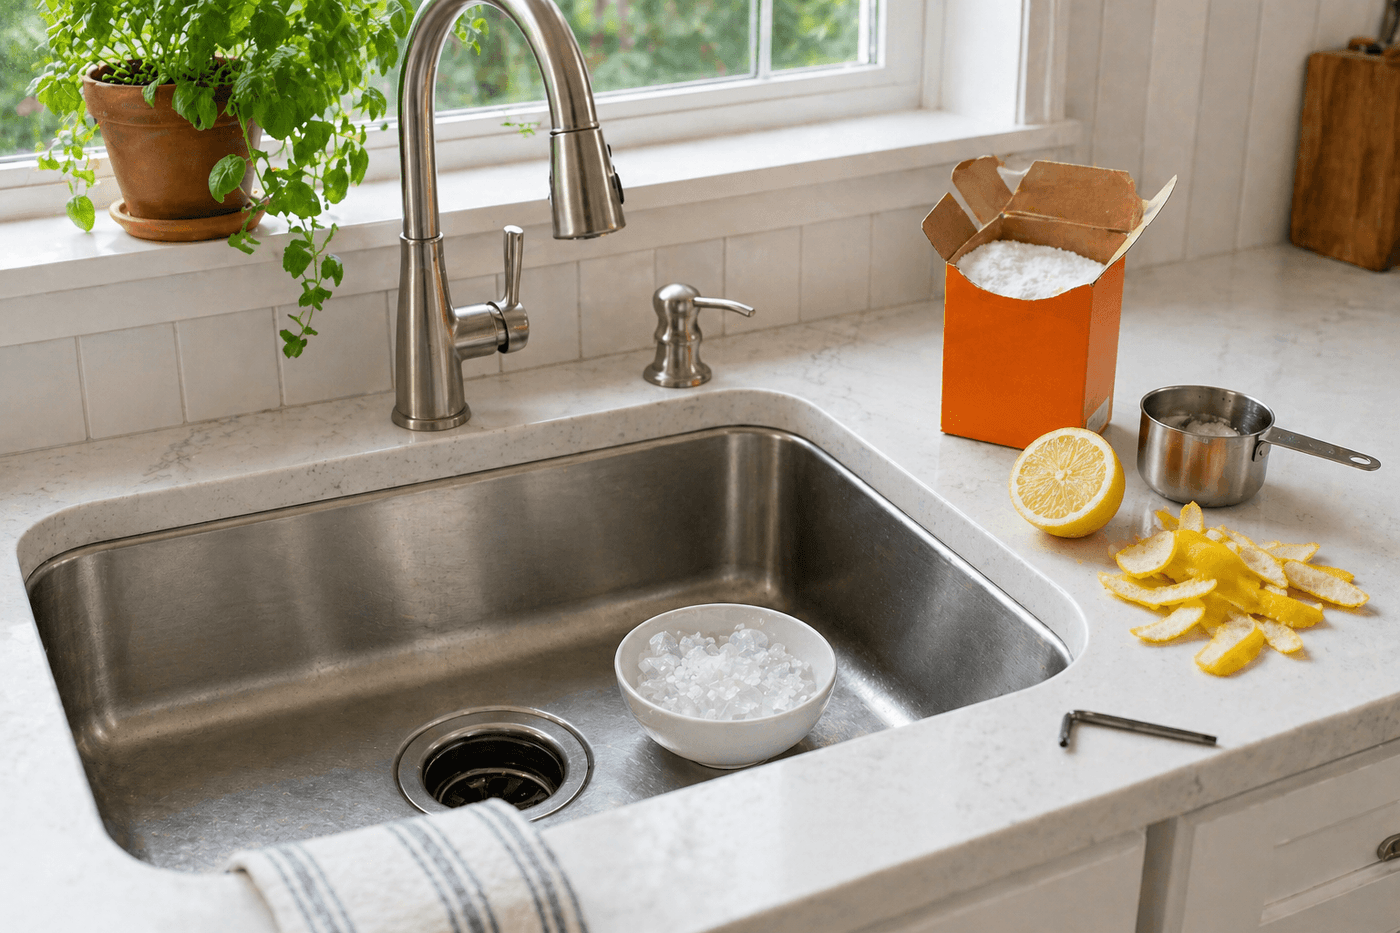
A kitchen disposal that has gone too long without maintenance announces itself in two unmistakable ways: a sour, unpleasant smell rising from the drain every time water runs near it, and a sluggish grinding performance that takes longer and sounds worse than it used to. Both problems have the same cause — accumulated food residue and grease coating the grinding components and the rubber splash guard — and both are resolved with the same fifteen minutes of attention using ingredients already in the kitchen. The baking soda and vinegar fizzing treatment lifts organic buildup from surfaces water and soap can't reach; the ice and rock salt grind cleans and restores the grinding components' mechanical performance; and the citrus peel finish leaves the whole unit and the surrounding drain smelling genuinely clean rather than merely less unpleasant. Monthly maintenance that takes fifteen minutes prevents the gradual decline that makes a disposal seem like it needs replacement when it actually just needs attention.
What You Need
- Baking soda — ½ cup per cleaning; the mild alkaline base that neutralizes the organic acids causing disposal odors and provides gentle abrasion to lift residue from interior surfaces
- White vinegar — 1 cup per cleaning; reacts with baking soda to produce the fizzing action that mechanically dislodges buildup from surfaces the baking soda alone can't scrub (~$3 for a large bottle)
- Ice cubes — 2 cups per cleaning; the primary mechanical cleaning agent for the grinding components; as the disposal grinds ice, the frozen water scours the grinding ring and impeller surfaces more effectively than any liquid cleaner
- Rock salt or coarse kosher salt — 1 cup per cleaning; mixed with ice, provides additional abrasive action that removes the grease and food residue that plain ice grinding leaves behind (~$2–3 for a box)
- Citrus peels — lemon, lime, or orange rinds cut into 1-inch pieces; the citrus oils in the rind coat the grinding surfaces and drain walls with a natural deodorizing agent that outlasts any spray freshener and eliminates rather than masks odors
- Allen wrench, ¼" size — for manually freeing a jammed disposal motor through the hex socket on the disposal's bottom center; most disposals ship with the correct wrench attached to the unit, or it can be found in any standard Allen wrench set (~$5–8 for a complete set if not already owned)
- Flashlight or phone torch — for inspecting inside the disposal opening before any manual jam-clearing attempt; never insert hands or tools into a disposal without visually confirming the unit is powered off and the grinding components are stationary
How to Do It
- Start with the baking soda and vinegar treatment — pour ½ cup of baking soda directly into the disposal drain opening, distributing it around the drain rather than dumping it in a single pile in the center, then pour 1 cup of white vinegar slowly over the baking soda. The immediate fizzing reaction is the acetic acid in the vinegar reacting with the alkaline baking soda to produce carbon dioxide bubbles that mechanically agitate and lift organic residue from surfaces that water pressure and soap cannot reach. Allow the fizzing to work for a full ten minutes rather than flushing immediately — the extended contact time is what makes this treatment effective beyond the surface of the drain opening.
- Flush the disposal with the hottest tap water available after the ten-minute treatment period, running it for a full thirty seconds to clear the loosened residue through the drain. Hot water is specifically required rather than cold at this stage — cold water re-solidifies the grease that the baking soda treatment has just emulsified, while hot water keeps it in solution and carries it out of the disposal chamber and into the drain line where it belongs.
- Combine two cups of ice cubes with one cup of rock salt in a bowl before beginning the grinding treatment — mixing them together before adding to the disposal ensures the salt distributes throughout the ice mass rather than settling to the bottom of the disposal chamber before the grinding begins. Turn the disposal on with cold water running at full pressure, then feed the ice and salt mixture into the opening steadily rather than dumping it all at once, which can overload the grinding mechanism on units with accumulated buildup.
- Run the disposal until all the ice is ground completely and the sound returns to the clean, even grinding tone of a well-maintained unit — typically thirty to forty-five seconds of grinding time. The grinding sound of a clean disposal is distinctly different from the dull, labored sound of a buildup-coated unit, and the sound difference at the end of the ice grind is the most reliable indicator of whether the treatment was effective or whether a second ice grind pass would be beneficial.
- Feed the citrus peels into the running disposal with cold water flowing, working them in gradually over fifteen to twenty seconds. The citrus oils released during grinding coat the inner surfaces of the disposal chamber and the rubber splash guard with a natural deodorizing agent that continues releasing fresh scent with each subsequent use of the sink — unlike spray deodorizers, which mask odors temporarily, citrus oil treatment eliminates the odor source and improves the smell of the unit with every activation over the following days.
- Address a humming but non-spinning disposal by first cutting power at the circuit breaker before touching anything — confirm power is off by attempting to turn the unit on and confirming it produces no sound or movement whatsoever. A humming disposal that won't spin has a jammed grinding plate, and attempting to clear the jam with power present is the most common cause of serious disposal-related injuries. Never insert hands into the disposal opening under any circumstances, even with power confirmed off.
- Insert the ¼-inch Allen wrench into the hex socket at the center bottom of the disposal unit — located on the underside of the unit beneath the sink — and rotate it back and forth with firm, even pressure until you feel the resistance release and the wrench moves freely through a complete rotation in both directions. The object causing the jam will often dislodge and fall to the disposal chamber floor during this process; remove it through the drain opening with tongs or needle-nose pliers after the jam is cleared, never by hand.
- Restore power at the breaker after removing the Allen wrench, then press the red reset button located on the bottom of the disposal unit — this button trips automatically during motor overload events like jamming and must be manually reset before the disposal will operate again. Run cold water and test the disposal; a successfully unjammed unit will start immediately and run cleanly. If the unit hums again without spinning after the reset, repeat the Allen wrench rotation process, as additional material may still be obstructing the grinding plate.
Licensed plumbers who service residential disposals always recommend cleaning the rubber splash guard — the black rubber flap covering the drain opening — as a separate step that most homeowners never address, because the underside of the splash guard accumulates a dense layer of food residue and grease that no amount of flushing, fizzing, or grinding reaches. They lift each flap of the splash guard and scrub the underside with an old toothbrush dipped in dish soap, which removes the primary source of disposal odors that persist even after a thorough cleaning treatment. The splash guard is the surface closest to nose level when standing at the sink, and a clean splash guard underside eliminates the sour smell rising from the drain more effectively than any treatment applied inside the disposal unit itself.