Boot Scraper Stand: Mud Stops Here for $15
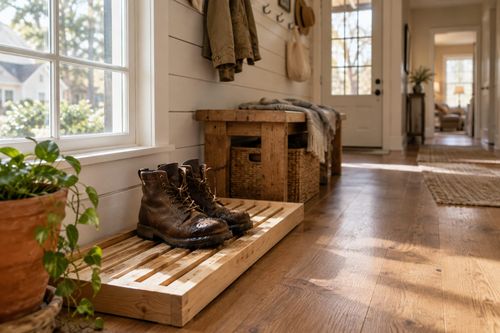
A cedar base, two side blocks, a stiff brush mounted bristles-up, and a scraper edge at the front — and the mud that has been tracking through the back door finally has somewhere to stop.
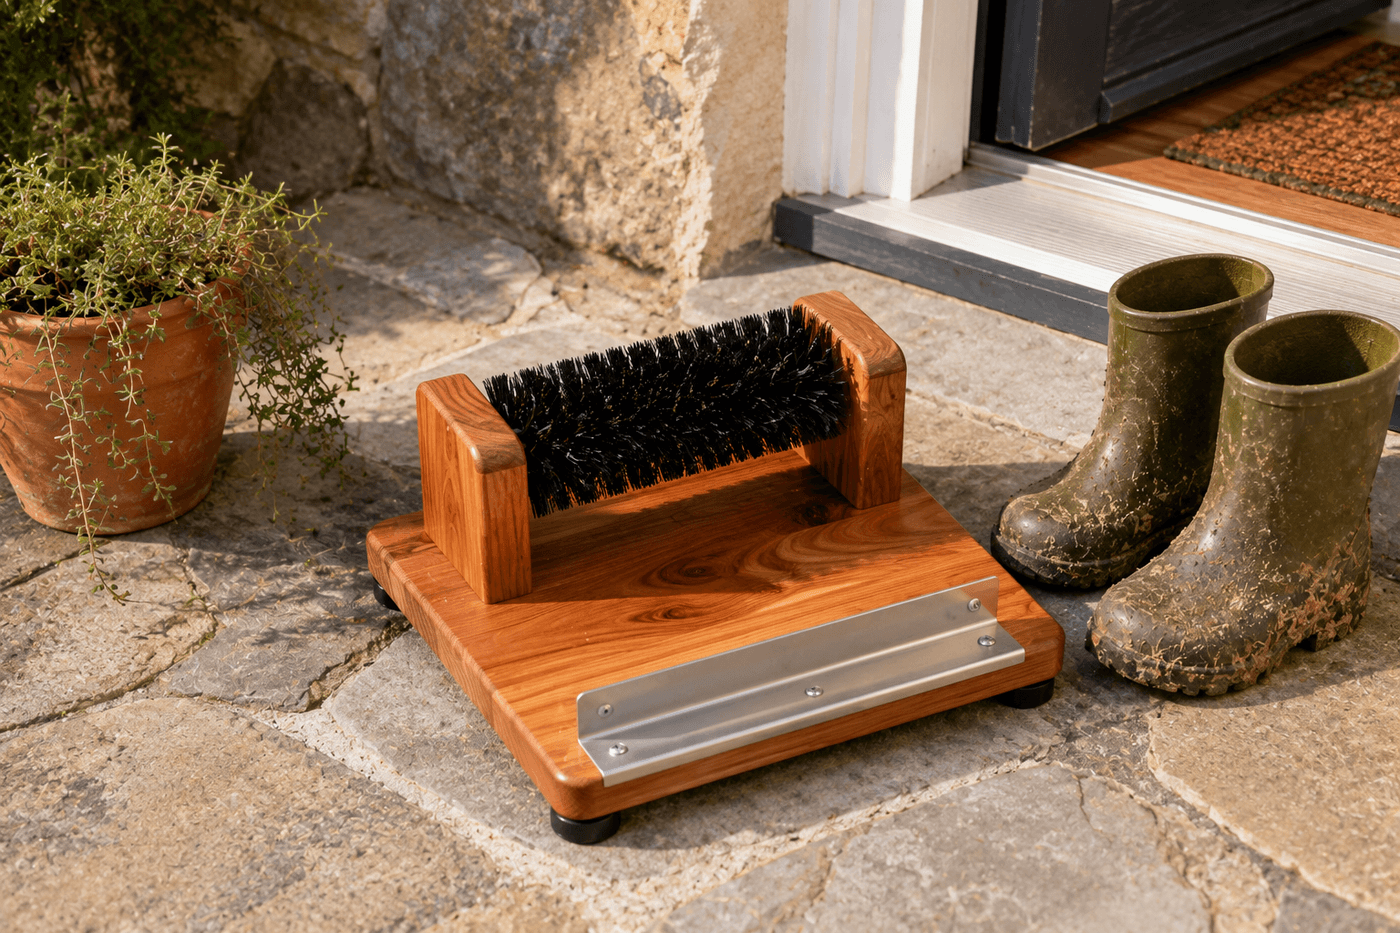
Every gardener, dog walker, and anyone who spends meaningful time outdoors eventually reaches the same moment of resignation — standing at the back door with muddy boots, balancing on one foot to remove them, tracking the mud that was on the boot sole onto the floor mat that was supposed to prevent exactly that. A boot scraper stand positioned at the door before entry eliminates this entirely: scrape the large mud chunks off the sole on the front edge, drag each boot sole back and forth across the bristles to dislodge the embedded grit, and walk inside with boots that are clean enough to stay on. The woodworking build is straightforward — a cedar base platform, two small side blocks that hold the brush at the correct height, a stiff replacement brush mounted bristles-up between them, and a metal scraper edge at the front for the initial knock-off step. The whole thing is sized to sit stable under foot pressure, sealed with exterior polyurethane to handle years of outdoor exposure and direct water contact, and costs $12–18 in lumber and a replacement brush head. It is the outdoor tool that earns its place every single time muddy boots approach the back door and the floor inside stays clean.
What You'll Need
- 2x8 cedar board, 14 inches — for the base platform; the 7¼-inch actual width of a 2x8 provides a stable, non-tipping base for the scrubbing motion; cedar weathers outdoors without rot treatment and does not become slippery when wet the way treated pine can; cut from a longer board or purchased as a short offcut (~$4–5)
- 2x4 cedar board, 12 inches — for the two side blocks that hold the brush; each block is cut to approximately 4 inches tall, which positions the brush bristles at the correct height to contact boot soles without requiring the user to lift their foot off the base platform during scrubbing (~$2–3 for a short offcut)
- Replacement deck brush head or stiff-bristled scrub brush — the functional core of the scraper; choose a brush with bristles stiff enough to dislodge embedded grit from boot sole tread rather than merely bending under pressure; a replacement deck brush head from the hardware store in the 10–12 inch width range fits most base platform widths and provides the correct bristle stiffness for boot scraping (~$8–12)
- Metal L-bracket or flat bar steel, 10-inch length — for the front scraper edge that knocks off large mud chunks before bristle scrubbing; a 1½-inch L-bracket mounted with the upright edge facing forward provides an effective scraper surface; flat bar steel bent at 90 degrees works equally well; both are available at hardware stores in pre-cut lengths (~$3–5)
- Exterior wood screws, 1¼" and 2" — 2-inch for attaching side blocks to the base platform; 1¼-inch for securing the brush to the side blocks and the L-bracket to the base front edge; stainless or coated exterior screws prevent rust staining on cedar in an outdoor wet environment
- Exterior polyurethane, semi-gloss or satin — three coats on all wood surfaces; a boot scraper receives more direct water contact than almost any other outdoor wood object and requires thorough sealing on all faces including the base bottom that contacts the patio surface (~$8–10 for a small can covering this project with significant left over)
- Non-slip rubber feet or router mat material — attached to the base bottom to prevent the stand from sliding during the pushing and pulling motion of boot scrubbing; without non-slip feet, the scraper slides rather than holds position and the scrubbing motion becomes ineffective (~$3–5 for adhesive rubber feet from the hardware store)
- Sandpaper, 80- and 220-grit — for smoothing the base and side block surfaces before finishing; particularly the top edges of the base platform where hands may contact during boot removal
- Circular saw or miter saw, drill, and impact driver
How to Build It
- Measure the brush head before cutting any lumber — the spacing between the two side blocks is determined entirely by the width of the brush base, and a side block spacing that is too wide allows the brush to wobble during use while one that is too narrow prevents the brush from fitting between the blocks at all. Measure the brush base width precisely and add ⅛ inch on each side for the clearance that allows the brush to be removed for cleaning or replacement without requiring the blocks to be disassembled.
- Cut the base platform to 10x14 inches from the 2x8 cedar — the 14-inch length runs front to back, providing enough depth for both the scraper edge at the front and the brush in the center with a small clear area at the back where the boot heel rests during scrubbing. The 10-inch width accommodates most boot widths with a small margin on each side for the side block attachment area. Confirm both cuts are square before proceeding; a base that is not square produces a finished scraper that rocks rather than sitting flat on the patio surface.
- Cut two side blocks at 4 inches tall from the 2x4 cedar — both blocks must be cut to identical height for the brush to sit level between them; cut both from the same board position when possible to ensure matching grain orientation. Sand both block faces and all edges through 80- and 220-grit at this stage when all surfaces are accessible; the inside faces of the blocks are partially inaccessible once they are installed on the base platform.
- Sand the base platform through 80- and 220-grit and apply three coats of exterior polyurethane to all surfaces of all wooden components before assembly — individual flat boards and blocks finish completely and efficiently on all faces; the same surfaces after assembly have corners, joints, and screw heads that prevent consistent brush contact. The base bottom specifically benefits from three full sealer coats since it will sit in contact with wet patio surfaces continuously.
- Position the two side blocks on the base platform — centered front to back with the brush-width spacing between them — and confirm their position by temporarily placing the brush between them before driving any screws. The blocks should be positioned so the brush sits in the center third of the base platform length, leaving the front third clear for the scraper edge installation and the back third as the heel-rest area where the boot is positioned at the start of each scraping stroke.
- Attach the side blocks to the base platform with two 2-inch screws per block driven through the base platform bottom upward into each block — countersink the screw heads below the base bottom surface so they do not create raised contact points that prevent the base from sitting flat. Confirm both blocks are square to the base surface before tightening the final screws; a block that is angled rather than vertical will grip the brush asymmetrically and allow it to pull free during vigorous scrubbing.
- Mount the brush between the side blocks bristles-up by driving 1¼-inch screws through the outside face of each block into the brush base — position the screws in the lower half of the block where they pass through solid brush base material rather than through the bristle mounting area. Drive two screws per side for secure mounting that resists the lateral forces of vigorous boot scrubbing without the brush shifting or rotating between the blocks during use.
- Install the metal L-bracket scraper edge at the front of the base platform with the upright edge facing forward — the upright provides the vertical surface that the boot sole is dragged against during the initial mud-knock-off step. Position the bracket flush with the front edge of the base platform and secure with screws through the horizontal flange into the base platform top; confirm the upright edge presents a smooth, continuous metal surface without sharp corners or protruding screw heads that could catch on boot material during scraping. Attach non-slip rubber feet to the base bottom at all four corners before placing the finished scraper in position.
Landscape contractors and garden designers who specify boot scraper placements for residential garden entrances consistently recommend one positioning detail that most homeowners overlook and that determines whether a boot scraper is used consistently or bypassed: position the scraper within 18 inches of the door threshold rather than beside the path approaching the door, and orient it so both feet can be scraped without stepping off the scraper between strokes. A scraper placed at the garden gate or at the path beginning requires the user to walk across the patio or path with partially mud-reduced boots before reaching the door, which tracks the residual mud from the path surface to the door in the exact pattern the scraper was meant to prevent. A scraper positioned immediately at the door threshold — close enough that the door can be held or leaned against during single-foot balancing — is used automatically as part of the door entry motion rather than requiring a deliberate detour. Garden designers who position scrapers at the threshold for their residential clients report dramatically higher consistent use than those placed at the path entrance, because threshold placement makes using the scraper the path of least resistance rather than a deliberate additional step in the entry sequence.