Sliding Door Track Clean: Smooth in 20 Minutes
Vacuum, baking soda, vinegar, toothbrush, silicone spray — and a door that's been grinding for months glides like it's brand new.
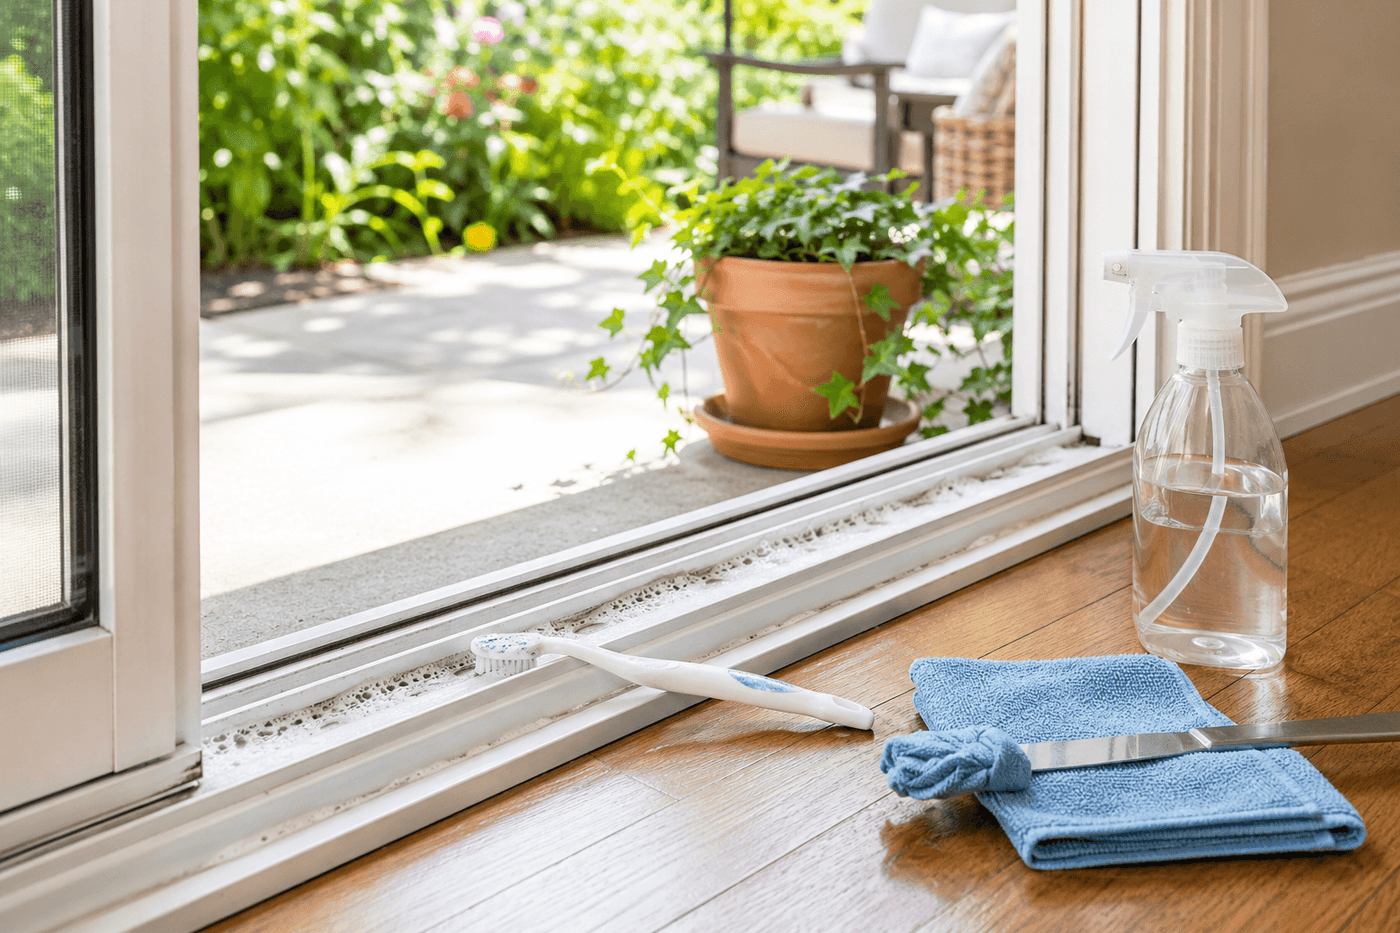
A sliding patio door that requires a full-body shove to open is one of those household friction points — literally — that gets normalized so gradually that most people forget the door ever glided at all. The track underneath collects dirt, leaves, pet hair, and compacted grime with every use and every open window, and that accumulation is almost always the complete explanation for why a door that once slid effortlessly now requires effort and produces an unpleasant grinding sound that can be heard from the next room. Twenty minutes, supplies that are almost certainly already in the house, and the specific combination of baking soda fizzing action plus a toothbrush plus silicone lubricant — not WD-40, which attracts fresh dirt immediately and makes the problem worse within days — restores the kind of effortless glide that makes stepping out to the patio feel like a pleasure rather than a minor workout. This is the Sunday morning task that takes less time than the coffee that's brewing while you do it, costs nothing if you already own silicone spray, and produces an immediate, satisfying result every single time.
What You'll Need
- Vacuum with crevice attachment — the essential first step that removes loose debris before any liquid is applied; skipping the vacuum and going straight to baking soda turns dry dirt into wet paste that is harder to remove than the original grime
- Baking soda — a few tablespoons sprinkled along the full track length; the mild abrasive action combined with vinegar fizzing loosens compacted grime that vacuuming alone cannot shift
- White vinegar in a spray bottle — sprayed over the baking soda to trigger the fizzing reaction that lifts embedded debris from the track groove; the mild acid also neutralizes the alkaline soap scum that bonds grime to metal tracks
- Old toothbrush — for scrubbing the full track length and corners after the fizzing dwell period; the angled head reaches into the track groove more effectively than any other household brush
- Butter knife wrapped in a microfiber cloth — for cleaning the deep inner groove of the track where a toothbrush head is too wide to reach; drag the wrapped knife along the groove length to pull compacted grime out in a single pass
- Damp paper towels or microfiber cloths — for wiping the track clean after scrubbing before the lubricant is applied
- Silicone lubricant spray — the critical finishing step; silicone spray is the correct lubricant for door tracks because it reduces friction without attracting new dirt the way petroleum-based products do (~$4–5 at any hardware store if not already on hand)
- WD-40 — do NOT use — petroleum-based lubricants attract dust and dirt particles immediately after application, which pack into the track groove and produce a gummy residue that makes sliding worse within days rather than better
How to Do It
- Slide the door fully open to expose the complete track length, then vacuum the entire track groove using the crevice attachment — work slowly along the full length and press the nozzle into each corner where dirt compacts most densely. The vacuum step is what determines how much scrubbing work the subsequent steps require; a thoroughly vacuumed track needs one pass of baking soda and a few minutes of scrubbing, while a track with loose debris left in it turns the baking soda and vinegar into a paste that multiplies the cleaning time significantly.
- Inspect the track closely after vacuuming — run your finger along the groove and assess what remains. Dry, loose debris that the vacuum missed can be swept out with the toothbrush before any liquid is applied. Compacted, sticky grime that does not lift with finger pressure is what the baking soda and vinegar treatment is specifically designed to address; applying the treatment to a track that only needed dry brushing wastes the dwell time and adds unnecessary moisture to the track area.
- Sprinkle baking soda generously along the full track length, covering the groove and the flat track surface on both sides — use enough that a visible white coating covers all the grime-bearing surfaces rather than a sparse dusting that makes contact with only a fraction of the dirty area. The baking soda's mild abrasive action does meaningful work even before the vinegar is added, so complete coverage is what produces complete cleaning rather than partial improvement.
- Spray white vinegar from a spray bottle over the baking soda and allow the fizzing reaction to work for five full minutes without disturbing it — the fizzing is the carbon dioxide gas being released as the acid and base react, and the mechanical action of those bubbles forming and releasing is what lifts compacted grime from the track surface at a microscopic level that scrubbing alone cannot achieve on hardened deposits. Set a timer rather than estimating; five minutes is longer than it feels when you're standing there watching bubbles.
- Scrub the full track length with the toothbrush using firm back-and-forth strokes along the groove direction — work from one end of the track to the other in a single continuous pass rather than scrubbing the same section repeatedly, which pushes loosened grime back into sections already cleaned. Apply extra pressure at the corners where the track meets the door frame, where compacted grime is typically most dense and where the toothbrush head needs to be rotated to reach the full corner depth.
- Clean the deep inner groove with the butter-knife-and-microfiber method — wrap a microfiber cloth snugly around the blade tip, press it into the groove, and drag along the full track length in one slow, firm pass. The cloth picks up the compacted grime that the toothbrush bristles pushed into the groove rather than out of it, and this single pass typically reveals a significant additional deposit that explains why the toothbrush scrubbing alone rarely produces the full improvement the complete method does.
- Wipe the entire track clean with damp paper towels or a microfiber cloth, removing all baking soda residue, vinegar, and loosened grime before allowing the track to dry — baking soda residue left in the track groove dries into a white powder that re-packs with the next use and shortens the interval before the track needs cleaning again. Wipe until the paper towel comes away clean rather than stopping after a fixed number of passes.
- Wipe the rollers on the bottom of the door while the track dries — slide the door back and forth slowly and look down at the bottom edge where the rollers contact the track; wipe each visible roller with a damp cloth to remove the grime coating that transfers from a dirty track to the rollers over time and causes the grinding noise that clean rollers on a clean track do not produce. Allow both track and rollers to dry completely — five to ten minutes — before applying lubricant to a wet surface, which dilutes the silicone and reduces its effectiveness.
- Apply silicone lubricant spray along the full track length, holding the nozzle at the groove and spraying a thin, even coat rather than a heavy application that pools in the groove corners — silicone spray works at the surface level and a thin coat lubricates as effectively as a heavy one while attracting less airborne dust. Slide the door back and forth three or four times immediately after application to distribute the silicone across the full roller contact surface; the door should glide with a single-finger push by the second or third pass, which is the confirmation the cleaning and lubrication have fully done their job.