Grimy Grout Fix: Two Ingredients, Two Different Jobs
Scrubbing alone lifts surface dirt but can't touch the deeper staining trapped in porous grout — that second problem needs a bleaching action, which is exactly what the hydrogen peroxide in this paste is doing while the baking soda handles the abrasive work.
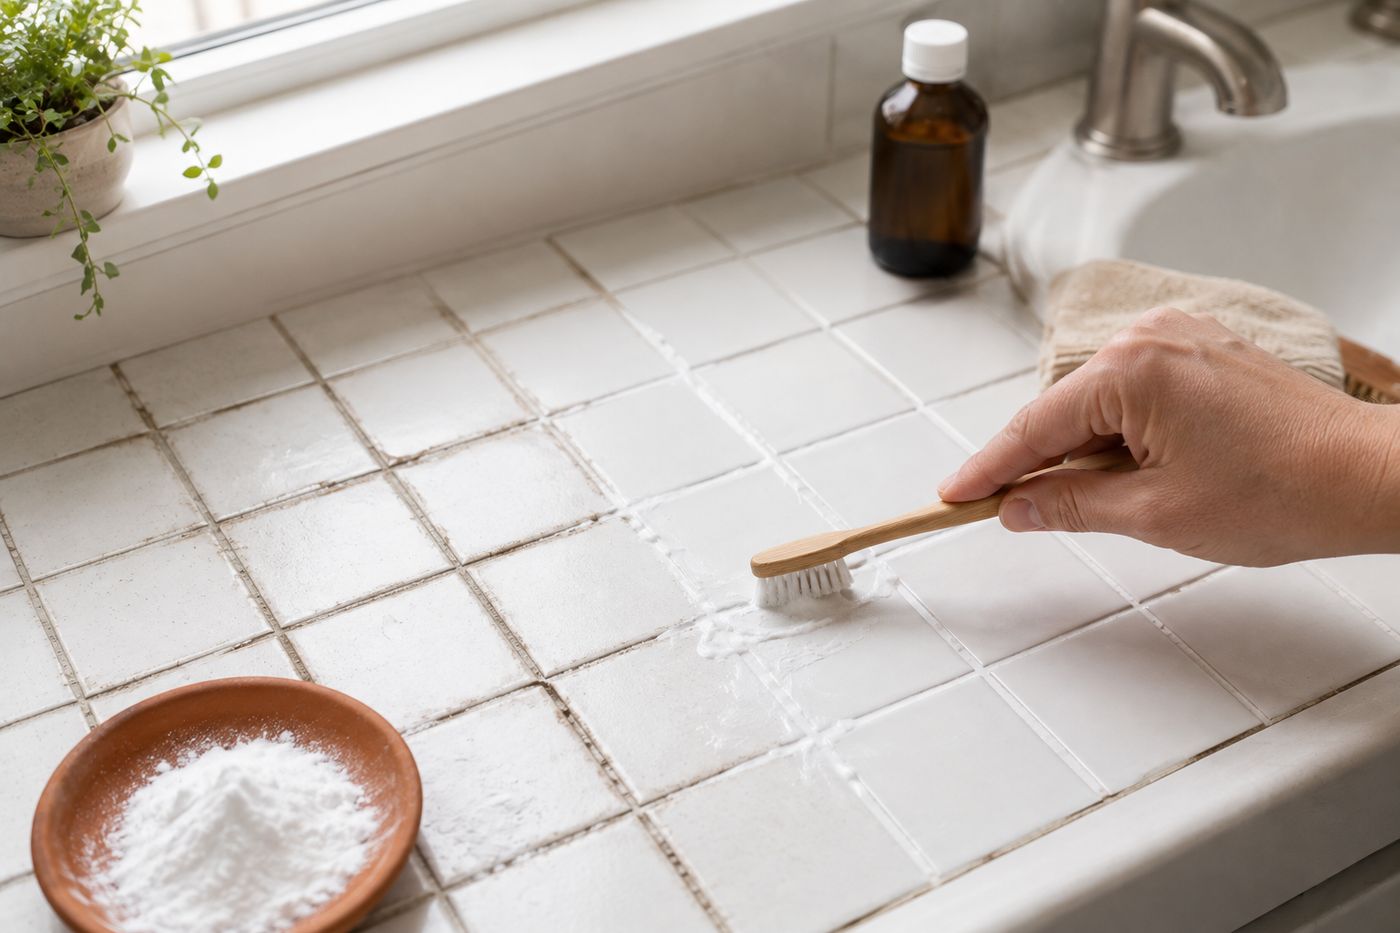
Grout gets dirty in two genuinely different ways at once — a layer of surface grime that scrubbing can physically dislodge, and a deeper discoloration from years of biological staining, mildew and mineral buildup that's soaked into the grout's porous surface where a brush simply can't reach it. Baking soda handles the first problem, providing gentle abrasive scrubbing action that lifts loose grime without scratching the grout the way a harsher abrasive would. Hydrogen peroxide handles the second problem entirely differently, chemically bleaching out the trapped discoloration rather than scrubbing it away, which is why letting the paste sit for a full ten minutes matters just as much as the scrubbing itself — that dwell time is when the peroxide actually does its brightening work on stains no amount of physical scrubbing alone would ever touch. Skip either half of that combination, scrub without peroxide or apply peroxide without any abrasive action, and you only solve half the problem. Get both working together, and years of grime lift away in a single session for about $4 in hydrogen peroxide and roughly 45 minutes.
What You'll Need
- Baking soda — already on hand, three parts of the mixture
- Hydrogen peroxide — about $4, one part of the mixture
- Old toothbrush, for applying and scrubbing the paste into grout lines
- Small mixing bowl
- Sponge and warm water, for rinsing
- Grout sealer (optional, for the day after) — about $8
How to Do It
- Mix three parts baking soda with one part hydrogen peroxide in a small bowl until you have a thick, spreadable paste.
- Apply the paste generously along each grout line with an old toothbrush, covering the full width of the grout rather than just a thin line down the center.
- Work the paste into the grout with small circular scrubbing motions, which is what physically dislodges the surface layer of grime.
- Let the paste sit undisturbed for a full ten minutes before rinsing — this dwell time is when the hydrogen peroxide actually bleaches out deeper staining, so don't rush straight to rinsing right after scrubbing.
- Rinse thoroughly with warm water and a sponge, removing all paste residue from the grout and surrounding tile.
- Repeat the process on any grout lines that still show visible discoloration after the first pass, since heavily stained areas sometimes need a second application.
- Let the grout dry completely, and assess the full result once dry rather than while still wet, since grout often looks lighter when dry than it appears immediately after rinsing.
- Apply a grout sealer the following day once everything is fully dry, which protects the newly brightened grout from absorbing new staining as quickly going forward.
Professional cleaners who tackle heavily stained grout as a regular part of move-out or deep cleaning jobs often cover the applied paste with plastic wrap during the dwell time rather than leaving it exposed to open air, since it slows evaporation and keeps the hydrogen peroxide actively working on the stain for the full ten minutes instead of partially drying out before its bleaching action is complete.