Deck Revival: Power Wash and Seal for $80
Your deck's original color is still in there — a power washer pulls it back, and two coats of sealant keep it for years.
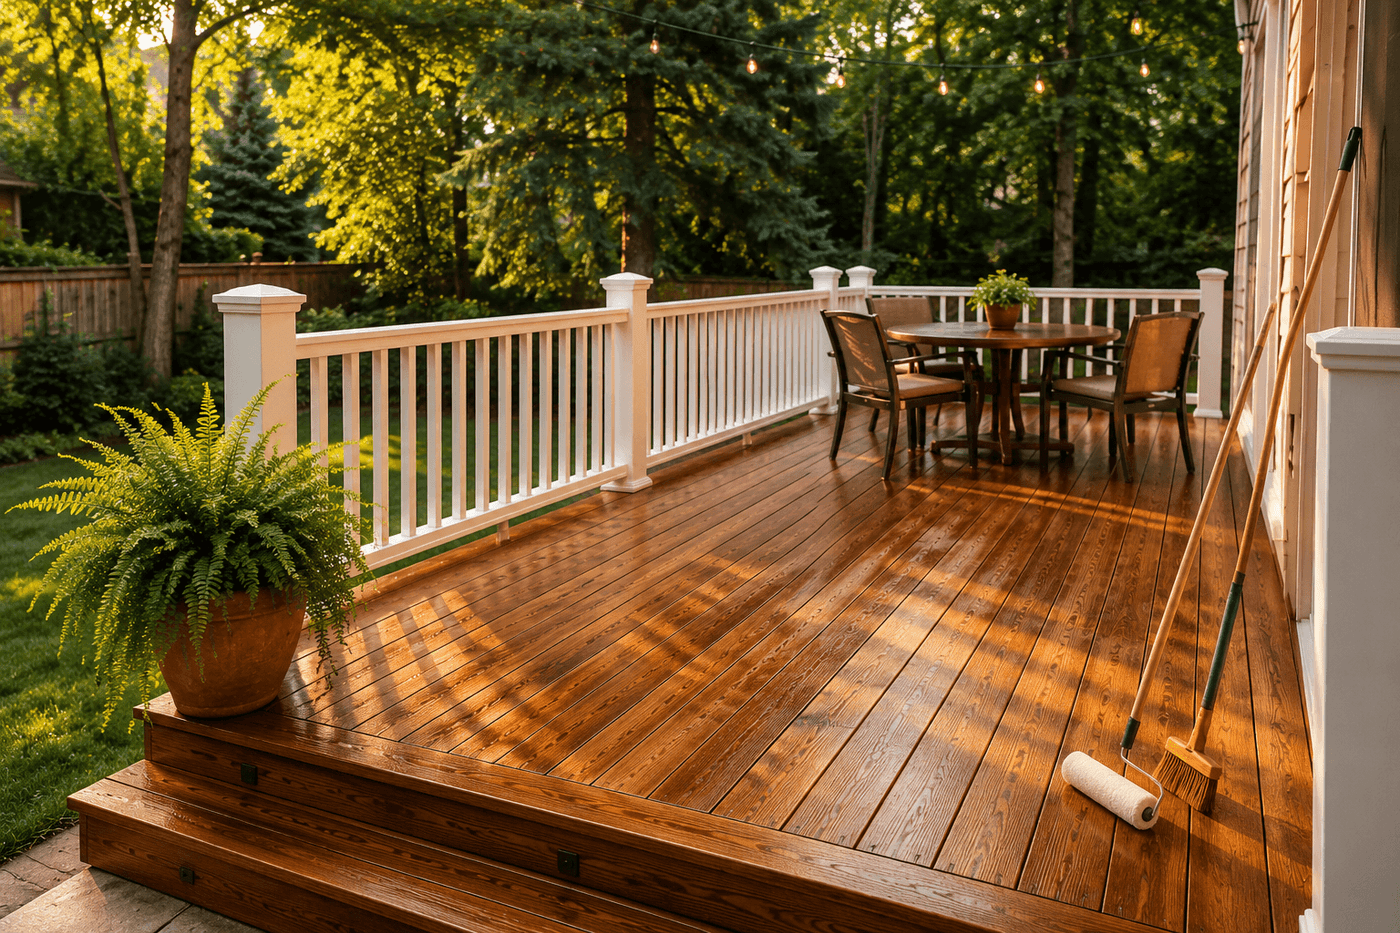
The gray, weathered deck is one of those home maintenance situations where the problem accumulates so gradually that it becomes invisible — it just looks like your deck now, rather than a deck that has lost three years of protective finish and is actively absorbing water and UV damage every season it goes untreated. Power washing one small test section and watching the original wood color emerge from underneath the grime is the moment that converts every deck owner from procrastinator to motivated, because the wood underneath is almost always dramatically better-looking than the surface that has been sitting in view. The complete revival — power washing the full deck and applying fresh penetrating sealant — costs about $80 including power washer rental and a two-gallon jug of sealant, takes five hours of active work split across two days, and produces results dramatic enough that neighbors notice from the street. The non-negotiable detail that determines whether the sealant lasts years or peels within one season is allowing the wood to dry completely for at least 48 hours between washing and sealing — a step that requires patience but costs nothing and is the entire difference between a deck finish that protects and one that fails.
What You'll Need
- Power washer rental — most equipment rental centers and big box stores offer half-day or full-day rentals; a 1,500–2,000 PSI electric model is sufficient for residential decks and less likely to etch soft wood than gas-powered models (~$40–50/day rental)
- 25-degree fan tip nozzle — the correct nozzle for deck washing; zero-degree or 15-degree nozzles concentrate pressure enough to etch and raise wood grain permanently on soft woods like cedar and pine
- Deck cleaner or brightener concentrate — applied before power washing to loosen embedded grime and neutralize gray oxidation; oxalic acid-based brighteners restore wood tone most effectively (~$10–15)
- Penetrating deck sealant, 2 gallons — penetrating sealant soaks into wood fibers rather than forming a surface film that peels; choose a product rated for your deck species — cedar, pine, or composite; Armstrong Clark and Defy are widely recommended brands (~$35–45 for 2 gallons covering 400–500 sq ft)
- 9-inch foam roller and extension pole — for applying sealant to flat deck board surfaces quickly and evenly
- 2-inch and 4-inch natural bristle brushes — for working sealant into railings, spindles, stair stringers, and between deck boards where a roller cannot reach
- Pump garden sprayer — optional but useful for applying deck cleaner concentrate evenly before power washing
- Plastic sheeting and painter's tape — for protecting house siding, exterior lighting fixtures, and any adjacent plantings from power washer overspray and sealant drips
- Safety glasses and rubber boots — power washer water at pressure causes significant skin and eye injury; rubber boots prevent slipping on wet decking during washing
- Stiff bristle deck brush — for scrubbing deck cleaner into heavily stained sections before power washing
How to Do It
DAY 1: Clean
- Prepare the deck by removing all furniture, planters, and accessories, then sweeping thoroughly to clear loose debris. Cover house siding, exterior light fixtures, and any adjacent garden beds with plastic sheeting secured with painter's tape — power washer overspray travels farther than expected and strips paint from siding and damages plants with the same efficiency it cleans deck boards.
- Apply deck cleaner or brightener concentrate to the full deck surface using a pump sprayer or stiff brush, working it into any heavily stained or mildewed sections with a scrub brush and allowing it to dwell for the time specified on the product label — typically 10–15 minutes. The cleaner breaks down the gray oxidation layer and loosens embedded grime so the power washer removes it rather than simply pushing it deeper into the wood grain.
- Power wash the deck using the 25-degree fan tip, holding the nozzle 6–8 inches from the deck surface and moving in long, even strokes that follow the wood grain direction — never across it, which raises grain fibers that remain rough and splinter-prone after drying. Keep the nozzle moving constantly at a consistent speed; pausing over one spot concentrates pressure and etches a visible depression into soft wood that no amount of sanding fully removes.
- Maintain consistent nozzle distance throughout — closer than 6 inches risks etching and grain raising on cedar and pine, while farther than 10 inches reduces cleaning pressure enough that embedded gray oxidation isn't fully removed. Test your distance and speed on a low-visibility section of the deck first — a stair tread or the area under where furniture normally sits — before committing to the main deck surface.
- Work systematically from the house outward toward the yard so you are always washing toward already-cleaned sections rather than tracking dirty water back over clean wood — and rinse the house siding promptly after finishing the deck sections adjacent to it, before any overspray dries on the siding surface where it is significantly harder to remove.
- Allow the deck to dry for a minimum of 48 hours — 72 hours in humid climates or after heavy washing — before applying any sealant. This is the non-negotiable interval that most homeowners try to shorten and that most deck finish failures trace back to: wood that appears dry on the surface retains significant moisture content in its interior for 48–72 hours after washing, and sealant applied over interior moisture gets trapped, cannot cure properly, and peels in sheets within one season.
DAY 2: Seal
- Confirm the deck is fully dry before opening any sealant — the water bead test is definitive: sprinkle a few drops of plain water on the deck surface and observe; water that beads and rolls off indicates the wood is still too wet to accept sealant, while water that absorbs into the wood surface within 30 seconds confirms the deck is dry enough to proceed. Do not rely on visual appearance or touch alone, which miss internal moisture that the bead test catches reliably.
- Apply sealant to railings, spindles, and stair stringers first using a natural bristle brush, working the product into all faces and end grain surfaces — end grain is the most moisture-vulnerable part of any deck component and absorbs significantly more sealant than face grain; apply until the wood stops accepting product rather than stopping after one coat on these sections.
- Roll sealant onto flat deck board surfaces using a foam roller on an extension pole, working in 3–4 board sections and following immediately with a brush to work the product between board gaps and into any sections the roller bridged over. Apply a generous, wet coat rather than a thin one — penetrating sealant works by soaking into the wood, and a thin application that sits on the surface rather than penetrating provides surface-level protection only, which weathers away within one season of outdoor exposure.
- Back-brush all rolled sections immediately after rolling — drag a wide natural bristle brush through the wet sealant in the direction of the wood grain to even out roller marks, work product into grain texture, and eliminate any lap lines where roller passes overlapped. Back-brushing is the technique that separates a sealant application that looks professional and even from one that shows roller texture and lap marks once the product dries.
- Apply a second coat of sealant 2–4 hours after the first — while the first coat is still slightly tacky rather than fully cured — which allows the second coat to bond with the first rather than sitting on top of a fully cured surface. Two coats of penetrating sealant applied wet-on-tacky produce a finish that outperforms three coats applied dry-on-cured in both protection depth and longevity, and is the application protocol that deck restoration professionals use on every project regardless of sealant brand.
Deck restoration contractors and exterior wood finishing specialists who refinish dozens of residential decks each season use one sealant selection criterion that homeowners consistently overlook when choosing between the dozens of products on the shelf: choose a penetrating oil-based sealant over a water-based film-forming product for any deck that will receive direct sun exposure for more than four hours per day. Film-forming sealants — which include most clear waterproofers and many deck stains — sit on the wood surface rather than penetrating into it, and UV exposure causes the film to crack and peel in ways that require complete stripping before reapplication. Penetrating oil-based sealants, by contrast, weather by slowly fading rather than peeling, and can be recoated by simply cleaning and applying a new coat without stripping — which means a deck sealed with penetrating oil needs a light recoat every 2–3 years rather than a full strip-and-refinish every 3–4 years. Deck finishing professionals who warranty their work exclusively specify penetrating oil sealants for sun-exposed residential decks precisely because the failure mode — gradual fading — is manageable by the homeowner, while the film-forming failure mode — peeling — requires professional intervention to correct properly.