Cushion Seam Repair: $4 Fix, Years of Life
A spool of outdoor thread and 45 minutes of hand stitching extends the life of every patio cushion on your furniture — for $4 total.
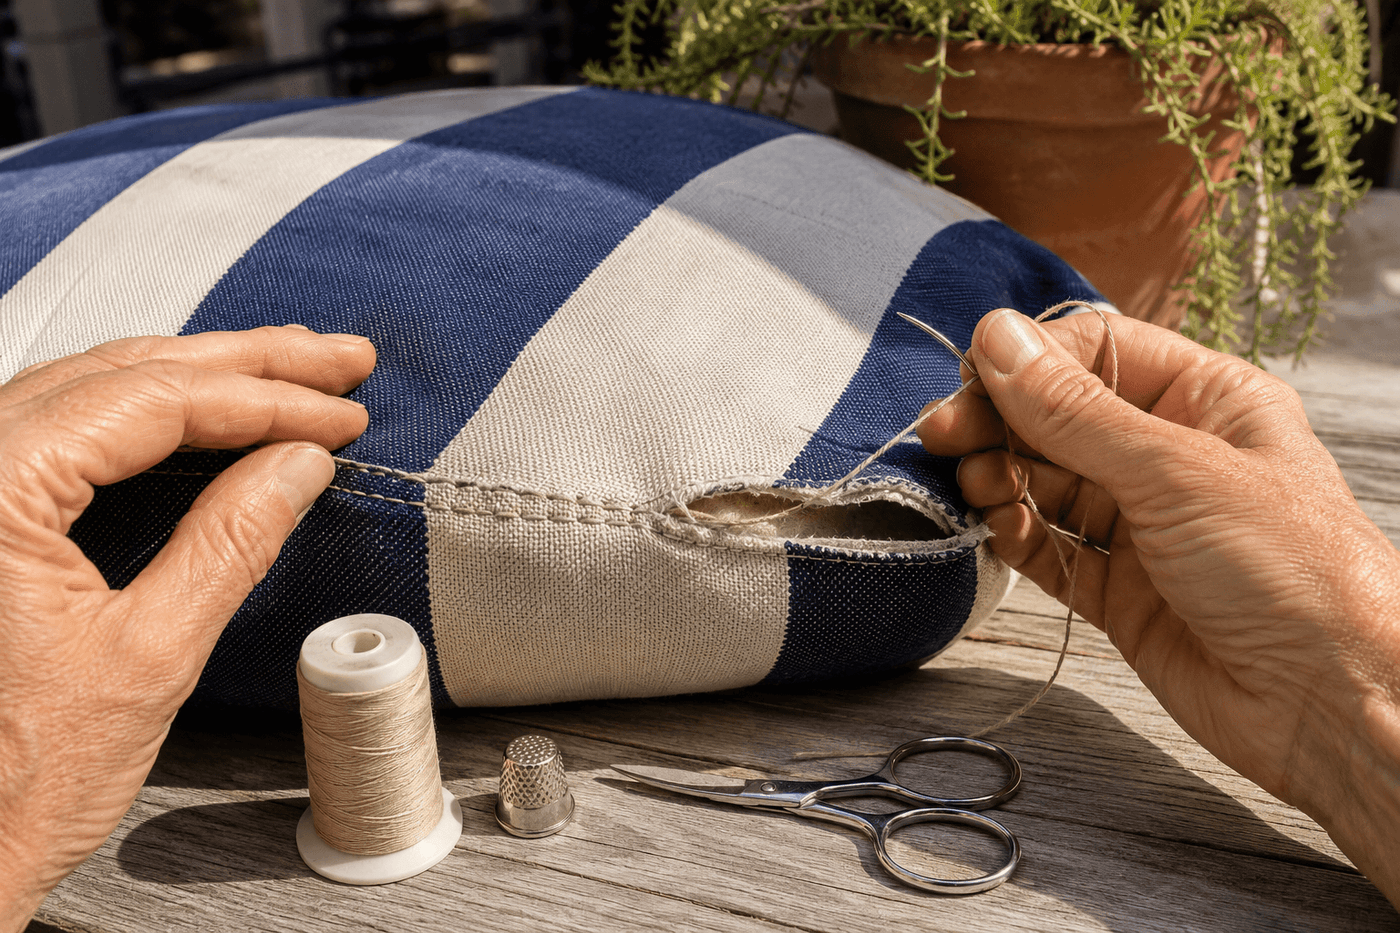
A split seam on a patio cushion is one of those problems that is genuinely easy to ignore until it isn't — flip the cushion over, don't look directly at it, and by the time August arrives the stuffing is making a break for it and the split has doubled in length from months of use and weather stress. The repair that should have taken 45 minutes in June becomes a more involved project in August, which is exactly the lesson most of us learn once before taking seam splits seriously. UV-resistant outdoor thread and a sturdy needle are the complete supply list, the backstitch is the strongest hand stitch available and takes about five minutes to learn from scratch, and a single $4 spool covers every frayed seam on every cushion on your patio with thread to spare. The critical detail that separates a repair that lasts years from one that fails by next spring is the thread itself — standard sewing thread breaks down in UV exposure and outdoor moisture within a single season, while thread specifically rated for outdoor use handles years of sun and weather without degrading. Forty-five minutes of hand stitching on a Sunday afternoon, and you avoid replacing cushions that cost well over $100 to swap out.
What You'll Need
- UV-resistant outdoor thread — Gutermann Outdoor or Coats & Clark Outdoor thread; look specifically for the "outdoor" or "UV-resistant" label — standard polyester thread looks identical but degrades in one season of sun exposure (~$4 per spool, covers multiple cushions)
- Heavy-duty hand sewing needle — a curved upholstery needle makes reaching tight seam sections significantly easier than a straight needle; size 18–20 sharp or tapestry needle for most outdoor fabric weights
- Curved upholstery needle — optional but strongly recommended for thick cushion seams where a straight needle requires awkward wrist angles that slow the work and reduce stitch consistency
- Scissors or seam ripper — for removing any remaining frayed original thread from the split section before restitching over clean fabric
- Thimble — for pushing a heavy needle through multiple layers of outdoor fabric without damaging your fingertip during a sustained 45-minute stitching session
- Fabric marker or chalk — for marking a consistent seam line to follow when the original stitching line is no longer visible
- Clothespins or binder clips — for holding seam edges aligned while stitching, particularly on curved seam sections where the fabric edges tend to drift apart as you work
- Seam sealant — Fray Check or similar; applied to thread knots and seam ends to prevent unraveling at the repair boundaries (~$3–4, optional but extends repair longevity significantly)
How to Fix It
- Inspect every cushion thoroughly before beginning any repair — turn each cushion over, run your fingers along every seam line applying light pressure, and look for sections where the seam thread has broken, where the fabric weave is separating at the stitch line, or where the seam allowance fabric is fraying toward the stitch line from the inside. Catching a seam that is weakening but not yet split is faster to repair and produces a stronger result than restitching a seam that has already fully opened.
- Clear the damaged seam section by removing all remaining broken or frayed original thread from the split area using scissors or a seam ripper — stitching over broken thread leaves lumpy, uneven stitches that sit above the fabric surface rather than sinking into it, and produces a repair that looks visibly patched rather than cleanly restitched. Remove thread until you reach intact original stitching on both ends of the split, then extend your starting and stopping points one inch into the intact seam on each side to anchor the repair into solid original stitching.
- Realign the seam edges by pinching them together to match the original seam line and securing with clothespins or binder clips at 3–4 inch intervals along the split — clips hold the fabric edges in position while both hands are occupied with needle and thread, which produces far more consistent stitch alignment than trying to hold the seam closed with one hand while stitching with the other.
- Thread your needle with approximately 24 inches of outdoor thread — longer lengths tangle and knot during hand stitching, while shorter lengths require more frequent re-threading that interrupts rhythm and stitch consistency. Double the thread for extra strength on high-stress seam sections like corners and the points where cushion ties attach to the seam, where single-thread stitching is more likely to pull through the fabric under repeated stress.
- Begin the backstitch by anchoring into the intact seam one inch before the split — push the needle through both fabric layers from the inside out, pull thread through leaving a 2-inch tail, then loop back through the same hole to lock the anchor stitch before beginning the repair line. This anchor in intact original stitching is what prevents the repair from unzipping backward from the start point under tension.
- Stitch using the backstitch — push the needle forward through both layers, pull thread through, then insert the needle back one stitch length behind the exit point and push forward again past the previous exit point, so each new stitch overlaps the previous one by half its length. This overlapping structure is what makes backstitch the strongest hand stitch available — each stitch locks the one before it, so a single thread break does not cause the entire seam to unzip the way a running stitch would.
- Maintain consistent stitch length and tension throughout — stitches that are too loose allow the seam to gap under pressure, while stitches pulled too tight pucker the fabric and create stress points that are more likely to tear than a properly tensioned seam. The target is thread that lies flat against the fabric surface with no visible puckering and no slack loop between stitches; pull each stitch snug rather than tight and the tension regulates itself naturally.
- Finish by extending the repair one full inch into the intact original seam past the end of the split, then locking off with two or three small stitches looped through the final stitch before cutting the thread — apply a small dot of seam sealant to both the starting knot and the finishing lock stitches and allow to dry fully before returning the cushion to use. The seam sealant step takes thirty seconds and is the single addition that most extends how long the repair holds under repeated outdoor stress and washing.
Marine upholsterers and outdoor furniture restoration specialists who repair high-end patio and boat cushions for a living use one thread preparation technique that measurably extends repair longevity on any outdoor fabric application: draw the thread across a block of beeswax before threading the needle. Pulling the full length of thread across the wax surface two or three times coats the individual fibers with a thin layer of natural wax that reduces friction as the thread passes through fabric, prevents the tangling and knotting that slows hand stitching, and adds a secondary layer of moisture resistance to the thread itself that complements the UV protection of outdoor-rated thread. Marine upholsterers use waxed outdoor thread for every application that involves prolonged sun and salt spray exposure — the environments most comparable to a residential patio over a full season of heavy use — and the combination of UV-rated thread plus beeswax conditioning produces seam repairs that routinely outlast the surrounding fabric rather than failing first.