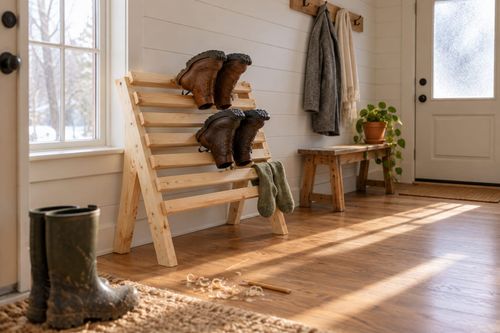
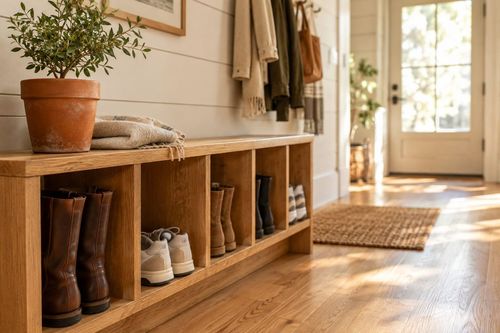
Wine Crate Shoe Rack: The Slat Gap That Holds Pairs
Space the slats too wide and shoes slip through; too tight and they won't seat, so a one-inch gap decides whether this rack works.

I once hung a crate rack with slats spaced by eye, and within a week every pair of flats had dropped through and landed on the floor. Slat gap is the single variable that matters here. A heel needs a gap narrower than its width so it catches on the slat, while the shoe body rests on the crate frame. Around one inch works for most adult shoes. Get that right and a thrifted wine crate becomes a sturdy rack that keeps shoes off the floor, and since your gap is set with a scrap spacer, you only have to measure once.
What You'll Need
- Wooden wine crate, thrifted or from a liquor store, $0-8
- Wooden dowels, 3/8 inch by 36 inches, two to three pieces, about $4
- Sandpaper, 120 grit, a sheet or two, about $2
- Wood glue, standard, about $4
- Drill with 3/8 inch bit, borrowed or owned
- Two heavy-duty wall anchors and screws, rated for 50 lbs, about $4
- Stain or paint, a small sample size, about $4
How to Build It
- Inspect the crate for splinters, loose joints, and wobbly nails. Tap any loose nails back in and add a dab of glue to weak corners.
- Sand every surface and edge smooth, especially the inside where shoes will rub. Wipe off the dust with a damp cloth.
- Finish the crate with stain or paint. Let it dry fully, about two hours, before you drill anything.
- Mark your dowel holes on both inside side walls. Use a one-inch scrap of wood as a spacer between marks so the gaps stay consistent, and keep the first row about three inches from the bottom.
- Drill each hole about halfway through the side wall, not all the way. Place painter's tape on the bit as a depth flag so the holes stay blind and clean on the outside.
- Cut the dowels to the interior width of the crate minus 1/8 inch if needed, then glue them into the holes. Check the spacing again with your scrap spacer before the glue sets.
- Mount the crate on its side against the wall, with screws through the back panel into wall anchors or studs. Load it with shoes only after the glue cures for 24 hours.
Stagger the dowel rows so each one sits slightly higher toward the back, about a quarter inch. That subtle tilt cradles heels and makes the rack look intentional, and if you finish the dowels in a contrasting color, the grid reads as a design feature instead of simple storage.