DIY Projects

Recent Content

Bathroom Towel Ladder: The Lean Angle That Holds

Bathroom Towel Ladder: The Lean Angle That Holds

Build a leaning pine towel ladder in an afternoon for about $25. Getting the lean angle and a non-slip foot right keeps it from sliding off tile.

Make a Hand-Lettered Year Jar in 30 Minutes for $10

Make a Hand-Lettered Year Jar in 30 Minutes for $10

Ring in the new year with a memory jar! Fill it with notes all year, then read them next December 31. Thirty minutes, ten bucks, zero crafting talent needed.

Renter-Safe Bike Storage Trick for Tiny Apartments

Renter-Safe Bike Storage Trick for Tiny Apartments

No garage, no problem. Park your bike upright in a studio with a freestanding stand and a rug trick. Zero drilling, zero residue, deposit safe!

Wooden Wall Shelf: The Bracket Angle That Holds

Wooden Wall Shelf: The Bracket Angle That Holds

Build a simple pine wall shelf with hidden-feeling brackets in an afternoon for about $20. Get the support angle right and it carries books without sagging.

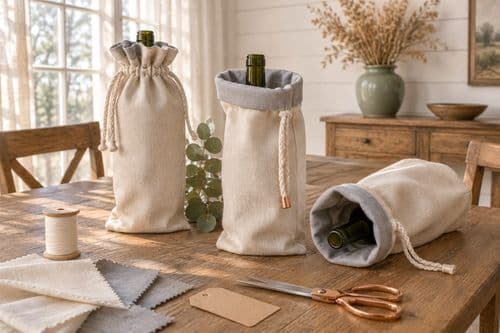
Make Fabric Wine Bottle Gift Bags in 1 Hour for $12

Make Fabric Wine Bottle Gift Bags in 1 Hour for $12

Skip the wasteful wrapping paper this New Year's. Sew lined drawstring wine bags in an hour for $12 and bring a gift people actually keep and reuse.

DIY HomeBoost
  • Home Improvement
  • DIY Projects
  • Interior Design
  • Gardening & Outdoor
  • Real Estate
  • Home Improvement
  • DIY Projects
  • Interior Design
  • Gardening & Outdoor
  • Real Estate
  • ​

Build a Wooden Hat and Mitten Drying Rack in 2 Hours for $24

Build a Wooden Mitten Drying Rack in 2 Hours for $24

Wet gloves dry fast only when air circulates around every finger, and spaced dowel pegs are what make that happen.

[#~image_alt_1~#]
DIY projects

Every post-Christmas snow day ends the same way: a pile of soggy mittens on the radiator, smelling like wet dog. The difference between a drying rack that works and one that leaves gloves damp for days comes down to peg spacing and angle. Pegs set at least 4 inches apart and tilted slightly upward let air flow inside each glove, so moisture evaporates from the inside out instead of pooling in the fingertips. Pegs set too close or angled flat trap humidity and invite mildew. This beginner-friendly build uses a pine board, hardwood dowels, and a few screws, and takes about 2 hours for $24. Hang it near a heat source and winter gear is dry by morning.

What You'll Need

  • Materials (~$24 total):
  • One 1x6 pine board, 36 inches long (~$8)
  • Five 3/4-inch hardwood dowels, 12 inches long (~$7)
  • 1-1/4-inch wood screws, 4 count (~$2)
  • Two heavy-duty sawtooth hangers or D-rings (~$3)
  • Wood glue, small bottle (~$3)
  • Clear water-based polyurethane, small can (~$1 share of a ~$9 can)
  • Tools:
  • Drill with 3/4-inch spade bit and 1/8-inch bit
  • Handsaw or miter box
  • Tape measure and pencil
  • Sandpaper, 120 and 220 grit
  • Level
  • Paintbrush

How to Do It

  1. Cut the pine board to 36 inches if it is not already, then cut the dowels to 4 inches each if your dowels are longer. Short pegs keep the rack slim, and clean square cuts help them seat tightly.
  2. Mark five peg locations along the centerline of the board, spaced 6 inches apart, starting 3 inches from each end. This spacing gives each mitten room for air to circulate.
  3. Drill a 3/4-inch hole at each mark, tilted about 10 degrees upward. Wrap tape around the bit as a depth guide so you stop halfway through the board at 1/2 inch. The upward angle keeps wet gloves from sliding off.
  4. Sand the board faces, edges, and dowel ends with 120 grit, then finish with 220. Smooth surfaces prevent snags on knit wool and keep splinters off your hands.
  5. Glue the dowels into the holes with a dab of wood glue, wiping off squeeze-out right away. Let it set for 30 minutes so the pegs do not wobble under the weight of wet gear.
  6. Seal the whole rack with two thin coats of water-based polyurethane, letting each coat dry per the can. Sealing protects the wood from repeated dampness so it will not swell or warp.
  7. Attach the hangers to the back of the board, one near each end, using the short screws. Two attachment points keep the rack level when loaded with heavy, wet gloves.
  8. Mount the rack into wall studs near a radiator or heat vent, using a level and 1-1/4-inch screws long enough to bite into the stud. Studs matter because wet winter gear is heavier than it looks.
DESIGNER TIP

Mudroom designers who outfit ski lodges mount drying pegs about 6 inches above a floor heat vent or radiator and angle them upward, so warm rising air flows directly up inside each glove. Hang the heaviest items on the outer pegs and lighter liners in the middle so the rack stays balanced.

Related Content

DIY Projects

31 December 2026

Post

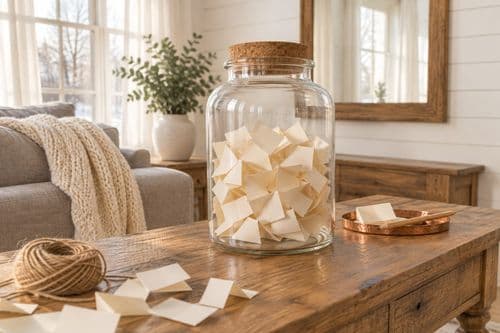
Make a Hand-Lettered Year Jar in 30 Minutes for $10

Ring in the new year with a memory jar! Fill it with notes all year, then read them next December 31. Thirty minutes, ten bucks, zero crafting talent needed....
Read More

DIY Projects

30 December 2026

Post

Wooden Wall Shelf: The Bracket Angle That Holds

Build a simple pine wall shelf with hidden-feeling brackets in an afternoon for about $20. Get the support angle right and it carries books without sagging....
Read More

DIY Projects

30 December 2026

Post

Make Fabric Wine Bottle Gift Bags in 1 Hour for $12

Skip the wasteful wrapping paper this New Year's. Sew lined drawstring wine bags in an hour for $12 and bring a gift people actually keep and reuse....
Read More

DIY Projects

25 December 2026

Post

Build a Wooden Spice Grinder Tray in 2 Hours for $24

Stop chasing peppercorns across the counter! Build a slim lipped hardwood tray in 2 hours for $24 and corral grinders, oils, and salt like a pro cook....
Read More

DIY Projects

24 December 2026

Post

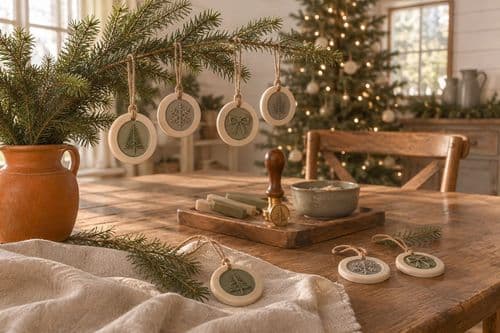
Wax Seal Ornaments: Why Cooling Time Sets the Stamp

Slow down this Christmas Eve with a calming wax-seal ornament craft for about $14. Let the wax cool before you press and your stamp stays crisp....
Read More

DIY Projects

24 December 2026

Post

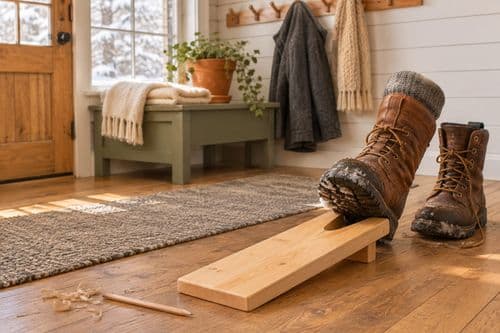
Build a Wooden Boot Jack in 1 Hour for $12

Wrestling wet winter boots off at the door? Build a sturdy pine boot jack in an hour for $12 and pull them off hands-free. Beginner-friendly and so satisfying....
Read More

DIY Projects

23 December 2026

Post

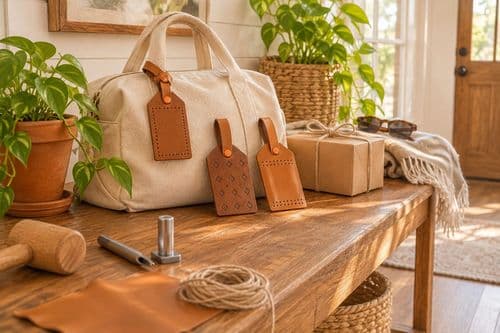
Make Leather-Look Luggage Tags in 40 Minutes for $12

Last-minute gift panic? Cut, stamp, and rivet your own faux-leather luggage tags in 40 minutes for $12 and send someone off in style. No sewing needed!...
Read More

DIY Projects

22 December 2026

Post

Dollar Store Tinsel Tree: The Cone Base That Stands

Turn a $1 foam cone and dollar-store tinsel into a glittery tabletop Christmas tree for under $8. A weighted base keeps it from tipping. Thrifty Tuesday!...
Read More

DIY Projects

21 December 2026

Post

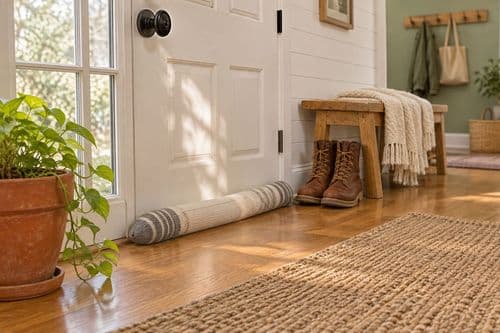
Sock Draft Snakes: The Fill Weight That Seals Gaps

Turn old socks and rice into a draft-blocking door snake for about $3. Filling it to the right weight is what keeps it hugging the floor. Easy Monday upcycle!...
Read More

DIY Projects

20 December 2026

Post

Make Citrus Sugar Scrub Jars in 30 Minutes for $14

Skip the $20 spa-aisle jars! Mix sugar, oil, and zest into silky citrus scrubs in 30 minutes for $14. Gift-ready, beginner-easy, and smells like sunshine....
Read More

DIY Projects

19 December 2026

Post

Make a Stovetop Potpourri Jar Kit in 30 Minutes for $14

Fill your home with real holiday scent! Layer dried citrus, cranberries, and spices into gift-ready jars in 30 minutes for $14. No candles, no fuss....
Read More

DIY Projects

18 December 2026

Post

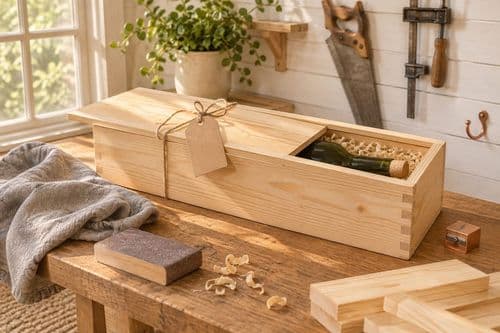
Make a Wooden Bottle Gift Crate in 2 Hours for $22

Gift a bottle in a handmade pine crate with sliding lid! Build it in 2 hours for $22 and make your holiday present look boutique. Beginner friendly and fast....
Read More

DIY Projects

17 December 2026

Post

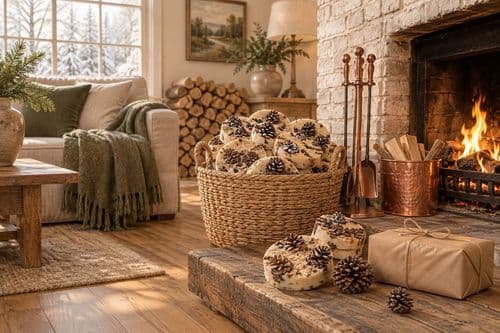
Make Pine Cone Fire Logs in 1 Hour for $12

Turn dryer lint-free scraps into cozy fire-starting magic! Make wax-and-sawdust log rounds in an hour for $12 and light winter fires with zero frustration....
Read More

DIY Projects

16 December 2026

Post

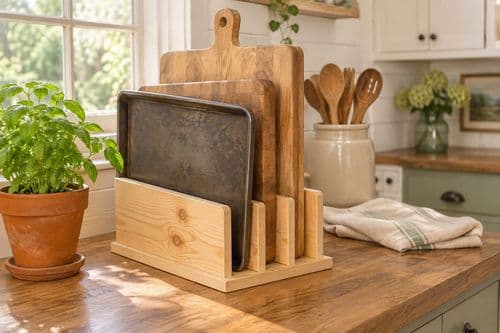
Wooden Cutting Board Stand: The Slot Width That Holds

Build a pine cutting board and baking sheet stand in an afternoon for about $15. The slot width is what keeps boards upright instead of toppling over....
Read More

DIY Projects

16 December 2026

Post

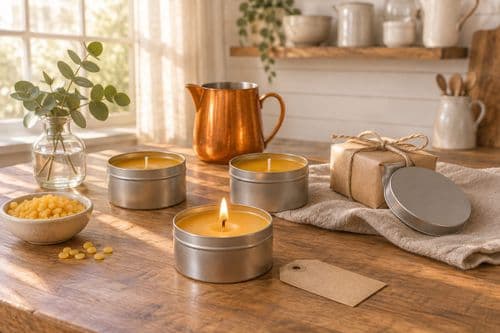
Make Beeswax Candle Tins in 1 Hour for $18

Pour your own travel candle tins in an hour for $18. Wick centering and a slow cool keep them burning clean, and they're gift-ready for the holidays....
Read More
Terms and ConditionsDo Not Sell or Share My Personal InformationPrivacy PolicyPrivacy NoticeAccessibility NoticeUnsubscribe
Copyright © 2026 DIY HomeBoost