
Still & Seen: Start a Nature Journaling Practice
A sketchbook, a pencil, and one small thing to look at — the gentlest creative practice that asks nothing of you except your full, quiet attention
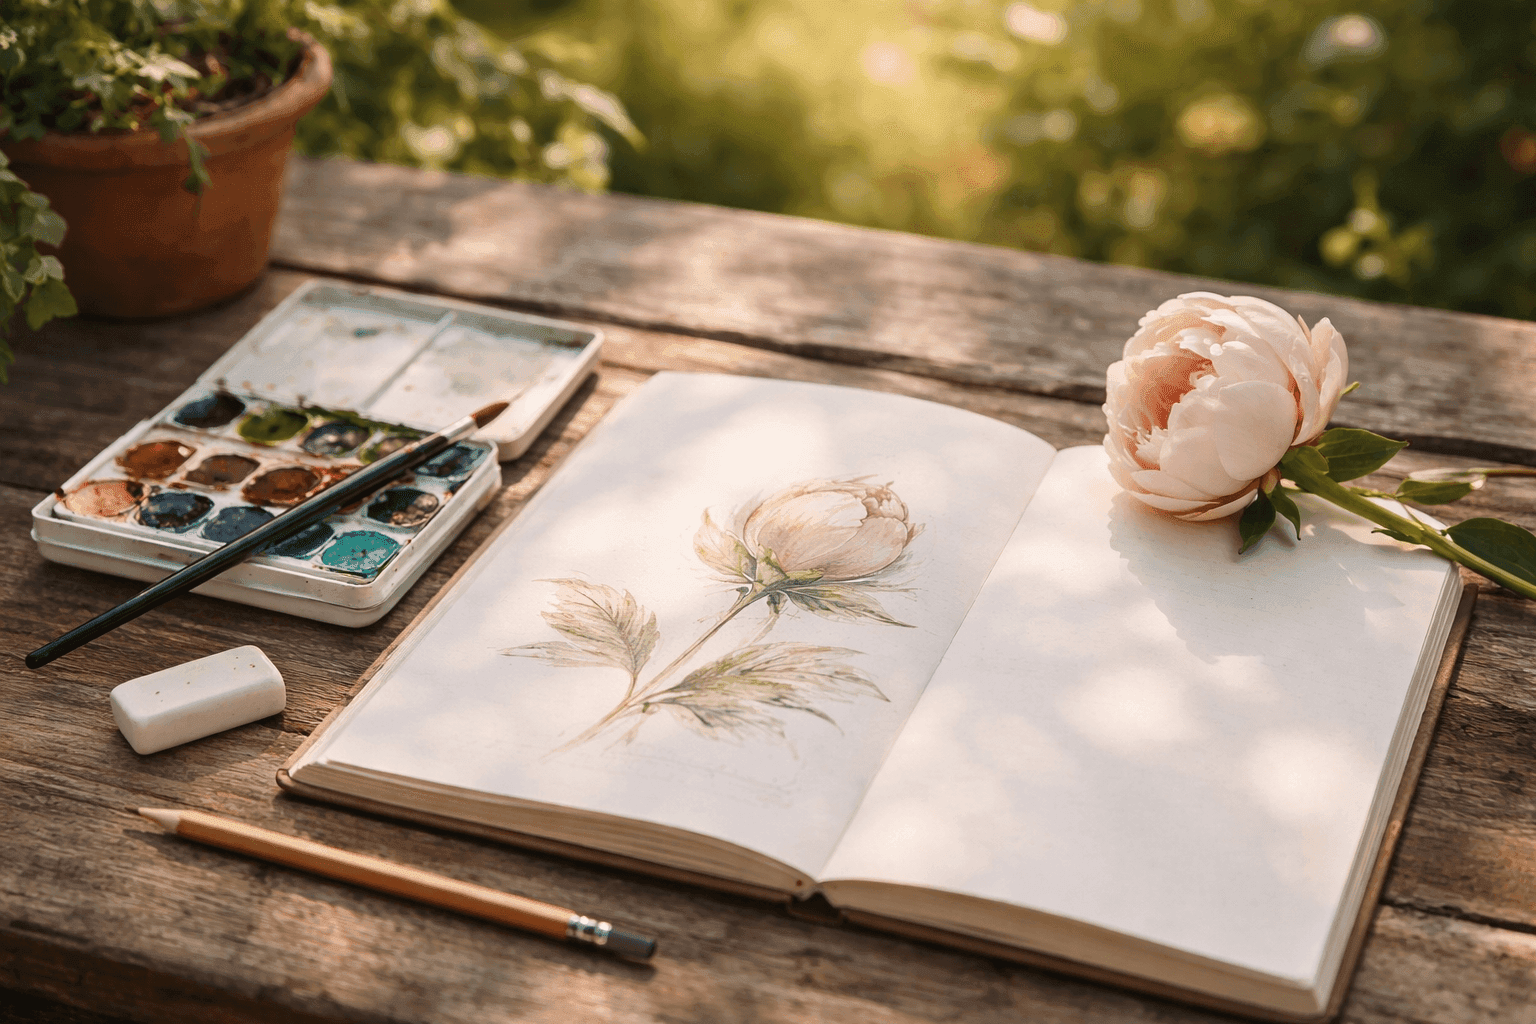
Most of us move through the natural world at a pace that makes it invisible — glancing at the garden on the way to the car, registering the sky as background rather than subject, never quite stopping long enough to notice that the bark on the oak tree has a texture that looks like topographic maps, or that the seed head of the spent coneflower is architectural in a way that no designed object quite matches. Nature journaling is the practice of slowing down enough to actually see one small thing, then recording it in whatever way feels natural — a careful sketch, a few written observations, a watercolor wash that doesn't have to be accurate to be meaningful. The therapeutic value isn't in the quality of what you produce. It's in the quality of attention the practice demands, and the quiet it creates around the part of your day when you sit down with your journal and simply look. This is a Therapeutic Thursday practice built for anyone who has ever wanted a creative outlet that meets them exactly where they are, asks nothing of their prior skill, and gives back something genuinely restorative every single session.
What You'll Need
- The Journal
- Any blank or dot-grid sketchbook with at least 90lb paper weight — heavier paper handles a light watercolor wash without buckling and holds pencil marks without ghosting through to the next page — ~$8–$15 for a quality softcover sketchbook
- A simple composition notebook or any blank-paged journal you already own works perfectly for pencil and pen work — the journal that gets used consistently is always better than the beautiful one that feels too precious to mark
- A5 or 5x8 inch size is ideal — large enough to sketch with room to breathe, small enough to slip in a bag for journaling away from home
- Drawing Tools — Start Simple
- A single HB pencil and a fine-tip black pen — this combination covers every nature journaling need and costs under $3 total. The pencil is for initial observation sketching, the pen for committing lines you're happy with
- A small set of colored pencils (12 colors is plenty) for adding the color notes that make journal entries feel alive — ~$6–$10 for a quality set like Prismacolor Scholar
- OR a small travel watercolor set — a 12-pan Sakura Koi or similar pocket set runs ~$10–$15 and produces beautiful loose washes that suit the gentle, unhurried quality of nature journaling perfectly
- A soft eraser — the white vinyl type, not the pink eraser at the end of a pencil, which smears graphite rather than lifting it cleanly
- Observation Aids
- A small magnifying glass or loupe for examining bark texture, insect details, and seed structures that reveal extraordinary complexity at close range — ~$5–$8, or the zoom function on your phone camera works as a field magnifier in a pinch
- A field guide for your region — birds, wildflowers, trees, or insects — for identifying what you're looking at and adding accurate names to journal entries — ~$12–$18 at a bookstore, or a free app like Merlin for birds or iNaturalist for everything else
- Comfort Supplies
- A small clipboard if you prefer sitting on the ground or a garden bench rather than at a table — keeps the journal stable on any surface
- A low camp stool or garden kneeler for sitting comfortably at ground level with your subject
- A small water container and watercolor brush if using paints outdoors — a film canister or small jar works perfectly
How to Begin
- Choose one small subject and commit to it completely before opening your journal — a single flower bud, a section of tree bark, the way light falls across a leaf, a cloud formation, a bird at the feeder. The discipline of the practice is in the choosing and the staying — nature journaling loses its meditative quality the moment you start looking around for something more interesting than what's already in front of you.
- Look before you draw for a full five minutes without touching your pencil — this is the step that feels uncomfortable but produces the most profound shift in how you see. Set a quiet timer if that helps. Notice the edges of your subject, the way shadow falls across it, the colors that are actually present versus the colors you assumed were there, the details that only appear when you stop scanning and start genuinely looking at one thing.
- Write the date, time, weather, and location at the top of your page before the first mark — this takes thirty seconds and transforms your journal from a sketchbook into a genuine record of your relationship with the natural world across seasons and years. A sketch of a magnolia bud dated March 14th tells a completely different story in January than it did when you made it, and those dates are the thread that makes a journal irreplaceable.
- Begin with light pencil marks that capture the basic shapes and proportions of your subject rather than immediately reaching for detail — outline the overall form first, then the major divisions within it, and only then the specific details that make this particular thing distinct from every other thing like it. Working from general to specific is the same approach field naturalists use and it keeps the sketch from getting stuck in one corner of the page while the rest remains blank.
- Add written observations beside your sketch as you work — note the actual color names you see rather than generic terms ("the shadow side of the petal is closer to mauve than pink, with a greenish cast near the stem"), sounds you hear, the quality of the light, how the air smells, what the surface of your subject looks like under close examination. These written notes do something the sketch alone cannot — they record the full sensory experience of the moment, and reading them back later is what makes a nature journal feel like genuine time travel.
- Add color slowly and loosely without trying to be precise — in nature journaling, color annotation serves memory and observation rather than photographic accuracy, so a light wash or a few colored pencil strokes that capture the general temperature and hue of what you saw is more valuable than a technically correct rendering that took so long it pulled you out of the meditative state the practice creates. Loose and present is always better than tight and anxious in this context.
- Sit with the finished entry for a moment before closing the journal — read back what you wrote, look at the sketch, and notice whether there's anything you want to add while the subject is still in front of you. This brief review is also when many journalers add a small detail they noticed only after putting the pencil down, which is itself one of the great gifts of the practice: the thing you were looking at reveals itself most fully in the moment you thought you were finished looking.
- Return to the same subject over time — the same tree across four seasons, the same garden corner week by week through spring, the same bird feeder across a year of changing visitors. Repetition in nature journaling reveals change in a way that single observations never can, and a journal filled with the same oak tree sketched across forty sessions across two years is one of the most profound documents a person can make about their own patient, deepening attention to the world immediately around them.
Field naturalists and botanical illustrators who have kept nature journals for decades share one piece of advice that beginners almost universally resist and eventually come to regard as the most important thing they learned: do not erase. The hesitant first line, the proportion that was slightly wrong before you corrected it, the smudged mark where your hand rested — these are the evidence of genuine looking and genuine learning, and a journal page covered in corrections and adjustments is far more alive and honest than a clean, careful rendering that was erased into tidiness. The goal of a nature journal is not a beautiful page. It is a true record of what it felt like to sit with one small piece of the world and pay it your full attention. Your uncertainty is part of the record. Let it stay.














