
Punch Needle Embroidery: Find Your Flow for $20
Punch, pull back, move slightly, punch again — two hours of the most quietly absorbing repetitive motion you will ever discover in a craft.
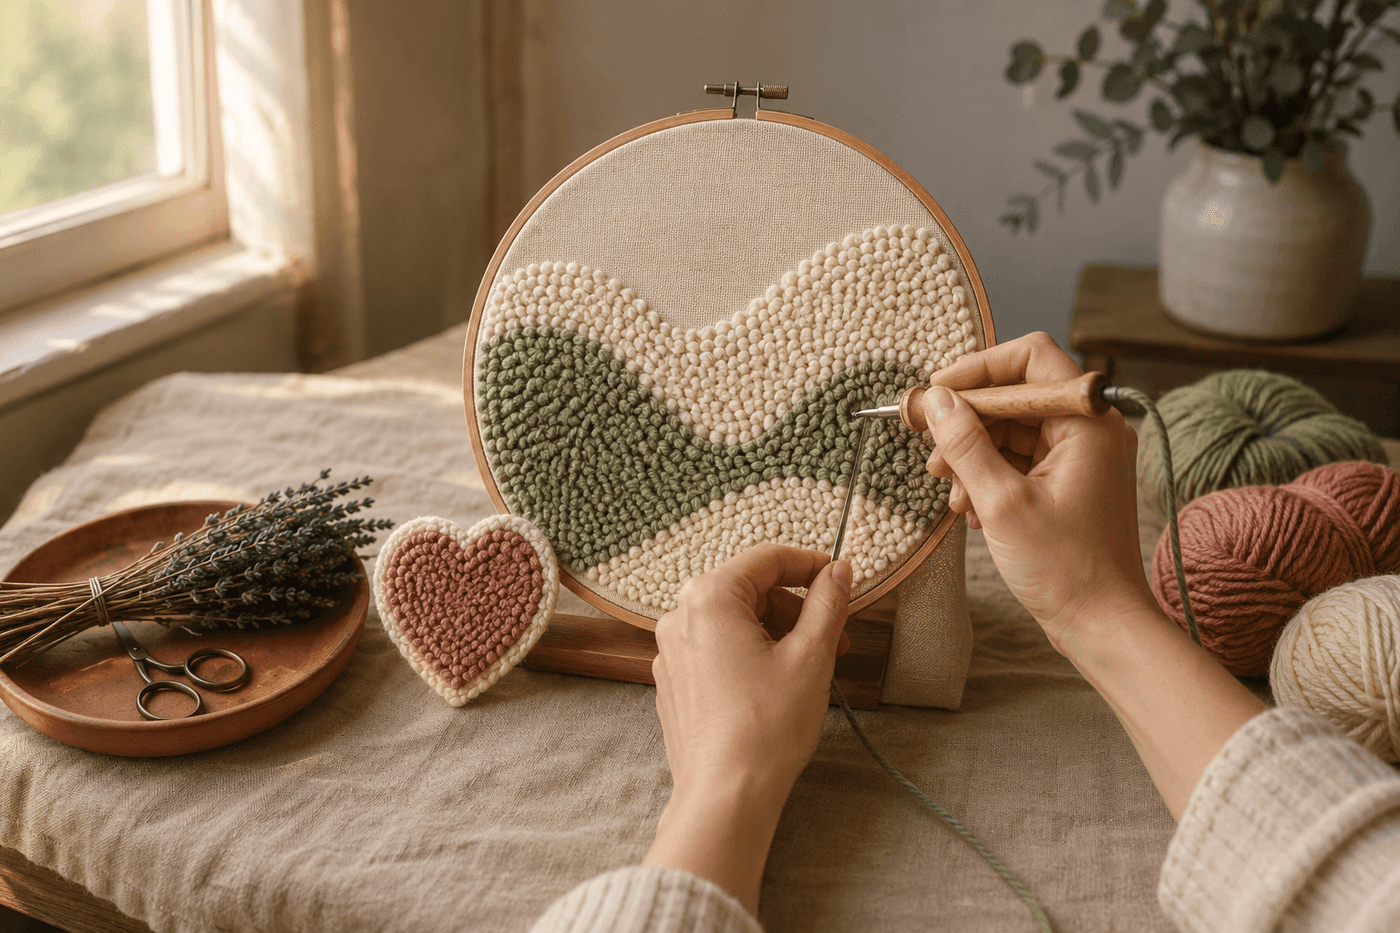
Most crafts have a learning curve — a period of counting, checking, correcting, and wondering if you are doing it right — that sits between beginning and the flow state that makes the craft genuinely restorative. Punch needle embroidery skips that period almost entirely. The motion is four steps that become one: punch the needle through the fabric, pull back until the loop catches, move forward a needle's width, repeat. There is no counting stitches, no complex pattern to follow, no way to make a mistake that is not immediately and easily corrected by simply punching over it. What emerges from this repetition is a plush, dimensional textile with a tactile richness that is satisfying to make and beautiful to look at — and more importantly, the rhythmic repetition of the punching motion produces the kind of quiet, focused absorption that researchers describe as flow state, where awareness of time, stress, and mental noise genuinely recedes. A beginner starter kit costs about $20, includes everything needed for a first piece, and delivers a complete two-hour meditative practice that produces a finished textile object you will want to frame, display, or immediately give to someone you care about.
What You'll Need
- Punch needle starter kit — Lavor, Dimensions, or similar beginner kits include the punch needle tool, a hoop, a pre-printed fabric, and enough yarn for one project; Lavor kits specifically are widely recommended by beginners for needle quality and clear instructions (~$15–25 on Amazon or at craft stores)
- OR individual components if sourcing separately:
- Punch needle tool — the Oxford Punch Needle size 10 is the standard beginner recommendation; it handles worsted weight yarn and produces a medium loop height that works for most first designs (~$10–15)
- Monk's cloth or weaver's cloth — the open, even weave is what allows the needle to pass through consistently without resistance; standard embroidery fabric does not work for punch needle (~$5–8 per yard)
- Wooden embroidery hoop, 8–10 inch — larger than standard embroidery hoops to accommodate the fabric tension that punch needle requires; the fabric must be drum-tight (~$4–6)
- Worsted weight yarn in 2–3 colors — soft, smooth yarn threads the needle most easily; avoid textured or boucle yarns for a first project; choose colors that feel calming rather than stimulating (~$3–5 per skein)
- Permanent marker or transfer pen — for drawing the design on the back of the fabric before mounting in the hoop; the design is worked from the back, with the finished loop texture appearing on the front
- Scissors — for cutting yarn at color changes and trimming the finished piece
- Rug backing adhesive or fabric glue — for applying to the back of the finished piece to lock the loops in place so they cannot be pulled out with handling (~$5–8, optional but recommended for pieces that will be displayed or gifted)
- Good lighting — working punch needle in dim light strains the eyes and disrupts the meditative rhythm; a dedicated task light or working near a window in natural light makes the two-hour session genuinely comfortable rather than effortful
How to Begin
- Choose a design that matches where you are emotionally before you begin — a simple heart or sun for a first session where learning the motion is the primary activity, abstract flowing waves for a session where emptying the mind is the goal, or a slightly more complex geometric for a session where gentle focus is what you need. The design is not the point; the motion is. The simplest designs produce the most uninterrupted meditative rhythm because there is no decision-making about where to go next, only the repetition of the motion itself.
- Draw your design on the back of the monk's cloth using a permanent marker — remember that you work from the back, so any asymmetric design needs to be drawn in mirror image to appear correctly on the finished front. For a first piece, choose a symmetric design like a heart, circle, or sun where the mirror-image issue does not apply and the full attention can go to learning the motion rather than managing orientation.
- Mount the fabric in the hoop pulled drum-tight — tighter than you would for standard embroidery, which uses relaxed fabric tension. The fabric must resist the needle's push-and-pull motion without puckering or distorting; slack fabric produces uneven loops and requires significantly more physical effort to punch through than properly tensioned fabric. Retighten the hoop every 15–20 minutes during a session as the fabric relaxes slightly with repeated needle penetration.
- Thread the punch needle by following the specific threading path for your tool model — most punch needles have a hollow handle that the yarn feeds through from the handle end out through the needle tip, rather than threading through an eye like a conventional needle. Thread the yarn through the handle channel first, then out the hollow needle tip, leaving a 2-inch tail at the tip end; incorrect threading produces loops that pull out immediately rather than catching, which is the most common beginner frustration and is entirely a threading issue rather than a technique one.
- Begin at the outline of your design rather than the interior — punch the border of each shape first, then fill inward, which produces cleaner edges and a more defined shape in the finished piece. Push the needle fully through the fabric until the handle touches the surface, pull straight back until the loop catches on the underside, move the needle tip forward approximately one needle's width along the design line, and push through again. The motion should feel effortless and even; resistance means the fabric tension needs adjusting or the needle is catching on a thread rather than passing between weft and warp threads.
- Maintain consistent loop height throughout a session by keeping the needle handle in consistent contact with the fabric surface at the bottom of each punch — the distance the needle penetrates the fabric is what determines loop height, and loops of inconsistent height produce a bumpy, uneven texture on the finished surface rather than the plush, even pile that makes punch needle so visually satisfying. Do not pull the needle so far back that the loop extends beyond the desired height; the loop height is set by the needle depth, not the pull-back distance.
- Change colors by cutting the yarn at the needle tip, pulling the tail to the back of the work, threading the new color, and beginning the next section with a fresh 2-inch tail that will be trimmed flush with the loop surface when the section is complete. Color changes take about 30 seconds each and are the natural pause points in the meditative rhythm — a moment to notice the progress of the piece and the texture building across the design before returning to the motion.
- Finish the completed piece by applying a thin, even coat of rug backing adhesive or fabric glue to the entire back surface of the worked area, spreading it with a scrap of cardboard to cover every loop base, and allowing it to cure flat for at least two hours before removing from the hoop. This backing step is what makes the finished textile permanent — without it, any loop can be pulled free from either side with minimal force, and a piece that will be handled, displayed, or gifted needs the backing to survive contact with the world beyond the worktable.
Textile artists and occupational therapists who use punch needle as a therapeutic tool in clinical and wellness settings consistently recommend one environmental preparation that significantly deepens the meditative quality of a punch needle session: prepare the physical space before threading the needle, as deliberately as the craft itself. Set a specific chair, a specific light source, a specific surface for the hoop, and a specific place for the yarn — not because the craft requires these conditions, but because the ritual of preparing them signals the nervous system that a period of focused, restorative attention is beginning. The physical setup takes two minutes and functions as the transition from the reactive mode most people spend their days in to the receptive mode that meditative craft requires and produces. Textile therapists who specify this preparatory ritual for clients report significantly deeper flow states and more consistently restorative sessions compared to picking up the hoop wherever it happens to be sitting — the environment is not incidental to the practice, it is the frame that makes the practice possible, and treating it that way from the first session establishes the association between the ritual and the calm that makes every subsequent session easier to enter.














