
Paint a Rainbow Ombré Fence Section for $40
Seven colors, fourteen fence boards, and one Saturday — the backyard backdrop that turns every gathering into a celebration
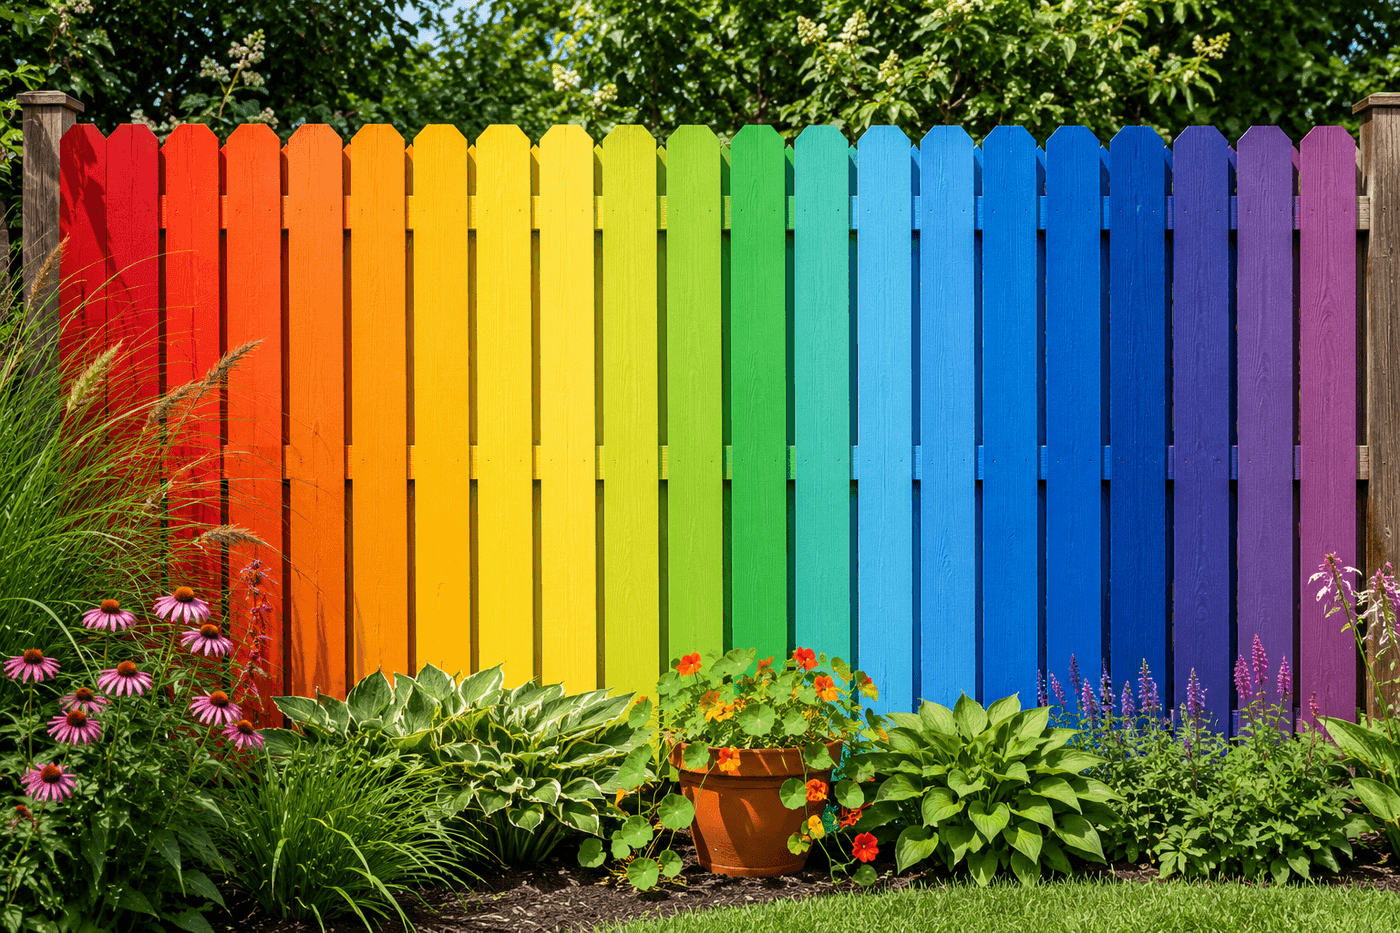
A fence is a boundary — a functional, utilitarian, usually forgettable boundary — until it isn't. A rainbow ombré fence section is something people stop their cars to photograph, something that makes children in the neighborhood specifically request the house with the rainbow fence as the destination for afternoon walks, and something that changes the entire character of a backyard from contained outdoor space to genuinely joyful destination. Seven pure colors progressing across fourteen boards with 50/50 transition boards between each pure color creates a gradient so seamless that it looks like the spectrum itself has been hung in your yard — bold and unapologetic and completely specific to the person who decided this was exactly what their fence needed to be. Sample-size exterior paint pots, a brush and roller, and one Saturday of committed, celebratory painting is the entire investment. The result lasts for seasons and makes every person who enters the yard smile before they've said hello.
What You Need
- Exterior paint in seven rainbow colors — red, orange, yellow, green, blue, indigo, and violet; sample-size pots (4–8 oz) from any paint department are sufficient for one to two boards per color at full coverage, and buying samples rather than full quarts keeps the total cost under $40 for the full spectrum (~$3–5 per sample pot, ~$21–35 total)
- Exterior primer, one quart — applied to all boards before the color coats; primer on exterior wood dramatically improves color vibrancy and coverage, particularly for the lighter yellow and violet boards where unpainted wood grain shows through single-coat coverage without primer (~$8–10)
- Small disposable mixing cups or plates — for mixing the 50/50 transition colors between each pure color board; you need six transition mixes total (red-orange, orange-yellow, yellow-green, green-blue, blue-indigo, indigo-violet), and mixing them in small cups before painting keeps the pure color pots uncontaminated for the pure-color boards
- Foam rollers, 4" size, qty 3–4 — one per color family for clean application without cross-contamination between colors; foam rollers produce smoother coverage on vertical fence boards than brushes and apply paint more evenly across the full board face (~$2–3 each)
- Paintbrush, 2" width — for cutting in at the top and bottom edges of each board where the roller can't reach the fence rail connections
- Exterior clear sealer, satin finish — two coats over the full painted section protect the color spectrum through UV exposure, rain, and seasonal temperature cycling without dulling the vibrancy (~$10–12 for a quart)
- Painter's tape — for masking adjacent fence sections and any hardware on the boards being painted
How to Paint It
- Choose your fence section — a run of at least fourteen boards produces a gradient wide enough that each color transition reads clearly and the rainbow effect is unmistakable from the yard; fewer boards compress the transitions into steps rather than a genuine gradient. The section should be in a location with good visibility from your primary outdoor seating or gathering area, because a rainbow fence section you can't fully see from where you spend your time in the yard doesn't deliver the full daily joy return of one positioned as a genuine backdrop to outdoor living.
- Clean the chosen boards thoroughly with a stiff brush and water, removing accumulated dirt, mildew, and any peeling existing paint that would cause the new color coats to lift within the first season. Allow the boards to dry completely — at least twenty-four hours after washing — before applying primer; primer applied to damp wood traps moisture beneath the paint film and causes blistering that ruins the color surface before the sealer coat is ever applied.
- Prime all boards with one coat of exterior primer and allow full drying time — typically two hours in warm weather — before beginning the color application. The primer coat is the step that makes the vibrant, saturated color payoff of a rainbow fence actually achievable with sample-size quantities of paint; unpainted wood absorbs the first coat of color into the grain and requires multiple additional coats to achieve coverage, while primed wood accepts a single confident color coat that reads fully saturated from the street.
- Map the board sequence on paper before mixing any paint — number each board from left to right and assign colors: board 1 is pure red, board 2 is red-orange transition, board 3 is pure orange, board 4 is orange-yellow transition, and so on through board 13 (pure violet) and board 14 if you want to extend the violet end or return to a second red for a wrap-around effect. Having the map prevents the mid-painting confusion of which transition mix goes on which board that interrupts the flow of the session at the worst possible moment.
- Mix all six transition colors in small cups before painting any boards — combine equal parts of the two adjacent colors for each transition and stir thoroughly until the mixed color is completely uniform. Mixed colors that aren't fully combined produce a streaky transition board that reads as an accident rather than a deliberate intermediate step; a well-mixed red-orange that is completely uniform in color produces a transition board that looks as intentional as the pure color boards flanking it.
- Paint the pure color boards first in sequence — red, orange, yellow, green, blue, indigo, violet — applying two coats to each with a foam roller and brush trim, allowing each coat to dry before adding the second. Painting the pure color boards first establishes the anchors of the gradient and allows you to assess the overall color progression and spacing before committing the transition boards, which is significantly more forgiving than painting boards in strict left-to-right sequence and discovering a color proportion problem when the gradient is already half-committed.
- Paint the transition boards between each pair of pure color anchors once all pure boards are complete and dry — standing back to view the full section after each transition board is painted before moving to the next, confirming the transition reads as a believable step between the colors on either side rather than as a distinct third color that interrupts the flow of the gradient. A transition board that reads too much like one or the other adjacent pure color gets a second coat with more of the opposing color mixed in; a transition that looks like a distinct third color needs both pure colors mixed more equally.
- Seal the full painted section with two coats of exterior clear sealer applied with a foam roller once all paint has dried for a minimum of twenty-four hours — the sealer protects all seven colors and six transition colors simultaneously and locks the full spectrum against the UV fading that would otherwise begin reducing the vibrancy of the lighter colors within the first outdoor season. Apply both sealer coats on the same day with three to four hours of drying time between them for the most thorough weather protection across the full painted surface.
Muralists who work with large-scale exterior color gradients always choose paint colors from a single manufacturer's line for the entire spectrum rather than mixing brands — different paint manufacturers formulate their pigments, binders, and opacity agents differently, and mixing brands in a gradient means the transition boards are mixing paints with fundamentally different physical properties that can produce unexpected color shifts, sheen differences, or drying inconsistencies visible across the finished gradient. They also choose colors from the warm side of each hue family — a red-leaning orange rather than a brown-leaning orange, a yellow-leaning green rather than a blue-leaning green — because warm-biased rainbow palettes mix more cleanly at the transition points and produce gradients that read as cohesive and intentional from a distance rather than as a series of individual colors placed side by side.














