
Paint a Color-Blocked Geometric Patio Rug for $32
A plain outdoor rug, painter's tape, and four bold colors — the custom statement piece that looks like a $200 designer find and costs $32
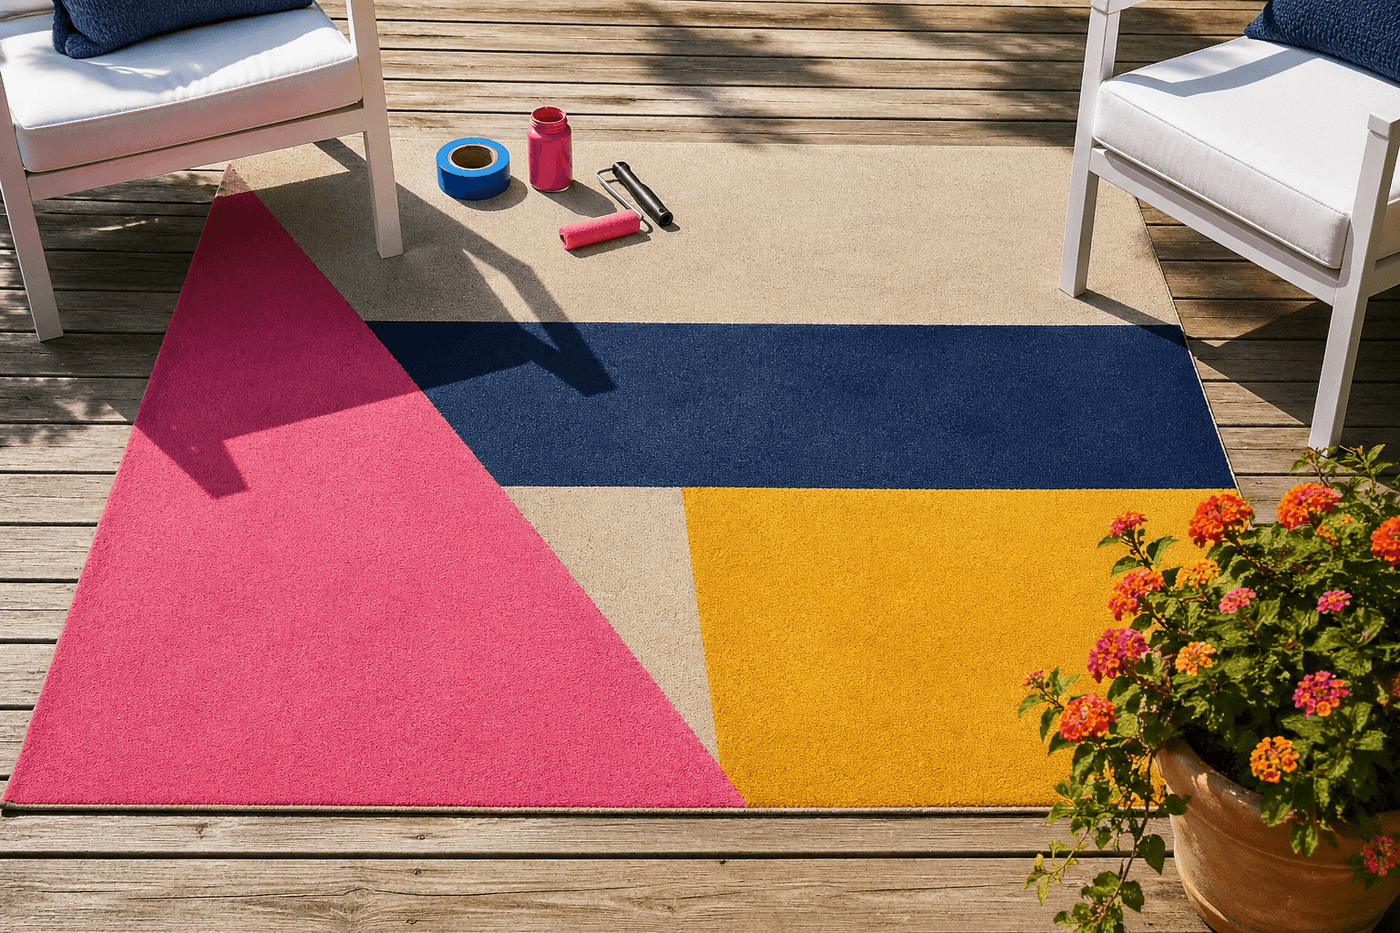
The outdoor rug market has a specific failure mode: the rugs that are bold and interesting enough to actually transform a patio cost $150 to $300, and the rugs priced for normal budgets are safe, beige, and completely forgettable. Painting your own with large-scale geometric color blocks solves this problem at the source — a plain tan or natural outdoor rug from any home goods store becomes the canvas, painter's tape becomes the design tool, and three or four colors of outdoor fabric paint become the statement that makes a patio look like someone with a genuine design point of view lives there. The scale of the shapes is what makes this project work: not small patterns or fussy details, but bold, confident blocks of color that read from across a yard and make the rug the visual anchor the rest of the patio furniture orbits around. Under $35 total, an afternoon of painting, and a finished piece so good that guests consistently refuse to believe it isn't a purchased designer rug.
What You Need
- Plain outdoor rug, solid color — beige, tan, cream, or natural jute work best as a neutral canvas; the rug surface should be relatively flat-weave rather than deep-pile, which absorbs too much paint and makes crisp tape edges impossible (~$15–20 for a 5×7 outdoor rug from home goods stores)
- Outdoor fabric paint or outdoor acrylic paint, 3–4 colors — DecoArt SoSoft Fabric Paint and Tulip Soft Fabric Paint both bond to outdoor rug fibers and remain flexible after curing; choose colors in an unexpected combination — hot pink, navy, and mustard; turquoise, coral, and lime; or burnt orange, cobalt, and cream (~$3–5 per 4 oz bottle, ~$12–15 total)
- Painter's tape, 1" or 2" width — the wider tape gives more margin for error at the edge and is easier to press firmly along its full length without gaps; use the blue low-adhesion variety specifically designed for delicate surfaces rather than standard masking tape, which can pull rug fibers when removed (~$4–6 per roll)
- Foam rollers, 4" width, qty 2–3 — one per color to avoid color contamination between sections; foam rollers work flat rug surfaces more evenly than brushes and produce the smooth, even paint coverage that makes color-blocked sections look intentional rather than hand-painted (~$2–3 each)
- Outdoor fabric sealer spray — two coats over the fully cured paint surface protect the finished design through weather, foot traffic, and regular outdoor use without dulling the color vibrancy (~$8–10)
- Large plastic drop cloth — for protecting the patio surface during painting; outdoor fabric paint that transfers to a deck or concrete surface is difficult to remove after it cures
- Chalk or fabric marker — for sketching the geometric design on the rug surface before applying tape, which prevents tape placement mistakes that require removal and repositioning
How to Paint It
- Lay the rug completely flat on a clean, dry surface covered with a drop cloth — an outdoor patio, driveway, or large garage floor all work well. Confirm the rug is fully flat with no buckling or curling at the edges before sketching any design; a rug that curls at the corners during painting produces tape lines that lift at the edges and allow paint to bleed underneath, which ruins the crisp geometric edges that make color-blocked designs look deliberate and professional.
- Sketch your geometric design directly on the rug surface with chalk or a fabric marker before applying any tape — draw the full design at actual size, standing back periodically to assess whether the scale of the shapes reads boldly enough from a standing distance. Shapes that look large when you're crouched over the rug sketching them often read as medium or even small once the rug is on the patio and viewed from five feet away; err dramatically toward larger shapes than feel comfortable at close range, and the finished piece will read with the bold, graphic confidence that makes this project work.
- Apply painter's tape precisely along every sketched design line, pressing the tape edge firmly against the rug surface along its full length using a credit card or your fingernail to seal it against the rug weave. The tape edge that faces the painted section needs to be the sealed edge — any gap between the tape and the rug fiber at the paint edge is where color bleeds underneath and softens the crisp line that defines the geometric shapes. Take an extra minute on every tape edge rather than proceeding with a section that has visible gaps between tape and rug surface.
- Paint the lightest color section first if your design includes colors of significantly different values — lighter colors painted over dried darker colors maintain their vibrancy better than darker colors painted over light ones, and starting light gives you maximum flexibility to adjust the remaining color placement as the design develops. Apply the first coat with a foam roller using firm, even pressure in a single direction, working the paint into the rug fibers rather than sitting on top of them where it will crack and peel under foot traffic.
- Apply a second coat of paint to each section after the first coat has dried for at least thirty minutes — outdoor rug fibers absorb the first coat into the weave, which produces a slightly mottled, uneven appearance that a second coat covers completely. Two coats of properly worked-in paint on outdoor rug fiber produces the solid, even color coverage that makes each section read as a distinct color block rather than a painted section of rug.
- Remove the painter's tape while the second coat is still slightly tacky — not wet, and not fully dry, but at the stage where the paint surface has a slight give when pressed lightly with a fingertip. Removing tape from fully dried outdoor fabric paint on rug fiber can pull the paint layer along with the tape at the edge, creating a ragged rather than crisp boundary between sections; removing it while still slightly tacky allows the paint to release cleanly from the tape adhesive without disrupting the paint layer beneath it.
- Re-tape and paint any sections requiring touch-up once all paint is fully dry — use the same technique of pressing tape edges firmly against the rug surface and applying two coats of paint with a foam roller. Touch-up sections are common at corner joints where two tape lines met at an angle and left a small unpainted gap; addressing these while the original paint is still fresh produces color matches that are invisible in the finished piece.
- Seal the entire finished rug with two coats of outdoor fabric sealer spray once all paint has cured for a full twenty-four hours, holding the can twelve inches above the surface and applying in slow, even overlapping passes across the full rug area. The sealer coat is what determines whether the color-blocked design looks vibrant after a full season of outdoor use or fades, cracks, and peels by midsummer — two sealer coats extend the design's durability dramatically and add a slight sheen that makes the finished rug look more polished and intentional from any viewing distance.
Interior designers who specify custom rugs for high-end outdoor spaces always select a color palette by pulling from two existing elements already present in the outdoor space — one color from the furniture fabric or cushions, one from a plant or architectural element like a door color or trim detail — and then introducing one completely unexpected accent color that doesn't appear anywhere else in the space. The two pulled colors create visual coherence between the rug and its environment, while the unexpected accent is what gives the finished piece the energy and surprise that makes it genuinely exciting rather than merely coordinated. A rug designed with all pulled colors looks considered but safe; the same rug with one bold unexpected accent looks like a genuine design decision that someone with real style made on purpose.














