DIY Projects

Recent Content

Wooden Boot Tray: The Slat Gap That Drains Right

Wooden Boot Tray: The Slat Gap That Drains Right

Build a slatted pine boot tray for about $20 in an afternoon. The slat gap is what lets meltwater drain instead of pooling and rotting your entryway floor.

Magnetic Window Sill Herb Garden: Renter-Safe Trick

Magnetic Window Sill Herb Garden: Renter-Safe Trick

Grow fresh herbs on a bare rental window with a no-drill hanging trick. Zero holes, zero residue, deposit safe. Winter greens for your tiny kitchen!

Build a Wooden Gift Wrap Station in 2 Hours for $28

Build a Wooden Gift Wrap Station in 2 Hours for $28

Stop wrestling curling paper on the floor! Build a slim wooden gift wrap station with a paper rod and ribbon pegs in 2 hours for $28, just in time for gifting.

Dollar Store Spice Tiers: The Riser Lip That Holds

Dollar Store Spice Tiers: The Riser Lip That Holds

Turn $1 plastic risers into a tiered cabinet spice organizer for about $8. The lip height is what stops jars from sliding forward.

Under-Bed Rolling Bins: Renter Storage Hack

Under-Bed Rolling Bins: Renter Storage Hack

Tiny space, big stash. Rolling under-bed bins add hidden storage with zero drilling, zero residue, and a safe deposit. Set up in 15 minutes!

logo
  • Home Improvement
  • DIY Projects
  • Interior Design
  • Gardening & Outdoor
  • Real Estate
  • Home Improvement
  • DIY Projects
  • Interior Design
  • Gardening & Outdoor
  • Real Estate
  • ​

Make Spiced Homemade Applesauce in 1 Hour for $12

The difference between chunky, watery applesauce and thick, jammy sauce comes down to one thing: cooking down the liquid before you blend, not after.

[#~image_alt_1~#]
DIY projects

Every fall my counter fills up with apples nobody's eating fast enough, and every fall I forget that the fix is embarrassingly simple. The mistake most people make with homemade applesauce is blending it while it's still watery from the cooking liquid — that's the single variable that separates thin, bland sauce from thick, spiced, jammy sauce that tastes like it came from a farm stand. Apples release a lot of water as they break down, and if you puree that liquid right in, you dilute both the flavor and the texture. Simmer uncovered for the last 10 minutes to let steam escape before you blend, and you get a completely different result. This batch takes about an hour start to finish and costs around $12 for a solid 6-cup batch, most of that going to the apples themselves.

What You'll Need

  • Ingredients (~$12 total):
  • 3 pounds mixed apples, a blend of sweet and tart varieties like Honeycrisp and Granny Smith (~$6)
  • 1/2 cup water or apple cider (~$1)
  • 1/4 cup brown sugar, adjust to taste (~$1)
  • 1 teaspoon ground cinnamon (~$1)
  • 1/4 teaspoon ground nutmeg (~$1)
  • 1/4 teaspoon ground ginger (~$1)
  • 1 tablespoon lemon juice, keeps the color bright (~$1)
  • Tools:
  • Apple peeler-corer-slicer (optional but a huge time-saver)
  • Large heavy-bottomed pot with lid
  • Immersion blender or potato masher
  • Wooden spoon
  • Glass storage jars or freezer-safe containers

How to Do It

  1. Wash and core all the apples, peeling is optional since peels break down fine in a blender and add fiber and color, but peel them if you want an ultra-smooth texture.
  2. Chop the apples into roughly 1-inch chunks so they cook evenly and break down at the same rate — uneven pieces mean some turn to mush while others stay firm.
  3. Combine the apples, water or cider, and lemon juice in the pot, then cover and simmer over medium-low heat for 20-25 minutes, stirring occasionally so nothing scorches on the bottom.
  4. Check for doneness by pressing a piece against the side of the pot — it should mash easily with almost no resistance before you move on.
  5. Uncover the pot and simmer for another 8-10 minutes to let excess water evaporate — this is the step people skip, and it's exactly why store-bought-thin sauce happens instead of thick, spoonable sauce.
  6. Stir in the brown sugar, cinnamon, nutmeg, and ginger while the apples are still hot, since the residual heat helps the spices bloom and fully dissolve into the sauce.
  7. Blend to your preferred texture, using an immersion blender for silky-smooth sauce or a potato masher for a rustic, chunky version.
  8. Cool completely before transferring to jars, since sealing hot sauce traps condensation that can shorten its fridge life — it keeps about 2 weeks refrigerated or 3 months frozen.
DESIGNER TIP

Recipe developers at small-batch preserving companies always reserve one tart apple variety like Granny Smith for every three sweet ones, since the natural pectin and acidity in tart apples help the sauce set up thicker without needing added starch or extra cook time.
Related Content

DIY Projects

02 December 2026

Post

Build a Wooden Gift Wrap Station in 2 Hours for $28

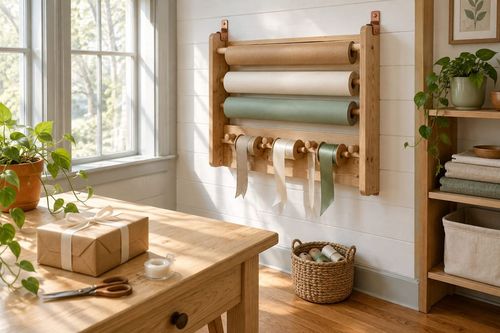
Stop wrestling curling paper on the floor! Build a slim wooden gift wrap station with a paper rod and ribbon pegs in 2 hours for $28, just in time for gifting....

DIY Projects

30 November 2026

Post

Jar Lid Magnet Board: The Backing That Holds

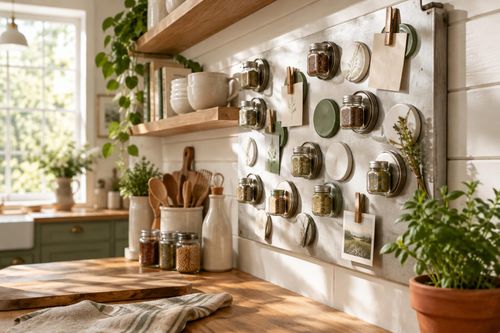
Turn old jar lids into a magnetic spice and note board for about $12. The right magnet backing is what keeps lids from sliding off. Easy Monday upcycle!...

DIY Projects

30 November 2026

Post

Make Felted Wool Dryer Sachets in 45 Minutes for $12

Skip the pricey scented sheets! Sew wool-and-lavender dryer sachets in 45 minutes for $12 and give every winter laundry load a fresh, cozy upgrade....

DIY Projects

28 November 2026

Post

Make Hand-Stamped Wooden Ornaments in 2 Hours for $18

Wood slices, a wood-burning-free stamp trick, and sealant turn into keepsake ornaments that survive decades of holiday boxes. Cute, cheap, and totally doable!...

DIY Projects

27 November 2026

Post

Make Salt Dough Gift Ornaments in 2 Hours for $12

Flour, salt, and a low oven turn into keepsake ornaments that last for decades. Beginner-friendly, kid-approved, and ready to hang in about 2 hours for $12....

DIY Projects

26 November 2026

Post

Thread Spool Garland: Why Tension Ties Matter

Turn a hand-stitched wreath into calm: a mindful beaded-thread garland for $9 where even tension is what keeps every bead from sliding into a slump....

DIY Projects

26 November 2026

Post

Build a Wooden Cutting Board Oil Kit in 1 Hour for $20

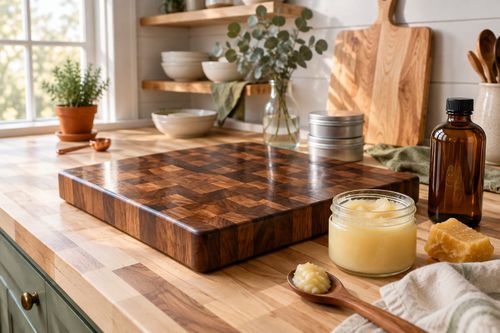
Dry cutting boards crack and harbor bacteria. Whip up a food-safe board butter in an hour for $20 and keep your boards gorgeous for years....

DIY Projects

25 November 2026

Post

Wooden Spice Rack: The Shelf Lip Height That Holds

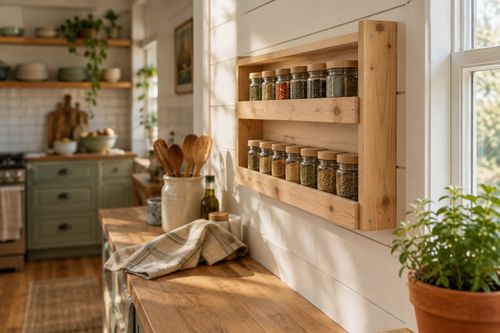
Build a slim pine wall spice rack in an afternoon for about $18. The shelf lip height is what keeps jars from sliding off. Beginner-friendly....

DIY Projects

24 November 2026

Post

Foil Pan Light Reflector: The Tab Fold That Holds

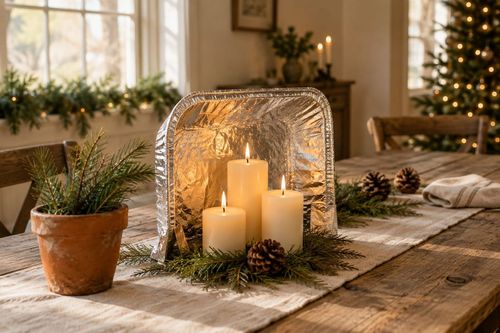
Turn a $1 foil pan into a Christmas-ready tabletop candle reflector for under $5. The tab fold is what keeps it standing, not slumping....

DIY Projects

24 November 2026

Post

Sew a Rice-Weighted Hand Warmer Set in 1 Hour for $14

Cold hands at the bus stop? Sew reusable flannel hand warmers filled with rice and cloves in an hour for $14. Zap, pocket, and enjoy cozy fingers all winter....

DIY Projects

22 November 2026

Post

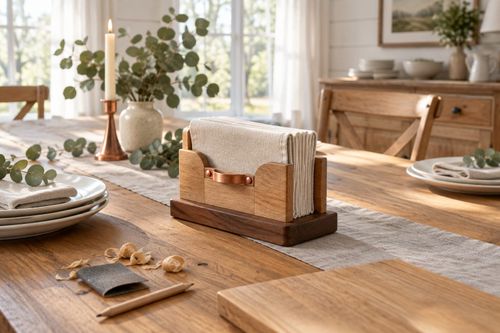
Build a Wooden Napkin Holder in 1 Hour for $15

Stop napkins from flying off the table! Build a weighted wooden napkin holder in an hour for $15 and be ready for holiday hosting. Beginner friendly....

DIY Projects

21 November 2026

Post

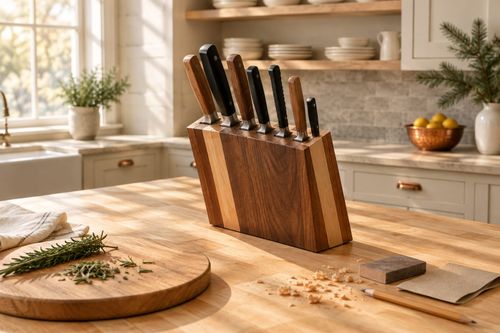
Build a Wooden Knife Block in 2 Hours for $28

Ditch the dull-blade drawer shuffle! Build a slotted hardwood knife block in 2 hours for $28 and get holiday-ready prep space with safer, sharper knives....

DIY Projects

20 November 2026

Post

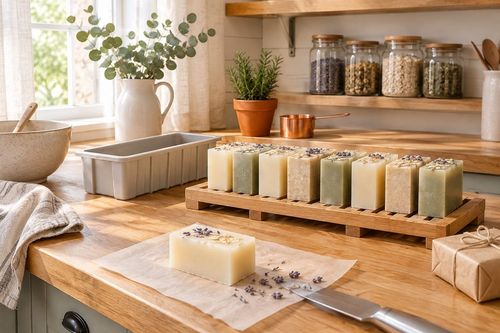
Make Hand-Poured Soap Bars in 1 Hour for $20

Skip the pricey boutique bars! Melt, scent, and pour your own glycerin soap in about an hour for $20. Cure-time secrets included, bubbles guaranteed....

DIY Projects

19 November 2026

Post

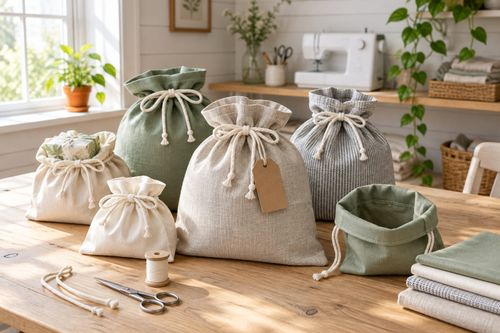
Sew Reusable Fabric Gift Bags in 90 Minutes for $15

Ditch the wrapping paper landfill! Sew drawstring fabric gift bags with French-folded hems in 90 minutes for $15 and reuse them every holiday for years....

DIY Projects

18 November 2026

Post

Wooden Tool Wall: The Pilot Hole Depth That Holds

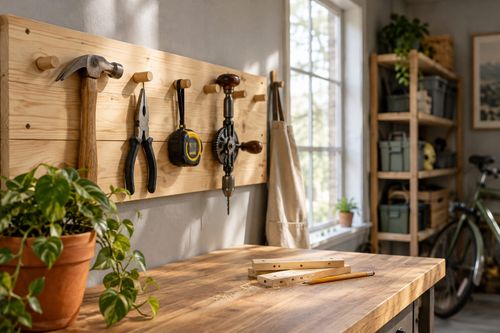
Build a pine wall-mounted tool rack for about $22. Pre-drilling pilot holes to the right depth keeps the wood from splitting and the pegs holding....
Terms and ConditionsDo Not Sell or Share My Personal InformationPrivacy PolicyPrivacy NoticeAccessibility NoticeUnsubscribe
Copyright © 2026 DIY HomeBoost