DIY Projects

Recent Content

Wooden Boot Tray: The Slat Gap That Drains Right

Wooden Boot Tray: The Slat Gap That Drains Right

Build a slatted pine boot tray for about $20 in an afternoon. The slat gap is what lets meltwater drain instead of pooling and rotting your entryway floor.

Magnetic Window Sill Herb Garden: Renter-Safe Trick

Magnetic Window Sill Herb Garden: Renter-Safe Trick

Grow fresh herbs on a bare rental window with a no-drill hanging trick. Zero holes, zero residue, deposit safe. Winter greens for your tiny kitchen!

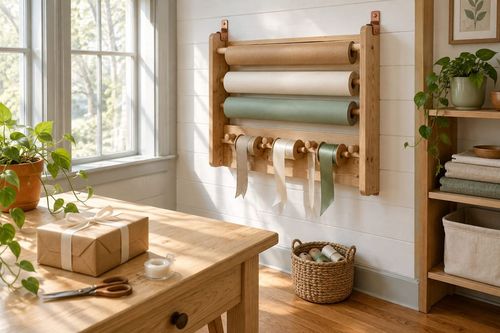
Build a Wooden Gift Wrap Station in 2 Hours for $28

Build a Wooden Gift Wrap Station in 2 Hours for $28

Stop wrestling curling paper on the floor! Build a slim wooden gift wrap station with a paper rod and ribbon pegs in 2 hours for $28, just in time for gifting.

Dollar Store Spice Tiers: The Riser Lip That Holds

Dollar Store Spice Tiers: The Riser Lip That Holds

Turn $1 plastic risers into a tiered cabinet spice organizer for about $8. The lip height is what stops jars from sliding forward.

Under-Bed Rolling Bins: Renter Storage Hack

Under-Bed Rolling Bins: Renter Storage Hack

Tiny space, big stash. Rolling under-bed bins add hidden storage with zero drilling, zero residue, and a safe deposit. Set up in 15 minutes!

logo
  • Home Improvement
  • DIY Projects
  • Interior Design
  • Gardening & Outdoor
  • Real Estate
  • Home Improvement
  • DIY Projects
  • Interior Design
  • Gardening & Outdoor
  • Real Estate
  • ​

Make Cedar Fire Starter Bundles in 45 Minutes for $14

Make Cedar Fire Starter Bundles in 45 Minutes for $14

The difference between a starter that lights in seconds and one that fizzles is a fully wax-saturated wick of shavings, not a surface dip.

[#~image_alt_1~#]
DIY projects

Anyone who has crouched at a cold hearth burning through a whole pile of newspaper knows the frustration of a fire that just won't catch. The distinction between a fire starter that lights in seconds and one that sputters out comes down to one variable: how fully the wax soaks into the fibers. Wax that only coats the surface burns off in moments, while wax that saturates the cedar shavings acts like a candle wick, burning steadily for 8 to 10 minutes, long enough to ignite kindling. Pouring the wax at the right temperature, hot but not smoking, makes that deep soak happen. Expect about 45 minutes of hands-on time and roughly $14 total for a batch of two dozen starters that will carry you through the coldest weeks of winter.

What You'll Need

  • Materials (~$14 total):
  • 1 lb soy or paraffin candle wax pellets (~$8)
  • 1 bag cedar or pine shavings, about 2 quarts (~$4)
  • 1 standard 12-cup cardboard egg carton, paper or cardboard only, not foam (free, recycled)
  • Cotton kitchen twine or cotton wicks, about 10 feet (~$2)
  • Tools:
  • Old metal pot or coffee can set in a saucepan of simmering water (thrift store, ~$0-3)
  • Candy or wax thermometer (optional, ~$0 if borrowed)
  • Old spoon or stir stick and newspaper to protect your work surface

How to Do It

  1. Prepare your workspace by covering a counter with newspaper and placing the egg carton on a baking sheet. The sheet catches drips and makes moving the filled cups easy.
  2. Fill each egg cup loosely with cedar shavings, mounding them slightly. Loose packing leaves air gaps so wax can flow all the way through instead of pooling on top.
  3. Cut your twine into 2-inch pieces and push one into each cup so a half inch pokes out. This tail is the wick you will light, so it should stand upright from the shavings.
  4. Melt the wax in your pot set over simmering water, never directly over a flame, since wax is flammable. Heat gently to about 160-175°F, hot enough to flow freely but well below its flash point.
  5. Pour the wax slowly into each cup until the shavings are just covered. Pausing halfway and letting it sink in is the key to saturation, so top up any cups where the wax soaks down.
  6. Cool the carton for about 30 minutes until the wax is fully hard and opaque. Rushing this means soft centers that crumble when you pull them apart.
  7. Separate the cups by tearing or cutting the carton apart. Each cup becomes its own starter, and the cardboard burns along with the wax.
  8. Store the starters in a covered metal tin or paper bag near the fireplace, away from heat sources and children. To use, place one under your kindling and light the twine tail.
DESIGNER TIP

Professional chimney sweeps recommend stacking your kindling in a log-cabin square above the starter rather than piling it on top, since fire needs airflow from below to climb. Set one starter in the center, build two layers of crossed, finger-thick sticks around it, and light the twine tail. The open structure lets the flame draw air and ignite the whole stack within minutes.
Related Content

DIY Projects

02 December 2026

Post

Build a Wooden Gift Wrap Station in 2 Hours for $28

Stop wrestling curling paper on the floor! Build a slim wooden gift wrap station with a paper rod and ribbon pegs in 2 hours for $28, just in time for gifting....

DIY Projects

30 November 2026

Post

Jar Lid Magnet Board: The Backing That Holds

Turn old jar lids into a magnetic spice and note board for about $12. The right magnet backing is what keeps lids from sliding off. Easy Monday upcycle!...

DIY Projects

30 November 2026

Post

Make Felted Wool Dryer Sachets in 45 Minutes for $12

Skip the pricey scented sheets! Sew wool-and-lavender dryer sachets in 45 minutes for $12 and give every winter laundry load a fresh, cozy upgrade....

DIY Projects

28 November 2026

Post

Make Hand-Stamped Wooden Ornaments in 2 Hours for $18

Wood slices, a wood-burning-free stamp trick, and sealant turn into keepsake ornaments that survive decades of holiday boxes. Cute, cheap, and totally doable!...

DIY Projects

27 November 2026

Post

Make Salt Dough Gift Ornaments in 2 Hours for $12

Flour, salt, and a low oven turn into keepsake ornaments that last for decades. Beginner-friendly, kid-approved, and ready to hang in about 2 hours for $12....

DIY Projects

26 November 2026

Post

Thread Spool Garland: Why Tension Ties Matter

Turn a hand-stitched wreath into calm: a mindful beaded-thread garland for $9 where even tension is what keeps every bead from sliding into a slump....

DIY Projects

26 November 2026

Post

Build a Wooden Cutting Board Oil Kit in 1 Hour for $20

Dry cutting boards crack and harbor bacteria. Whip up a food-safe board butter in an hour for $20 and keep your boards gorgeous for years....

DIY Projects

25 November 2026

Post

Wooden Spice Rack: The Shelf Lip Height That Holds

Build a slim pine wall spice rack in an afternoon for about $18. The shelf lip height is what keeps jars from sliding off. Beginner-friendly....

DIY Projects

24 November 2026

Post

Foil Pan Light Reflector: The Tab Fold That Holds

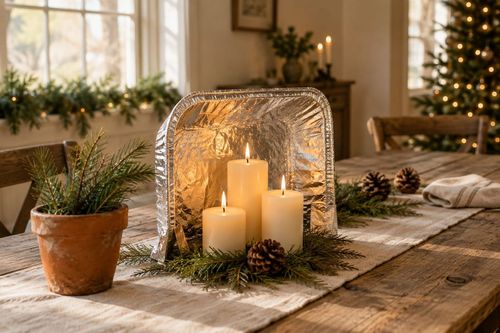
Turn a $1 foil pan into a Christmas-ready tabletop candle reflector for under $5. The tab fold is what keeps it standing, not slumping....

DIY Projects

24 November 2026

Post

Sew a Rice-Weighted Hand Warmer Set in 1 Hour for $14

Cold hands at the bus stop? Sew reusable flannel hand warmers filled with rice and cloves in an hour for $14. Zap, pocket, and enjoy cozy fingers all winter....

DIY Projects

22 November 2026

Post

Build a Wooden Napkin Holder in 1 Hour for $15

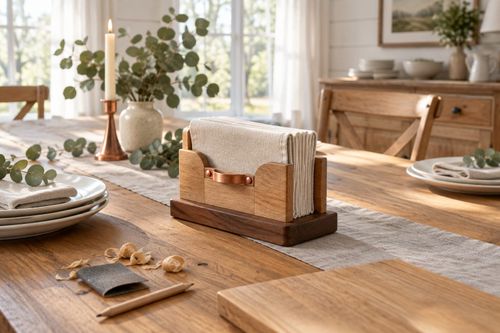
Stop napkins from flying off the table! Build a weighted wooden napkin holder in an hour for $15 and be ready for holiday hosting. Beginner friendly....

DIY Projects

21 November 2026

Post

Build a Wooden Knife Block in 2 Hours for $28

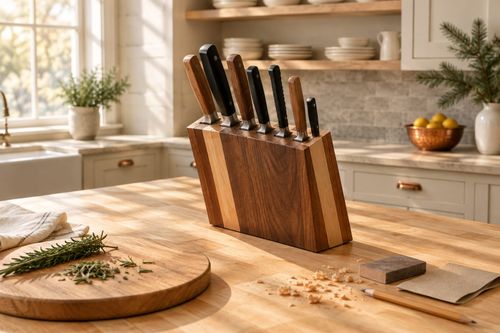
Ditch the dull-blade drawer shuffle! Build a slotted hardwood knife block in 2 hours for $28 and get holiday-ready prep space with safer, sharper knives....

DIY Projects

20 November 2026

Post

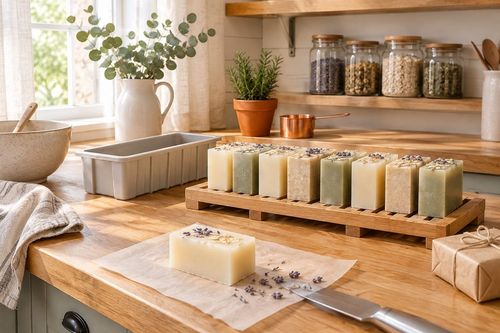
Make Hand-Poured Soap Bars in 1 Hour for $20

Skip the pricey boutique bars! Melt, scent, and pour your own glycerin soap in about an hour for $20. Cure-time secrets included, bubbles guaranteed....

DIY Projects

19 November 2026

Post

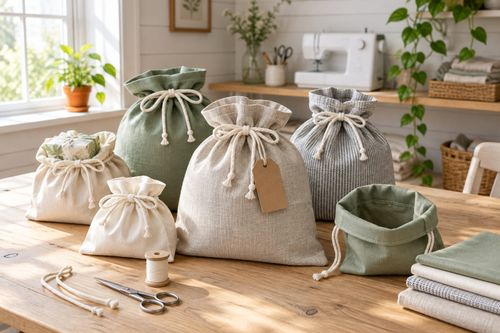
Sew Reusable Fabric Gift Bags in 90 Minutes for $15

Ditch the wrapping paper landfill! Sew drawstring fabric gift bags with French-folded hems in 90 minutes for $15 and reuse them every holiday for years....

DIY Projects

18 November 2026

Post

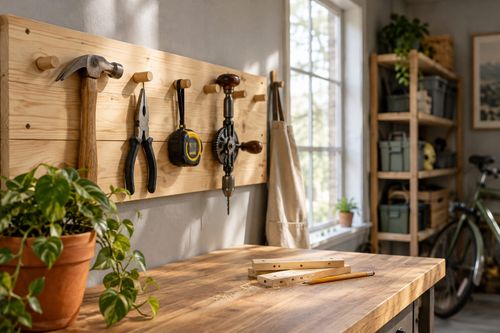
Wooden Tool Wall: The Pilot Hole Depth That Holds

Build a pine wall-mounted tool rack for about $22. Pre-drilling pilot holes to the right depth keeps the wood from splitting and the pegs holding....
Terms and ConditionsDo Not Sell or Share My Personal InformationPrivacy PolicyPrivacy NoticeAccessibility NoticeUnsubscribe
Copyright © 2026 DIY HomeBoost