DIY Projects

Recent Content

Cedar Birdhouse: Why the Drain Holes Matter

Cedar Birdhouse: Why the Drain Holes Matter

Build a simple cedar birdhouse in an afternoon for about $15. Drilling drain holes in the floor keeps rain from pooling and rotting the nest. Beginner-friendly.

Make Leather-Look Luggage Tags in 40 Minutes for $12

Make Leather-Look Luggage Tags in 40 Minutes for $12

Last-minute gift panic? Cut, stamp, and rivet your own faux-leather luggage tags in 40 minutes for $12 and send someone off in style. No sewing needed!

Renter-Safe Over-Sink Cutting Board Trick for Tiny Kitchens

Renter-Safe Over-Sink Cutting Board Trick for Tiny Kitchens

No counter space? Slide a cutting board over your sink for instant prep room. No drilling, no residue, deposit safe. Easy renter win in 5 minutes!

Dollar Store Tinsel Tree: The Cone Base That Stands

Dollar Store Tinsel Tree: The Cone Base That Stands

Turn a $1 foam cone and dollar-store tinsel into a glittery tabletop Christmas tree for under $8. A weighted base keeps it from tipping. Thrifty Tuesday!

Install Pipe Foam Insulation in 45 Minutes for $20

Install Pipe Foam Insulation in 45 Minutes for $20

Frozen pipes are a nightmare waiting for a cold snap. Snap on foam pipe sleeves in 45 minutes for $20 and sleep easy all winter. Zero plumbing skills needed!

logo
  • Home Improvement
  • DIY Projects
  • Interior Design
  • Gardening & Outdoor
  • Real Estate
  • Home Improvement
  • DIY Projects
  • Interior Design
  • Gardening & Outdoor
  • Real Estate
  • ​

Make a Wooden Ornament Hanger Rack in 2 Hours for $22

Make a Wooden Ornament Hanger Rack in 2 Hours for $22

Evenly spaced, properly sized dowel pegs are what keep ornaments hanging straight instead of sliding off or tangling into a heap.

[#~image_alt_1~#]
DIY projects

Every December I used to dig through a box of tangled ribbon loops and bent hooks just to hang a few ornaments, and half of them ended up on the floor. The difference between a rack that works and one that frustrates you comes down to peg spacing and angle: pegs set about 2 inches apart and drilled at a slight upward tilt let ornament loops settle against the wood instead of sliding off. Pegs drilled flat or crowded together let ribbons slip and glass bump into glass. This beginner-friendly build uses a single pine board, a drill, and glued dowels, and it takes about 2 hours and $22 total, including finish. Once it is done, you can display ornaments on a wall or mantel and store them organized.

What You'll Need

  • Materials (~$22 total):
  • One 1x4 pine board, 36 inches long (~$7)
  • Eight 3/8-inch hardwood dowel pegs, 2 inches long (~$4)
  • Wood glue (~$4 for a small bottle)
  • Fine-grit 220 sandpaper (~$2)
  • Water-based clear polyurethane or white paint, small can (~$5)
  • Two heavy-duty sawtooth picture hangers and four 3/4-inch nails (~$0 if you have them)
  • Tools:
  • Drill with a 3/8-inch bit
  • Pencil and tape measure
  • Painter's tape (to mark drill depth)
  • Small hammer
  • Paintbrush

How to Do It

  1. Measure and mark the board centerline lengthwise, then mark eight points 4 inches apart starting 2 inches from each end. Even spacing keeps ornaments from bumping each other.
  2. Sand the whole board, including the edges, with 220-grit paper. Splinters catch ribbon loops and snag fabric ornaments, so smooth now saves trouble later.
  3. Wrap painter's tape around the drill bit about 1/2 inch from the tip. This is a depth flag, so you drill deep enough to hold the dowel without poking through the front.
  4. Drill each hole at a slight upward tilt, around 10 to 15 degrees. The tilt is what keeps ornament loops from sliding off the pegs, so do not skip it.
  5. Glue a dab of wood glue into each hole and tap in a dowel peg until it bottoms out. Wipe squeeze-out right away, since dried glue repels finish and shows through.
  6. Let the glue cure for at least 30 minutes before handling. Loading a peg too soon can loosen the bond and leave you with a wobbly rack.
  7. Finish with two thin coats of clear polyurethane or paint, sanding lightly between coats. A sealed surface resists dust and the occasional glitter spill.
  8. Mount the rack by nailing two sawtooth hangers on the back, then hang it on a wall stud or with anchors. Test with a few ornaments before loading the whole rack.
DESIGNER TIP

Retail visual merchandisers hang ornaments by size and color in gradient rows rather than mixing them randomly, which makes a small display look intentional. Put your largest ornaments on the outer pegs and taper to the smallest in the center, then group colors in pairs. Leave one empty peg between groups so the eye has room to rest.

Related Content

DIY Projects

23 December 2026

Post

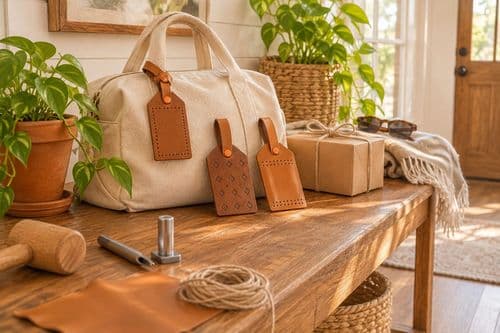
Make Leather-Look Luggage Tags in 40 Minutes for $12

Last-minute gift panic? Cut, stamp, and rivet your own faux-leather luggage tags in 40 minutes for $12 and send someone off in style. No sewing needed!...

DIY Projects

22 December 2026

Post

Dollar Store Tinsel Tree: The Cone Base That Stands

Turn a $1 foam cone and dollar-store tinsel into a glittery tabletop Christmas tree for under $8. A weighted base keeps it from tipping. Thrifty Tuesday!...

DIY Projects

21 December 2026

Post

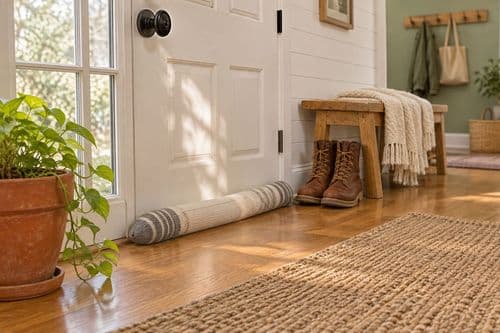
Sock Draft Snakes: The Fill Weight That Seals Gaps

Turn old socks and rice into a draft-blocking door snake for about $3. Filling it to the right weight is what keeps it hugging the floor. Easy Monday upcycle!...

DIY Projects

20 December 2026

Post

Make Citrus Sugar Scrub Jars in 30 Minutes for $14

Skip the $20 spa-aisle jars! Mix sugar, oil, and zest into silky citrus scrubs in 30 minutes for $14. Gift-ready, beginner-easy, and smells like sunshine....

DIY Projects

19 December 2026

Post

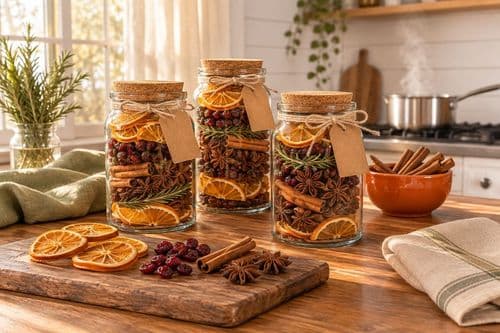
Make a Stovetop Potpourri Jar Kit in 30 Minutes for $14

Fill your home with real holiday scent! Layer dried citrus, cranberries, and spices into gift-ready jars in 30 minutes for $14. No candles, no fuss....

DIY Projects

18 December 2026

Post

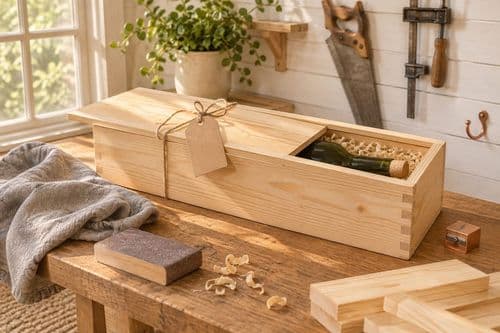
Make a Wooden Bottle Gift Crate in 2 Hours for $22

Gift a bottle in a handmade pine crate with sliding lid! Build it in 2 hours for $22 and make your holiday present look boutique. Beginner friendly and fast....

DIY Projects

17 December 2026

Post

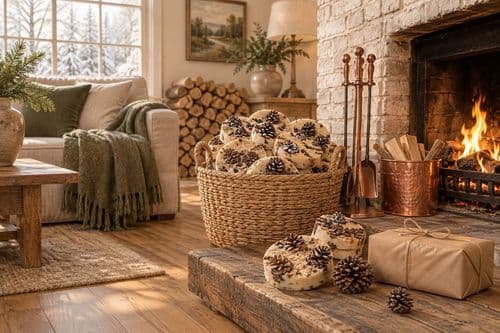
Make Pine Cone Fire Logs in 1 Hour for $12

Turn dryer lint-free scraps into cozy fire-starting magic! Make wax-and-sawdust log rounds in an hour for $12 and light winter fires with zero frustration....

DIY Projects

16 December 2026

Post

Wooden Cutting Board Stand: The Slot Width That Holds

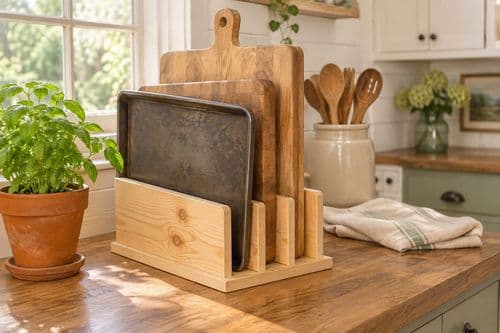
Build a pine cutting board and baking sheet stand in an afternoon for about $15. The slot width is what keeps boards upright instead of toppling over....

DIY Projects

16 December 2026

Post

Make Beeswax Candle Tins in 1 Hour for $18

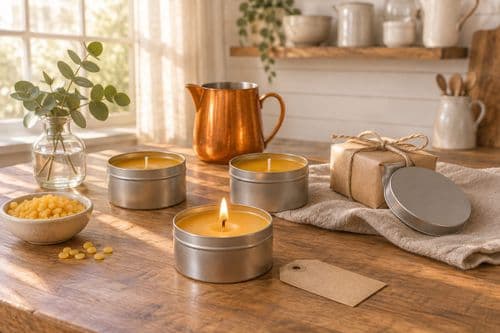
Pour your own travel candle tins in an hour for $18. Wick centering and a slow cool keep them burning clean, and they're gift-ready for the holidays....

DIY Projects

14 December 2026

Post

Cork Bulletin Board: Why Edge Glue Beats Center Glue

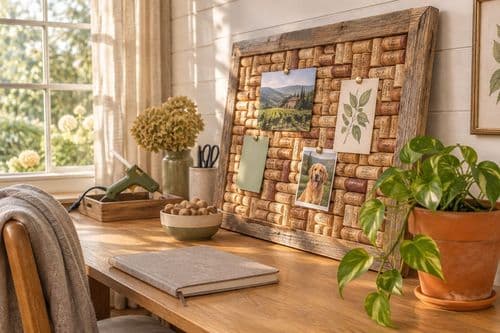
Turn old wine corks and a thrifted frame into a bold pin-up board for about $12. Gluing the edges first keeps the corks from popping loose....

DIY Projects

14 December 2026

Post

Sew Fabric Pot Holders in 1 Hour for $12

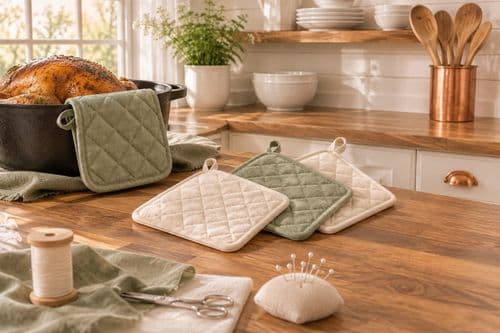
Burned fingers are so last year! Sew insulated pot holders with heat-safe batting in about an hour for $12 and handle holiday roasts like a pro....

DIY Projects

12 December 2026

Post

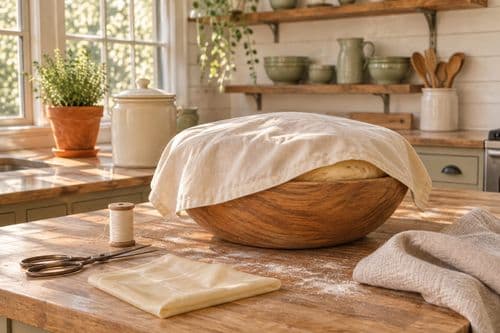
Make Natural Wood Bowl Dough Rising Cover in 1 Hour for $14

Bake-day hack! Sew a waxed-lined cotton bread proofing cover in an hour for $14 and keep holiday dough from drying out into a crusty, flat-risen letdown....

DIY Projects

10 December 2026

Post

Make Gingerbread Scented Play Dough in 30 Minutes for $8

Mix up soft, spice-scented gingerbread play dough in 30 minutes for $8. Cozy, kid-safe, and the perfect rainy December afternoon rescue. Squish away!...

DIY Projects

09 December 2026

Post

Make Beeswax Citrus Pomander Balls in 1 Hour for $12

Studded oranges that smell like the holidays and last for years? Make clove pomander balls in an hour for $12. Sticky fingers, big payoff....

DIY Projects

03 December 2026

Post

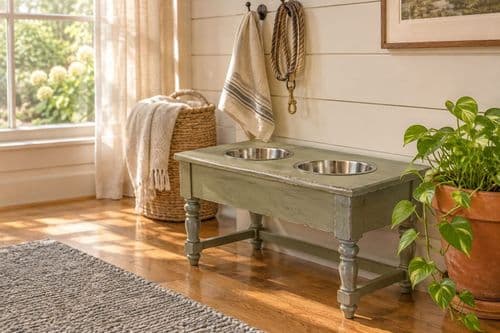
Side Table to Pet Feeder: The Bowl Rim Cutout

Turn a thrifted side table into a pet feeding station for about $25. Cutting the hole smaller than the bowl rim keeps bowls from sinking or sliding. (158 chars)...
Terms and ConditionsDo Not Sell or Share My Personal InformationPrivacy PolicyPrivacy NoticeAccessibility NoticeUnsubscribe
Copyright © 2026 DIY HomeBoost