
Make a Paper Flower Garland for Parties for $8
Fifteen big blooms, one hour of folding, and your backyard becomes the most festive space on the block
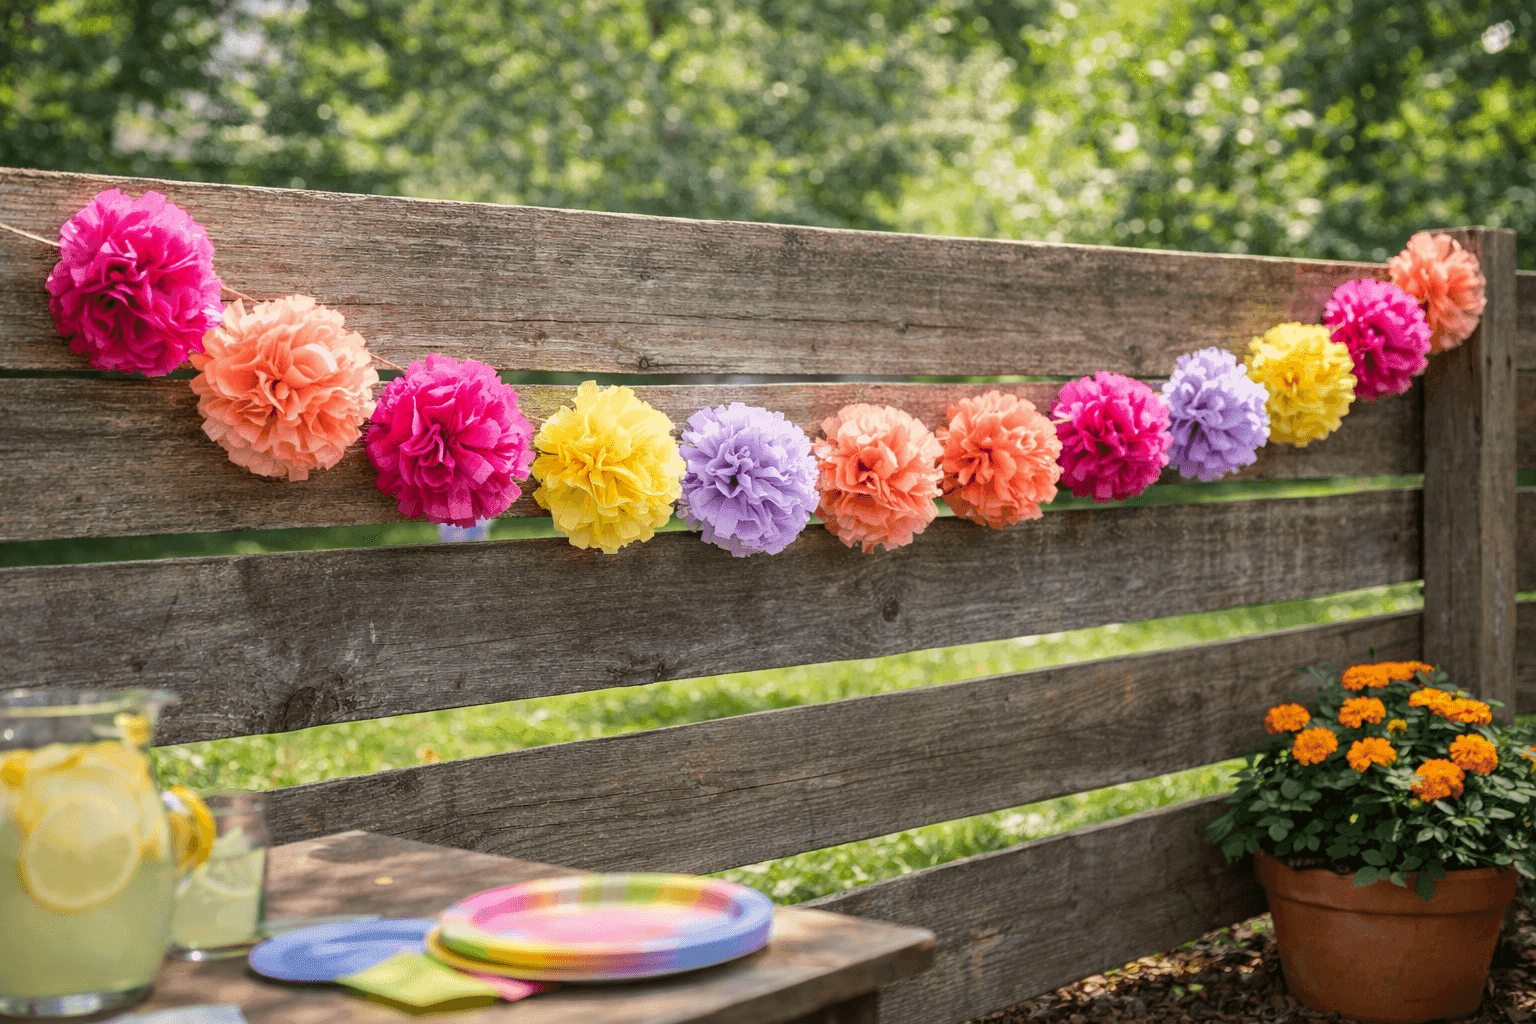
If you have ever spent real money on party decorations that looked exactly like what they were — store-bought and slightly disappointing — tissue paper flower garlands are the project that permanently changes your approach to outdoor celebrations. A stack of tissue paper sheets accordion-folded and fluffed into a full rounded bloom looks so genuinely lush and professional that guests will assume you rented them from a party styling company, and the whole fifteen-flower garland costs about $8 in materials and an hour of satisfying, rhythmic handwork to produce. The finished blooms catch every breeze and shimmer in a way that no plastic or fabric decoration ever quite replicates, and the color combinations are entirely yours — match your party palette exactly rather than settling for whatever the party store happened to stock. This is the decoration project that becomes a permanent part of how you celebrate once you make it the first time.
What You Need
- Tissue paper in coordinating colors — standard 20×26-inch sheets; three to four packs of mixed colors gives you enough variety for a fifteen-flower garland (~$6–8 total)
- Floral wire, 26-gauge — for cinching the center of each accordion-folded stack; pre-cut lengths of about 6 inches work well (~$3 for a spool that lasts indefinitely)
- Jute twine or ribbon — for stringing the finished blooms into a garland; natural jute reads beautifully against bright paper colors (~$3–4 for a roll)
- Scissors — sharp fabric scissors give cleaner petal edges than craft scissors, though either works
- Ruler and pencil — for marking consistent one-inch fold increments on the first few flowers until the spacing becomes intuitive
- Clothespins or binder clips — optional, for holding accordion folds in place while you work the wire
How to Make Them
- Stack eight to ten sheets of tissue paper in your chosen colors, layering them flat and aligned. Mixing two or three colors in a single stack creates blooms with a naturally ombré, multi-toned effect — alternating colors produce a more graphic, striped petal look when fluffed.
- Fold the entire stack accordion-style in one-inch increments, working from one short end to the other and creasing each fold firmly as you go. Consistent fold width is the single factor that determines whether your finished bloom looks full and even or lopsided and thin — take an extra moment on the first flower to get your spacing right and the rest will follow naturally.
- Pinch the fully folded stack at its center and wrap a six-inch length of floral wire tightly around the midpoint two or three times, twisting the ends together firmly to secure. The wire cinch needs to hold under the tension of fluffing, so pull it snug before twisting.
- Round the petal edges by trimming both short ends of the folded stack into a gentle curve or point with scissors — a curved cut produces rounded petals like a peony, while a pointed cut gives you something more like a dahlia. Cut through all layers at once for consistent petal shapes across the whole bloom.
- Fan the accordion folds open on both sides of the wire center so the stack forms a flat oval, then begin separating the individual tissue layers by gently pulling each sheet upward and toward the center one at a time. Work from the outermost layers inward on both sides alternately rather than pulling all layers from one side first.
- Fluff and shape the bloom by cupping it gently in both hands and easing the layers into a full rounded sphere — tissue paper is forgiving and tears less than you expect if you work slowly. This fluffing step transforms a flat fan of paper into a dimensional bloom and cannot be rushed; it's where the flower actually comes to life.
- Repeat for all fifteen flowers, varying your color combinations across the batch. Lay the finished blooms out in your intended garland sequence before stringing to confirm the color distribution reads well as a whole — clusters of the same color tend to visually flatten the garland, while alternating and grouping in threes creates more energy.
- String the finished blooms onto your jute twine by threading the wire tails from each flower's center around the twine and twisting them closed, spacing flowers approximately six inches apart. Hang the garland at a slight drape rather than pulled taut — a gentle swag lets the blooms face outward naturally and catches the breeze far more dramatically than a straight, tight line.
Event stylists who work with paper florals professionally always vary bloom size deliberately across a garland rather than making every flower the same diameter — they use ten-sheet stacks for large anchor blooms, six-sheet stacks for medium filler flowers, and four-sheet stacks for small accent pieces, then distribute the three sizes in a loose pattern of large-medium-small-medium-large across the length of the garland. The size variation creates the same visual rhythm that floral designers use in fresh arrangements, and it makes an $8 paper garland read with the same compositional sophistication as professional event décor. Simply adjusting sheet count per flower costs nothing and takes the finished piece from festive to genuinely impressive.














