DIY Projects

Recent Content

Wooden Boot Tray: The Slat Gap That Drains Right

Wooden Boot Tray: The Slat Gap That Drains Right

Build a slatted pine boot tray for about $20 in an afternoon. The slat gap is what lets meltwater drain instead of pooling and rotting your entryway floor.

Magnetic Window Sill Herb Garden: Renter-Safe Trick

Magnetic Window Sill Herb Garden: Renter-Safe Trick

Grow fresh herbs on a bare rental window with a no-drill hanging trick. Zero holes, zero residue, deposit safe. Winter greens for your tiny kitchen!

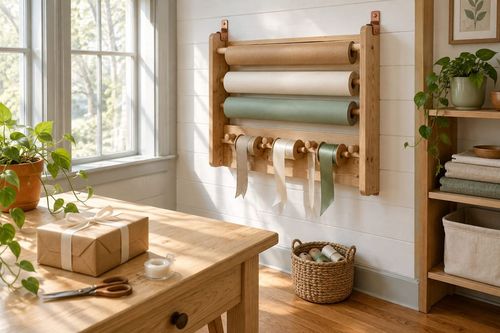
Build a Wooden Gift Wrap Station in 2 Hours for $28

Build a Wooden Gift Wrap Station in 2 Hours for $28

Stop wrestling curling paper on the floor! Build a slim wooden gift wrap station with a paper rod and ribbon pegs in 2 hours for $28, just in time for gifting.

Dollar Store Spice Tiers: The Riser Lip That Holds

Dollar Store Spice Tiers: The Riser Lip That Holds

Turn $1 plastic risers into a tiered cabinet spice organizer for about $8. The lip height is what stops jars from sliding forward.

Under-Bed Rolling Bins: Renter Storage Hack

Under-Bed Rolling Bins: Renter Storage Hack

Tiny space, big stash. Rolling under-bed bins add hidden storage with zero drilling, zero residue, and a safe deposit. Set up in 15 minutes!

logo
  • Home Improvement
  • DIY Projects
  • Interior Design
  • Gardening & Outdoor
  • Real Estate
  • Home Improvement
  • DIY Projects
  • Interior Design
  • Gardening & Outdoor
  • Real Estate
  • ​

Kintsugi Repair: The Break Becomes the Design

A rushed repair hides the crack under a thick smear of gold — the traditional technique instead uses just enough adhesive to fill the break exactly, which is what turns a crack into a deliberate gold line rather than a mess.
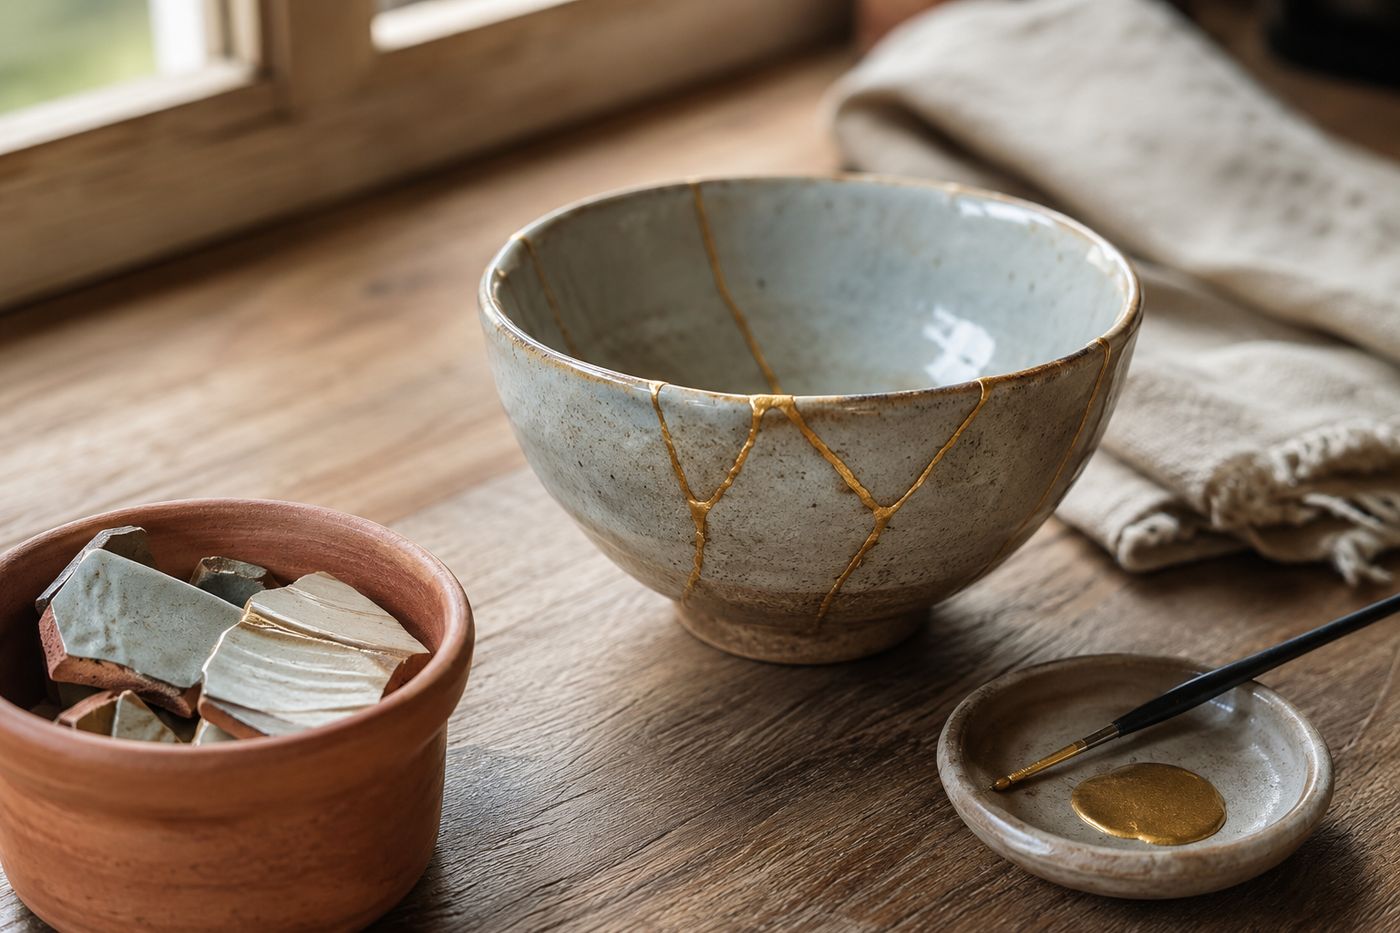
Repaired ceramic bowl showing thin gold kintsugi seams tracing the original crack lines, resting on a wooden table
DIY Projects

The whole visual philosophy of kintsugi depends on the gold line being thin and precise, tracing the exact path of the break rather than burying it — a heavy, imprecise application of adhesive turns a crack into a blob instead of a deliberate design element, which is the opposite of what this technique is meant to do. The distinction between a repair that reads as intentional gold seaming and one that just looks like a glued-together mistake comes down to how carefully the pieces are dry-fitted before any adhesive touches them, and how sparingly the gold-tinted mixture is applied along the actual break line once it does. Rushing either step, gluing pieces that don't quite align or slathering on more adhesive than the crack needs, undermines the entire visual effect this project is built around. Slow down through both of those steps, and the finished piece genuinely does read as more beautiful for having been broken. The full repair, plus a full cure, costs about $18 in materials and takes roughly 45 minutes of hands-on work.

What You'll Need

  • Broken ceramic piece, with its fragments kept together — a bowl, mug, or plate
  • Kintsugi repair kit (gold mica powder plus food-safe epoxy, or a pre-mixed gold adhesive kit) — about $15-18
  • Small mixing tray and stir stick
  • Fine-tip applicator (comes with most kits, or a small brush)
  • Painter's tape, for temporarily holding pieces in position while adhesive sets
  • Clean cloth, for wiping away any excess adhesive before it cures
  • Fine sandpaper (optional), for smoothing any raised seams once fully cured

How to Do It

  1. Clean every broken fragment thoroughly and let them dry fully, since any dust or residue along the break edges will prevent a clean, tight bond.
  2. Dry-fit all the pieces together before mixing any adhesive, checking that every fragment aligns precisely — this is the step most people rush, but a piece glued slightly misaligned will show a visible gap in the gold line no matter how carefully you apply the adhesive afterward.
  3. Mix your gold-tinted adhesive according to the kit's instructions, working in small batches so it doesn't begin curing before you've used it.
  4. Apply a thin, sparing line of the gold mixture along one broken edge, using just enough to fill the crack rather than mounding extra on top — a thin, precise line is what makes the repair read as intentional rather than repaired-in-a-hurry.
  5. Press the two pieces together firmly and hold, using painter's tape to keep them in position if the shape makes it difficult to hold by hand.
  6. Wipe away any excess adhesive that squeezes out along the seam immediately with a clean cloth, before it has a chance to cure in place.
  7. Continue piece by piece if there are multiple fragments, working through the full break in the order that lets each new piece register against an already-set piece rather than several loose fragments at once.
  8. Let the repair cure fully per the kit's instructions, typically 24 hours, before handling the piece again; lightly sand any raised seam once fully cured if you want the gold line perfectly flush with the surface.
DESIGNER TIP

Ceramic restorers who practice kintsugi as a craft often deliberately leave a small triangular chip missing from the repair rather than trying to force a perfect fit if a tiny fragment has gone missing entirely, filling that spot with a small pooled dot of the gold mixture instead of attempting to disguise the gap. The dot reads as an intentional design accent rather than a flaw, and it removes the pressure to achieve an impossible perfect fit when a fragment is simply gone.
Related Content

DIY Projects

02 December 2026

Post

Build a Wooden Gift Wrap Station in 2 Hours for $28

Stop wrestling curling paper on the floor! Build a slim wooden gift wrap station with a paper rod and ribbon pegs in 2 hours for $28, just in time for gifting....

DIY Projects

30 November 2026

Post

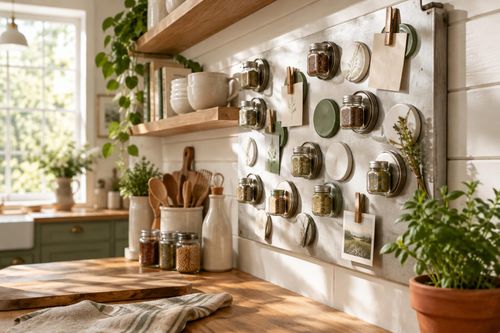
Jar Lid Magnet Board: The Backing That Holds

Turn old jar lids into a magnetic spice and note board for about $12. The right magnet backing is what keeps lids from sliding off. Easy Monday upcycle!...

DIY Projects

30 November 2026

Post

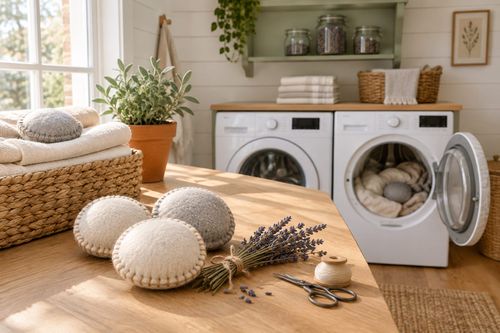
Make Felted Wool Dryer Sachets in 45 Minutes for $12

Skip the pricey scented sheets! Sew wool-and-lavender dryer sachets in 45 minutes for $12 and give every winter laundry load a fresh, cozy upgrade....

DIY Projects

28 November 2026

Post

Make Hand-Stamped Wooden Ornaments in 2 Hours for $18

Wood slices, a wood-burning-free stamp trick, and sealant turn into keepsake ornaments that survive decades of holiday boxes. Cute, cheap, and totally doable!...

DIY Projects

27 November 2026

Post

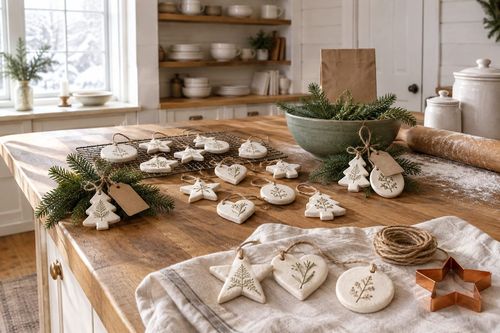
Make Salt Dough Gift Ornaments in 2 Hours for $12

Flour, salt, and a low oven turn into keepsake ornaments that last for decades. Beginner-friendly, kid-approved, and ready to hang in about 2 hours for $12....

DIY Projects

26 November 2026

Post

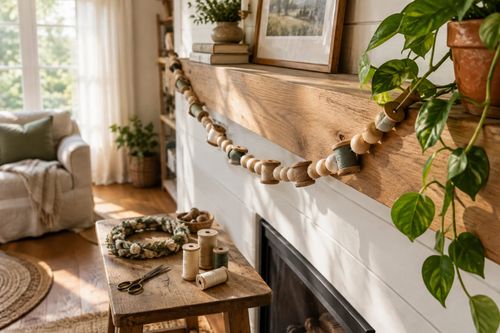
Thread Spool Garland: Why Tension Ties Matter

Turn a hand-stitched wreath into calm: a mindful beaded-thread garland for $9 where even tension is what keeps every bead from sliding into a slump....

DIY Projects

26 November 2026

Post

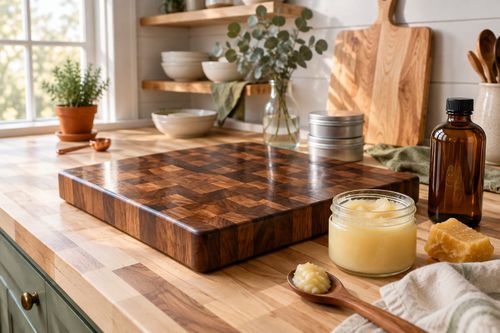
Build a Wooden Cutting Board Oil Kit in 1 Hour for $20

Dry cutting boards crack and harbor bacteria. Whip up a food-safe board butter in an hour for $20 and keep your boards gorgeous for years....

DIY Projects

25 November 2026

Post

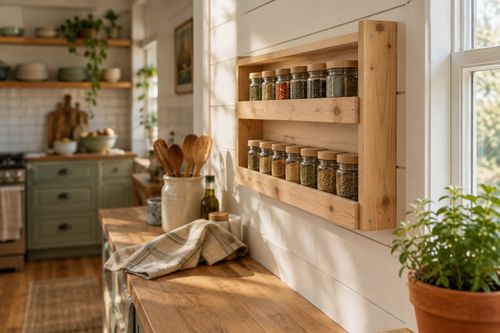
Wooden Spice Rack: The Shelf Lip Height That Holds

Build a slim pine wall spice rack in an afternoon for about $18. The shelf lip height is what keeps jars from sliding off. Beginner-friendly....

DIY Projects

24 November 2026

Post

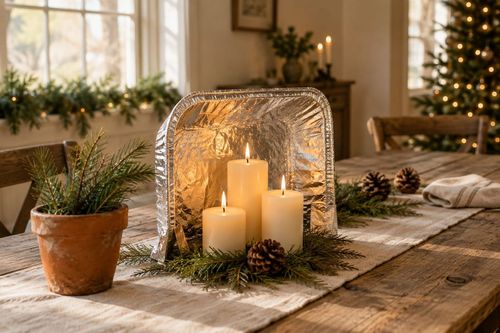
Foil Pan Light Reflector: The Tab Fold That Holds

Turn a $1 foil pan into a Christmas-ready tabletop candle reflector for under $5. The tab fold is what keeps it standing, not slumping....

DIY Projects

24 November 2026

Post

Sew a Rice-Weighted Hand Warmer Set in 1 Hour for $14

Cold hands at the bus stop? Sew reusable flannel hand warmers filled with rice and cloves in an hour for $14. Zap, pocket, and enjoy cozy fingers all winter....

DIY Projects

22 November 2026

Post

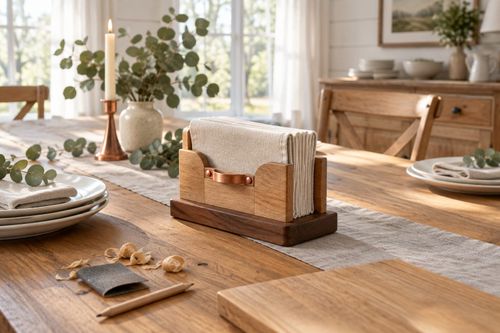
Build a Wooden Napkin Holder in 1 Hour for $15

Stop napkins from flying off the table! Build a weighted wooden napkin holder in an hour for $15 and be ready for holiday hosting. Beginner friendly....

DIY Projects

21 November 2026

Post

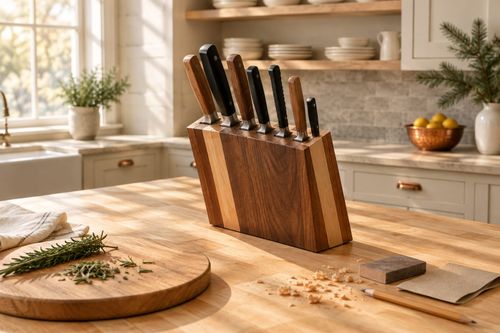
Build a Wooden Knife Block in 2 Hours for $28

Ditch the dull-blade drawer shuffle! Build a slotted hardwood knife block in 2 hours for $28 and get holiday-ready prep space with safer, sharper knives....

DIY Projects

20 November 2026

Post

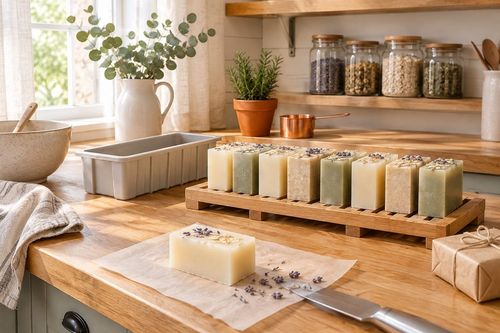
Make Hand-Poured Soap Bars in 1 Hour for $20

Skip the pricey boutique bars! Melt, scent, and pour your own glycerin soap in about an hour for $20. Cure-time secrets included, bubbles guaranteed....

DIY Projects

19 November 2026

Post

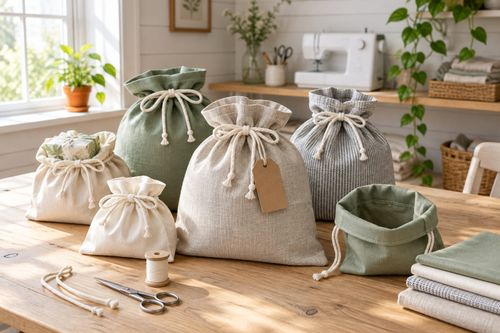
Sew Reusable Fabric Gift Bags in 90 Minutes for $15

Ditch the wrapping paper landfill! Sew drawstring fabric gift bags with French-folded hems in 90 minutes for $15 and reuse them every holiday for years....

DIY Projects

18 November 2026

Post

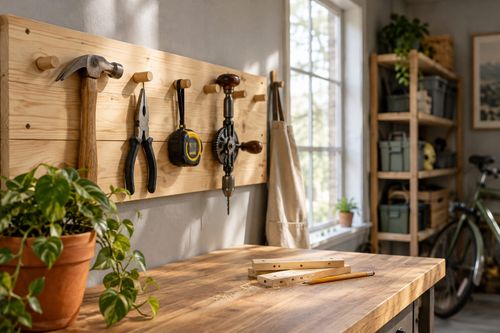
Wooden Tool Wall: The Pilot Hole Depth That Holds

Build a pine wall-mounted tool rack for about $22. Pre-drilling pilot holes to the right depth keeps the wood from splitting and the pegs holding....
Terms and ConditionsDo Not Sell or Share My Personal InformationPrivacy PolicyPrivacy NoticeAccessibility NoticeUnsubscribe
Copyright © 2026 DIY HomeBoost