DIY Projects

Recent Content

Wooden Boot Tray: The Slat Gap That Drains Right

Wooden Boot Tray: The Slat Gap That Drains Right

Build a slatted pine boot tray for about $20 in an afternoon. The slat gap is what lets meltwater drain instead of pooling and rotting your entryway floor.

Magnetic Window Sill Herb Garden: Renter-Safe Trick

Magnetic Window Sill Herb Garden: Renter-Safe Trick

Grow fresh herbs on a bare rental window with a no-drill hanging trick. Zero holes, zero residue, deposit safe. Winter greens for your tiny kitchen!

Build a Wooden Gift Wrap Station in 2 Hours for $28

Build a Wooden Gift Wrap Station in 2 Hours for $28

Stop wrestling curling paper on the floor! Build a slim wooden gift wrap station with a paper rod and ribbon pegs in 2 hours for $28, just in time for gifting.

Dollar Store Spice Tiers: The Riser Lip That Holds

Dollar Store Spice Tiers: The Riser Lip That Holds

Turn $1 plastic risers into a tiered cabinet spice organizer for about $8. The lip height is what stops jars from sliding forward.

Under-Bed Rolling Bins: Renter Storage Hack

Under-Bed Rolling Bins: Renter Storage Hack

Tiny space, big stash. Rolling under-bed bins add hidden storage with zero drilling, zero residue, and a safe deposit. Set up in 15 minutes!

logo
  • Home Improvement
  • DIY Projects
  • Interior Design
  • Gardening & Outdoor
  • Real Estate
  • Home Improvement
  • DIY Projects
  • Interior Design
  • Gardening & Outdoor
  • Real Estate
  • ​

Harvest Elegance: Wheat Bundle Centerpieces in Minutes

Create stunning farmhouse-style table decor by bundling dried wheat with burlap ribbon for timeless autumn charm

Dried wheat bundles tied with burlap ribbon arranged as centerpiece on rustic wood harvest table with autumn elements
DIY Projects

There's something wonderfully grounding about decorating with actual harvested grains, and wheat bundles bring that authentic agricultural beauty to your Thanksgiving table without looking overly rustic or theme-y. I discovered these simple arrangements years ago when I wanted farmhouse charm without the kitsch, and they've become my go-to centerpiece ever since—elegant enough for formal dinners yet warm enough for casual gatherings. The beauty lies in their versatility: cluster small bundles in vintage bottles for a collected look, create one large statement arrangement, or place individual bundles at each place setting as natural name card holders. At around $15-20 for enough wheat to dress an entire table, this project delivers high-end designer aesthetic at craft store prices. Best of all, wheat bundles last for years when stored properly, so you're creating reusable decor that gets better with age as the golden tones deepen and develop that perfect patina.

What You'll Need

  • Natural Materials:
    • Dried wheat stalks (available at craft stores or farmers markets)
    • Plan for 30-40 stems for a large centerpiece bundle
    • Or 8-12 stems for individual place setting bundles
    • Look for stalks 18-24 inches tall with full, golden heads
  • Ribbon & Binding:
    • Natural burlap ribbon, 2-3 inches wide
    • Jute twine for initial securing
    • Optional: velvet ribbon for elegant variation
    • Floral wire for stubborn bundles
  • Optional Embellishments:
    • Dried lavender or eucalyptus sprigs
    • Small pinecones
    • Cinnamon sticks
    • Sprigs of rosemary or sage
  • Total Cost: $15-20 for full table setting

Assembly Steps

  1. Inspect and clean your wheat stalks by gently shaking out any loose chaff or debris, and trimming stems to uniform length with sharp scissors. Consistent height creates a polished, intentional look rather than a haphazard handful of grain.
  2. Arrange your bundle by gathering stalks in your hand and rotating the bundle as you add stems, creating a full, rounded shape where wheat heads spiral naturally around the center. This technique prevents flat, one-sided arrangements that look skimpy from certain angles.
  3. Secure with twine about one-third down from the top, wrapping tightly several times and knotting firmly to hold stems in place before adding your decorative ribbon. This invisible foundation ensures your bundle won't shift or loosen when handled.
  4. Add embellishments now if desired by tucking dried lavender, small eucalyptus sprigs, or cinnamon sticks into the bundle at varying heights, securing with additional twine wraps. These textural additions create visual interest without overwhelming the wheat's natural beauty.
  5. Wrap with burlap ribbon over your twine foundation, positioning the ribbon to cover the binding completely and creating a 4-6 inch band that provides substantial visual weight. Wide ribbon reads as intentional design rather than afterthought decoration.
  6. Tie your bow off-center rather than perfectly centered for a more organic, European-style finish that feels effortlessly elegant. Leave long ribbon tails that cascade down the stems rather than trimming them short and stubby.
  7. Shape the heads by gently fanning out the wheat tops and adjusting individual stems to create an attractive silhouette, removing any damaged or sparse heads that detract from the overall fullness. Step back and evaluate from all angles since centerpieces are viewed from every seat.
  8. Display thoughtfully by standing bundles in low vessels, laying them horizontally as table runners, or leaning them against place settings—wheat's architectural quality works beautifully in multiple configurations. Mix heights and groupings to create dynamic tablescapes rather than identical repeated elements.
DESIGNER TIP

Interior designers elevate simple wheat bundles by using the "rule of threes" and varying heights to create visual rhythm across the table. Instead of one large identical centerpiece, try three bundles in graduating sizes—a tall 24-inch bundle flanked by two shorter 18-inch arrangements. This asymmetrical grouping feels more sophisticated and allows conversation to flow naturally across the table. For an especially elegant touch, wrap each bundle in different but coordinating ribbons like natural burlap, cream velvet, and bronze silk, then unify them by tucking identical dried lavender sprigs into each. This technique of "unity with variation" is exactly what professional designers use to create collected, curated tablescapes that look expensive and effortless.
Related Content

DIY Projects

02 December 2026

Post

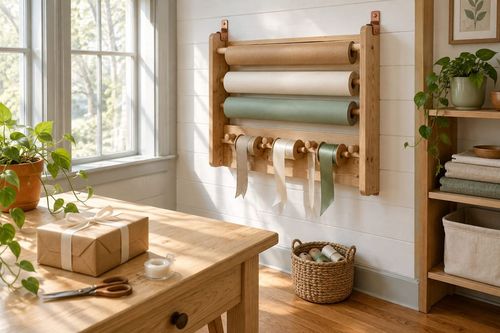
Build a Wooden Gift Wrap Station in 2 Hours for $28

Stop wrestling curling paper on the floor! Build a slim wooden gift wrap station with a paper rod and ribbon pegs in 2 hours for $28, just in time for gifting....

DIY Projects

30 November 2026

Post

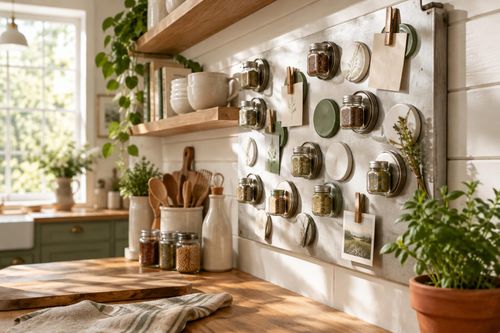
Jar Lid Magnet Board: The Backing That Holds

Turn old jar lids into a magnetic spice and note board for about $12. The right magnet backing is what keeps lids from sliding off. Easy Monday upcycle!...

DIY Projects

30 November 2026

Post

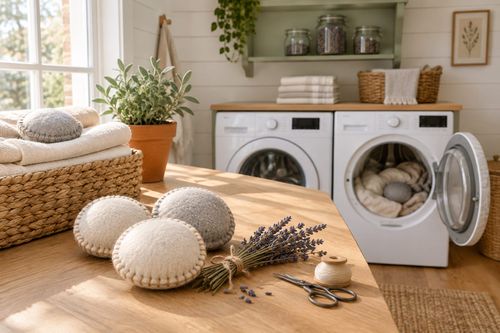
Make Felted Wool Dryer Sachets in 45 Minutes for $12

Skip the pricey scented sheets! Sew wool-and-lavender dryer sachets in 45 minutes for $12 and give every winter laundry load a fresh, cozy upgrade....

DIY Projects

28 November 2026

Post

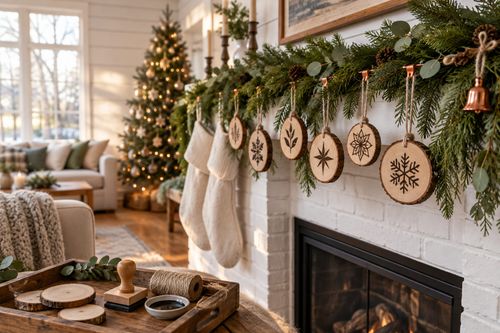
Make Hand-Stamped Wooden Ornaments in 2 Hours for $18

Wood slices, a wood-burning-free stamp trick, and sealant turn into keepsake ornaments that survive decades of holiday boxes. Cute, cheap, and totally doable!...

DIY Projects

27 November 2026

Post

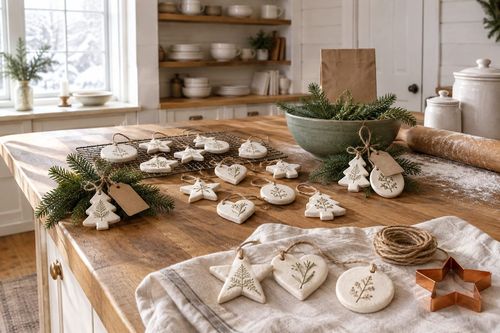
Make Salt Dough Gift Ornaments in 2 Hours for $12

Flour, salt, and a low oven turn into keepsake ornaments that last for decades. Beginner-friendly, kid-approved, and ready to hang in about 2 hours for $12....

DIY Projects

26 November 2026

Post

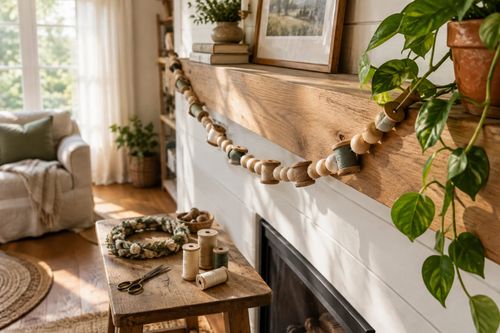
Thread Spool Garland: Why Tension Ties Matter

Turn a hand-stitched wreath into calm: a mindful beaded-thread garland for $9 where even tension is what keeps every bead from sliding into a slump....

DIY Projects

26 November 2026

Post

Build a Wooden Cutting Board Oil Kit in 1 Hour for $20

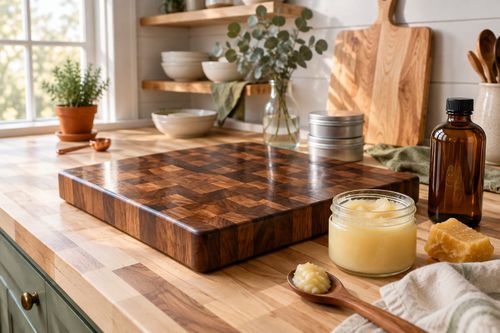
Dry cutting boards crack and harbor bacteria. Whip up a food-safe board butter in an hour for $20 and keep your boards gorgeous for years....

DIY Projects

25 November 2026

Post

Wooden Spice Rack: The Shelf Lip Height That Holds

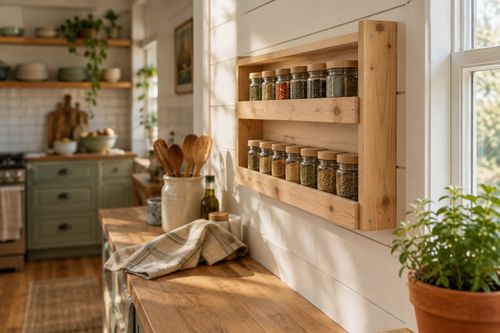
Build a slim pine wall spice rack in an afternoon for about $18. The shelf lip height is what keeps jars from sliding off. Beginner-friendly....

DIY Projects

24 November 2026

Post

Foil Pan Light Reflector: The Tab Fold That Holds

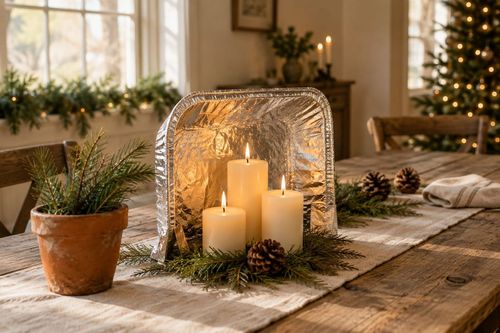
Turn a $1 foil pan into a Christmas-ready tabletop candle reflector for under $5. The tab fold is what keeps it standing, not slumping....

DIY Projects

24 November 2026

Post

Sew a Rice-Weighted Hand Warmer Set in 1 Hour for $14

Cold hands at the bus stop? Sew reusable flannel hand warmers filled with rice and cloves in an hour for $14. Zap, pocket, and enjoy cozy fingers all winter....

DIY Projects

22 November 2026

Post

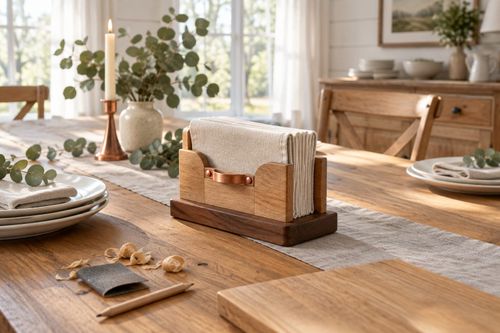
Build a Wooden Napkin Holder in 1 Hour for $15

Stop napkins from flying off the table! Build a weighted wooden napkin holder in an hour for $15 and be ready for holiday hosting. Beginner friendly....

DIY Projects

21 November 2026

Post

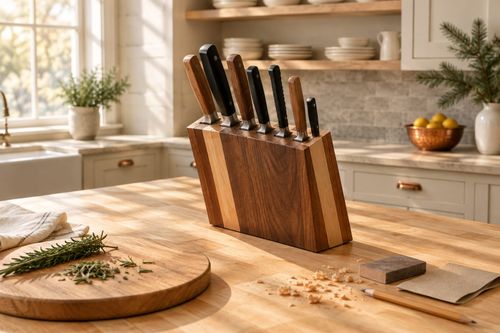
Build a Wooden Knife Block in 2 Hours for $28

Ditch the dull-blade drawer shuffle! Build a slotted hardwood knife block in 2 hours for $28 and get holiday-ready prep space with safer, sharper knives....

DIY Projects

20 November 2026

Post

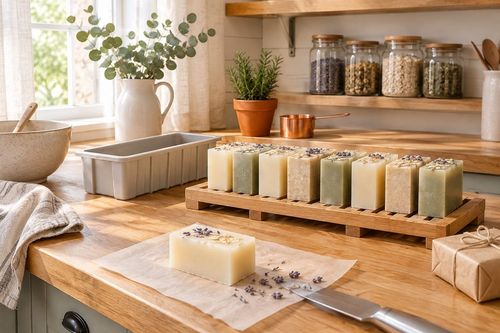
Make Hand-Poured Soap Bars in 1 Hour for $20

Skip the pricey boutique bars! Melt, scent, and pour your own glycerin soap in about an hour for $20. Cure-time secrets included, bubbles guaranteed....

DIY Projects

19 November 2026

Post

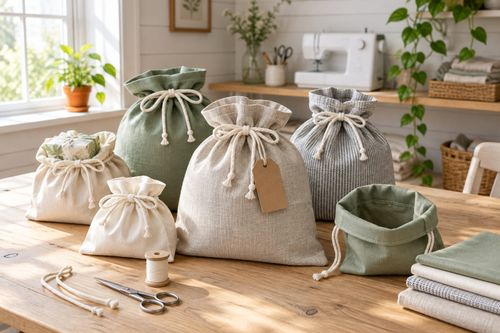
Sew Reusable Fabric Gift Bags in 90 Minutes for $15

Ditch the wrapping paper landfill! Sew drawstring fabric gift bags with French-folded hems in 90 minutes for $15 and reuse them every holiday for years....

DIY Projects

18 November 2026

Post

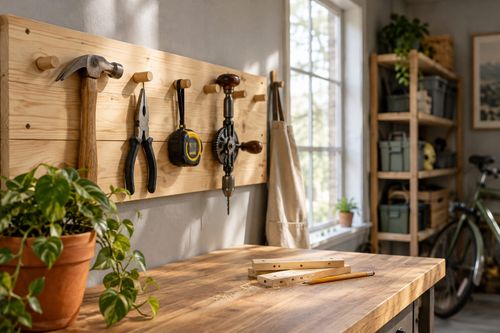
Wooden Tool Wall: The Pilot Hole Depth That Holds

Build a pine wall-mounted tool rack for about $22. Pre-drilling pilot holes to the right depth keeps the wood from splitting and the pegs holding....
Terms and ConditionsDo Not Sell or Share My Personal InformationPrivacy PolicyPrivacy NoticeAccessibility NoticeUnsubscribe
Copyright © 2026 DIY HomeBoost