
Firewood Rack: Stop Rot From the Ground Up
Firewood stacked directly on the ground rots from the bottom before you ever get to burn it — the entire fix is six inches of airflow underneath, not a tarp or a better stacking method.
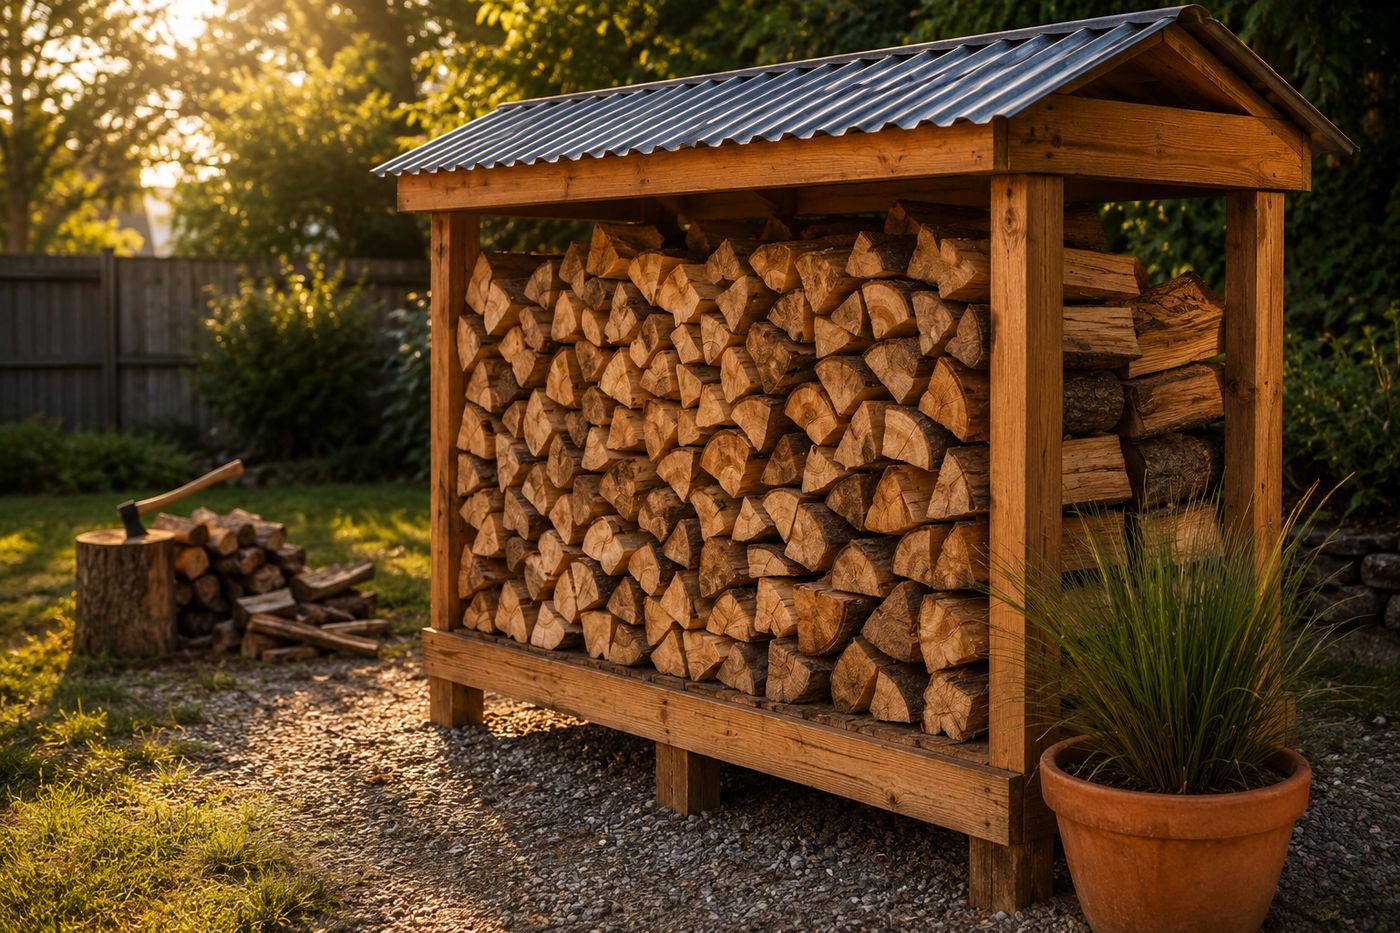
Firewood stacked straight on the ground sits in constant contact with soil moisture, and that moisture wicks upward into the bottom logs continuously regardless of how well the top of the pile is covered — which is why a tarp over a ground pile still produces damp, punky wood at the bottom every single season. The actual fix isn't better covering, it's elevation: raising the stack about six inches off the ground on a slatted base breaks that ground contact entirely and lets air move underneath the wood instead of moisture wicking into it. Open sides matter just as much as the elevated base, since airflow needs to move through the full depth of the stack, not just underneath it, for wood to actually season and dry rather than just sit dry-ish on top and damp underneath. Once both of those conditions are met, a simple lean-to roof cut at a slight back-to-front slope sheds rain without needing to fully enclose the structure. The whole build runs about $40 in lumber and roofing, and roughly three hours with no complicated joinery required.
What You'll Need
- Pressure-treated 2x4 lumber, for the base — about $18
- Standard lumber (2x4s), for uprights and rails — about $14
- Corrugated metal roofing panel, for the lean-to roof — about $8, or free if you have leftover material from another project
- Exterior wood screws
- Roofing screws, sized for corrugated metal panels
- Circular saw or miter saw
- Drill/driver
- Level, for the base and roof slope
- Tape measure and square
How to Build It
- Cut pressure-treated 2x4s for the base frame, sized to the footprint you want the rack to hold, and use pressure-treated lumber specifically here since this is the piece in most direct contact with ground moisture.
- Add slats across the base frame spaced with small gaps between them, which is what actually creates the airflow underneath the wood stack rather than just elevating a solid platform.
- Cut your upright posts, making the back uprights slightly taller than the front uprights so the roof will have a built-in slope for shedding rain off the back.
- Attach the uprights to the corners of the base frame with exterior screws, checking each one is plumb before moving to the next.
- Install side and back rails between the uprights for structural stability, but keep the front and sides open rather than enclosing them, since airflow through the full depth of the stack is what actually seasons the wood.
- Attach top rails across the tops of the uprights to create the frame the roofing panel will rest on, following the same front-to-back slope you built into the upright heights.
- Fasten the corrugated metal roofing panel to the top rails with roofing screws, letting it overhang the back edge slightly so rain drips clear of the wood stack instead of running down the back uprights.
- Position the finished rack wherever makes sense for your yard and driveway access, since the freestanding design isn't locked to a wall the way a lean-against structure would be.
Firewood suppliers who season wood commercially for sale almost always orient their storage racks with the open side facing the direction of prevailing wind rather than toward the most convenient loading angle, because airflow moving directly through the stack dries wood dramatically faster than airflow that only reaches the edges. Checking which direction your yard's wind typically comes from before you finalize the rack's placement — not just building it and rotating it later — gets noticeably better seasoning results from the same structure.














