DIY Projects

Recent Content

Wooden Boot Tray: The Slat Gap That Drains Right

Wooden Boot Tray: The Slat Gap That Drains Right

Build a slatted pine boot tray for about $20 in an afternoon. The slat gap is what lets meltwater drain instead of pooling and rotting your entryway floor.

Magnetic Window Sill Herb Garden: Renter-Safe Trick

Magnetic Window Sill Herb Garden: Renter-Safe Trick

Grow fresh herbs on a bare rental window with a no-drill hanging trick. Zero holes, zero residue, deposit safe. Winter greens for your tiny kitchen!

Build a Wooden Gift Wrap Station in 2 Hours for $28

Build a Wooden Gift Wrap Station in 2 Hours for $28

Stop wrestling curling paper on the floor! Build a slim wooden gift wrap station with a paper rod and ribbon pegs in 2 hours for $28, just in time for gifting.

Dollar Store Spice Tiers: The Riser Lip That Holds

Dollar Store Spice Tiers: The Riser Lip That Holds

Turn $1 plastic risers into a tiered cabinet spice organizer for about $8. The lip height is what stops jars from sliding forward.

Under-Bed Rolling Bins: Renter Storage Hack

Under-Bed Rolling Bins: Renter Storage Hack

Tiny space, big stash. Rolling under-bed bins add hidden storage with zero drilling, zero residue, and a safe deposit. Set up in 15 minutes!

logo
  • Home Improvement
  • DIY Projects
  • Interior Design
  • Gardening & Outdoor
  • Real Estate
  • Home Improvement
  • DIY Projects
  • Interior Design
  • Gardening & Outdoor
  • Real Estate
  • ​

Faux Stained Glass: Real Glow, Zero Actual Glass

The black outline isn't decoration on top of the design — it's the wall holding each color in place, which is exactly why it has to dry completely before a drop of colored glue ever touches it.
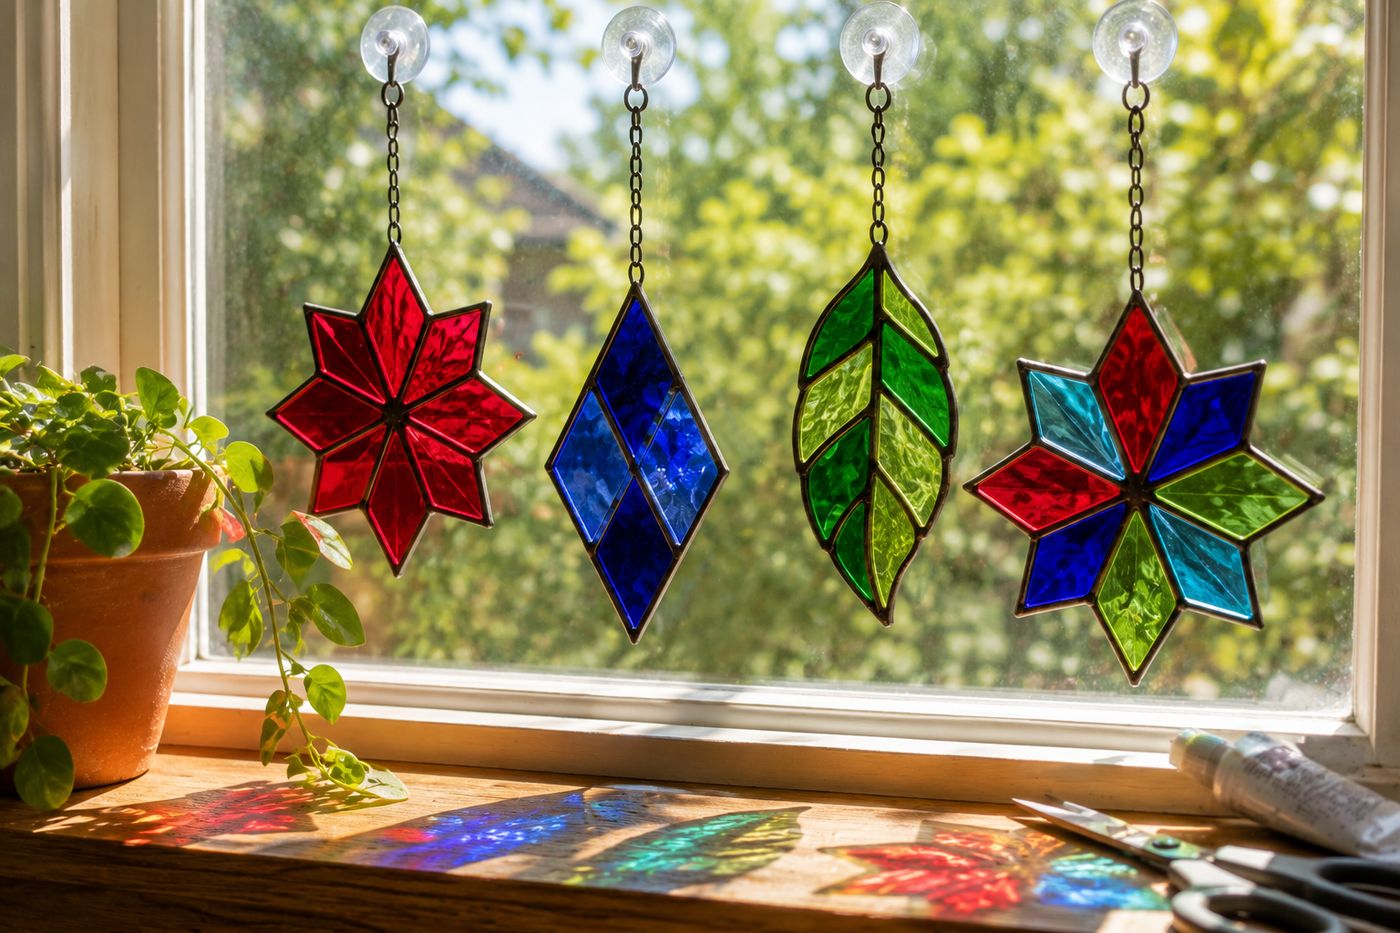
Faux stained glass suncatchers in jewel-toned colors hanging in a sunny window, casting colorful light patterns
DIY Projects

Real stained glass holds each piece of colored glass in place with a physical lead channel, and the black puffy paint outline in this version is doing the exact same structural job, not just adding a decorative line — it's a raised wall that keeps each colored glue section contained instead of bleeding into its neighbor. That's why the black lines have to dry completely before any colored glue goes in: wet puffy paint has no structure yet, and colored glue poured against a still-wet outline will push through it and muddy two colors together right at the border. Once that outline is fully dry and solid, it holds a clean edge no matter how much colored glue you pour right up against it. Get that sequencing right, and the actual coloring step is nearly foolproof — each suncatcher costs about $2-4 in dollar store supplies, compared to $15-30 for a real glass version, with the same glowing, jewel-toned light when it's hung in a window.

What You'll Need

  • Clear plastic picture frame, plastic lid, or acrylic sheet — about $1-2
  • Clear-drying school glue or craft glue — about $1-2
  • Food coloring or acrylic paint, in jewel tones (ruby red, sapphire blue, emerald green, amethyst purple)
  • Black puffy paint or black paint pen, for the "leading" outline — about $1
  • Small mixing cups, one per color
  • Toothpicks or small craft sticks, for mixing and spreading
  • Suction cup or string, for hanging

How to Do It

  1. Choose your clear surface — a plastic picture frame insert, lid, or acrylic sheet — and clean it thoroughly so the paint and glue adhere evenly.
  2. Draw your design's outline directly on the clear surface using black puffy paint or a black paint pen — geometric shapes, flowers, butterflies, or abstract patterns all work well since the outlines are what will hold each color separate.
  3. Let the black outline dry completely before touching it with anything else — this is the step that determines whether your colors stay crisp and separated or bleed together at the borders, so don't rush past it even if it looks dry on the surface after a short time.
  4. Mix a few drops of food coloring or acrylic paint into small amounts of clear-drying glue, one cup per color, until you reach a translucent jewel-tone shade.
  5. Fill each section between the dried black lines with your colored glue mixture, spreading it out to fully reach the edges of that section without going over the black outline.
  6. Continue filling each section with your chosen colors until the full design is complete.
  7. Let the entire piece dry undisturbed for a full 24 hours — it dries translucent and glossy, but only once every section has had the full time to cure through.
  8. Peel the finished piece from a non-stick surface if that's what you used, or leave it in the frame, and attach a suction cup or string for hanging in a sunny window.
DESIGNER TIP

Craft artists who make these for sale often work on a sheet of parchment or wax paper laid over their design template rather than directly on a plastic surface, because the finished piece releases cleanly from parchment once fully cured, letting them reuse the same clear template for multiple suncatchers instead of needing a new frame or lid for every single design.
Related Content

DIY Projects

02 December 2026

Post

Build a Wooden Gift Wrap Station in 2 Hours for $28

Stop wrestling curling paper on the floor! Build a slim wooden gift wrap station with a paper rod and ribbon pegs in 2 hours for $28, just in time for gifting....

DIY Projects

30 November 2026

Post

Jar Lid Magnet Board: The Backing That Holds

Turn old jar lids into a magnetic spice and note board for about $12. The right magnet backing is what keeps lids from sliding off. Easy Monday upcycle!...

DIY Projects

30 November 2026

Post

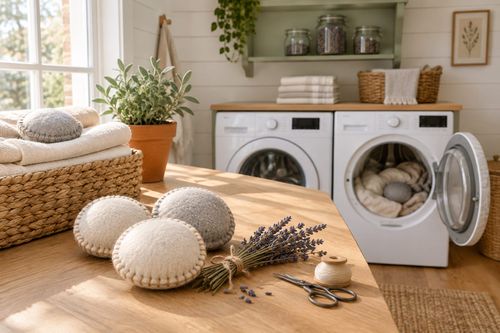
Make Felted Wool Dryer Sachets in 45 Minutes for $12

Skip the pricey scented sheets! Sew wool-and-lavender dryer sachets in 45 minutes for $12 and give every winter laundry load a fresh, cozy upgrade....

DIY Projects

28 November 2026

Post

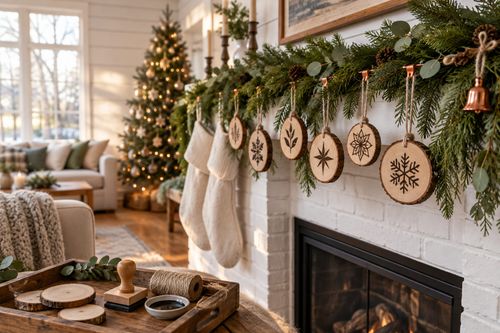
Make Hand-Stamped Wooden Ornaments in 2 Hours for $18

Wood slices, a wood-burning-free stamp trick, and sealant turn into keepsake ornaments that survive decades of holiday boxes. Cute, cheap, and totally doable!...

DIY Projects

27 November 2026

Post

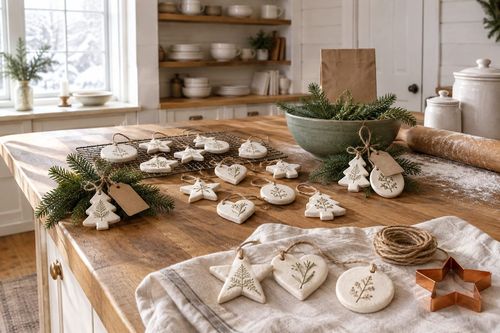
Make Salt Dough Gift Ornaments in 2 Hours for $12

Flour, salt, and a low oven turn into keepsake ornaments that last for decades. Beginner-friendly, kid-approved, and ready to hang in about 2 hours for $12....

DIY Projects

26 November 2026

Post

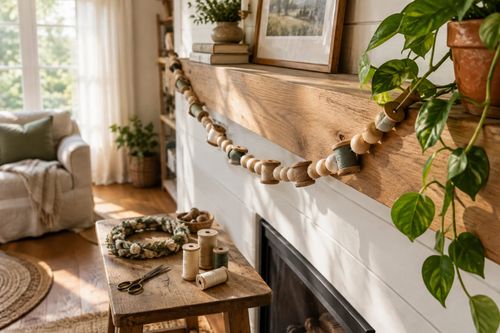
Thread Spool Garland: Why Tension Ties Matter

Turn a hand-stitched wreath into calm: a mindful beaded-thread garland for $9 where even tension is what keeps every bead from sliding into a slump....

DIY Projects

26 November 2026

Post

Build a Wooden Cutting Board Oil Kit in 1 Hour for $20

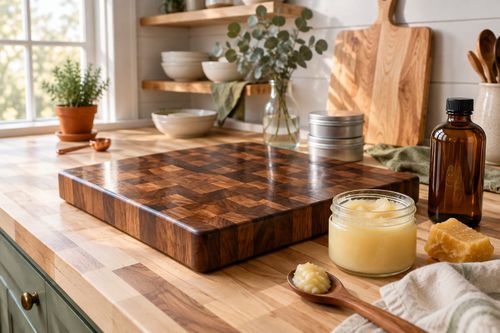
Dry cutting boards crack and harbor bacteria. Whip up a food-safe board butter in an hour for $20 and keep your boards gorgeous for years....

DIY Projects

25 November 2026

Post

Wooden Spice Rack: The Shelf Lip Height That Holds

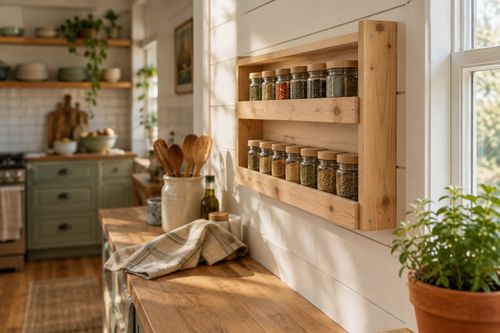
Build a slim pine wall spice rack in an afternoon for about $18. The shelf lip height is what keeps jars from sliding off. Beginner-friendly....

DIY Projects

24 November 2026

Post

Foil Pan Light Reflector: The Tab Fold That Holds

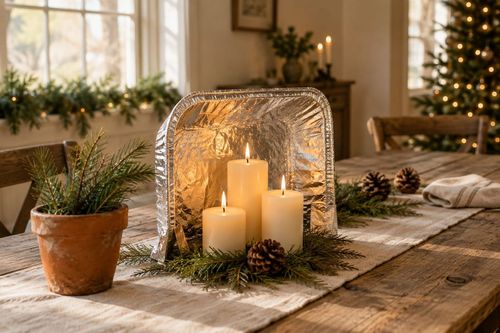
Turn a $1 foil pan into a Christmas-ready tabletop candle reflector for under $5. The tab fold is what keeps it standing, not slumping....

DIY Projects

24 November 2026

Post

Sew a Rice-Weighted Hand Warmer Set in 1 Hour for $14

Cold hands at the bus stop? Sew reusable flannel hand warmers filled with rice and cloves in an hour for $14. Zap, pocket, and enjoy cozy fingers all winter....

DIY Projects

22 November 2026

Post

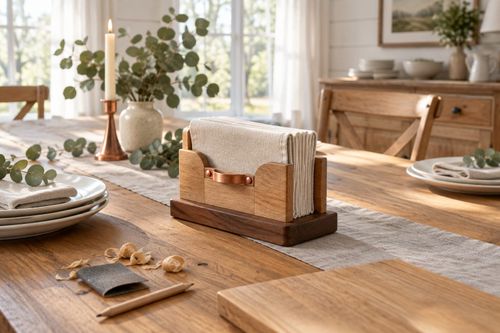
Build a Wooden Napkin Holder in 1 Hour for $15

Stop napkins from flying off the table! Build a weighted wooden napkin holder in an hour for $15 and be ready for holiday hosting. Beginner friendly....

DIY Projects

21 November 2026

Post

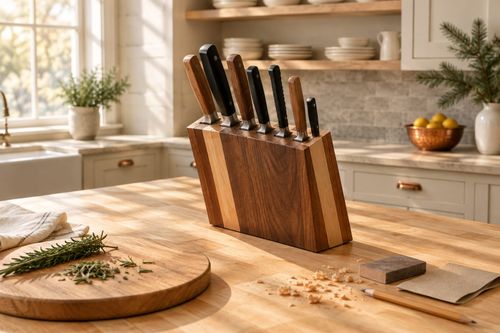
Build a Wooden Knife Block in 2 Hours for $28

Ditch the dull-blade drawer shuffle! Build a slotted hardwood knife block in 2 hours for $28 and get holiday-ready prep space with safer, sharper knives....

DIY Projects

20 November 2026

Post

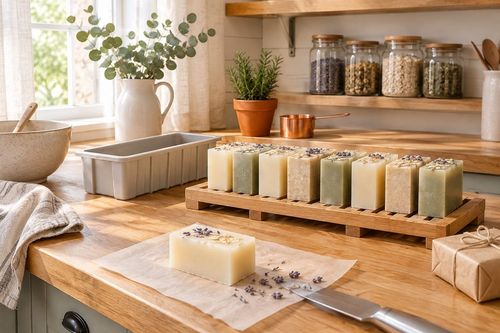
Make Hand-Poured Soap Bars in 1 Hour for $20

Skip the pricey boutique bars! Melt, scent, and pour your own glycerin soap in about an hour for $20. Cure-time secrets included, bubbles guaranteed....

DIY Projects

19 November 2026

Post

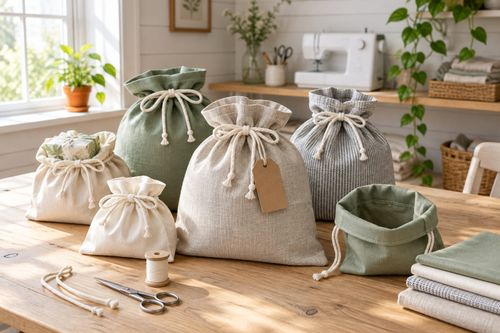
Sew Reusable Fabric Gift Bags in 90 Minutes for $15

Ditch the wrapping paper landfill! Sew drawstring fabric gift bags with French-folded hems in 90 minutes for $15 and reuse them every holiday for years....

DIY Projects

18 November 2026

Post

Wooden Tool Wall: The Pilot Hole Depth That Holds

Build a pine wall-mounted tool rack for about $22. Pre-drilling pilot holes to the right depth keeps the wood from splitting and the pegs holding....
Terms and ConditionsDo Not Sell or Share My Personal InformationPrivacy PolicyPrivacy NoticeAccessibility NoticeUnsubscribe
Copyright © 2026 DIY HomeBoost