
Create Luxe Marbled Vases With Metallic Nail Polish Magic
Water-dipping technique transforms plain glass into liquid metal masterpieces
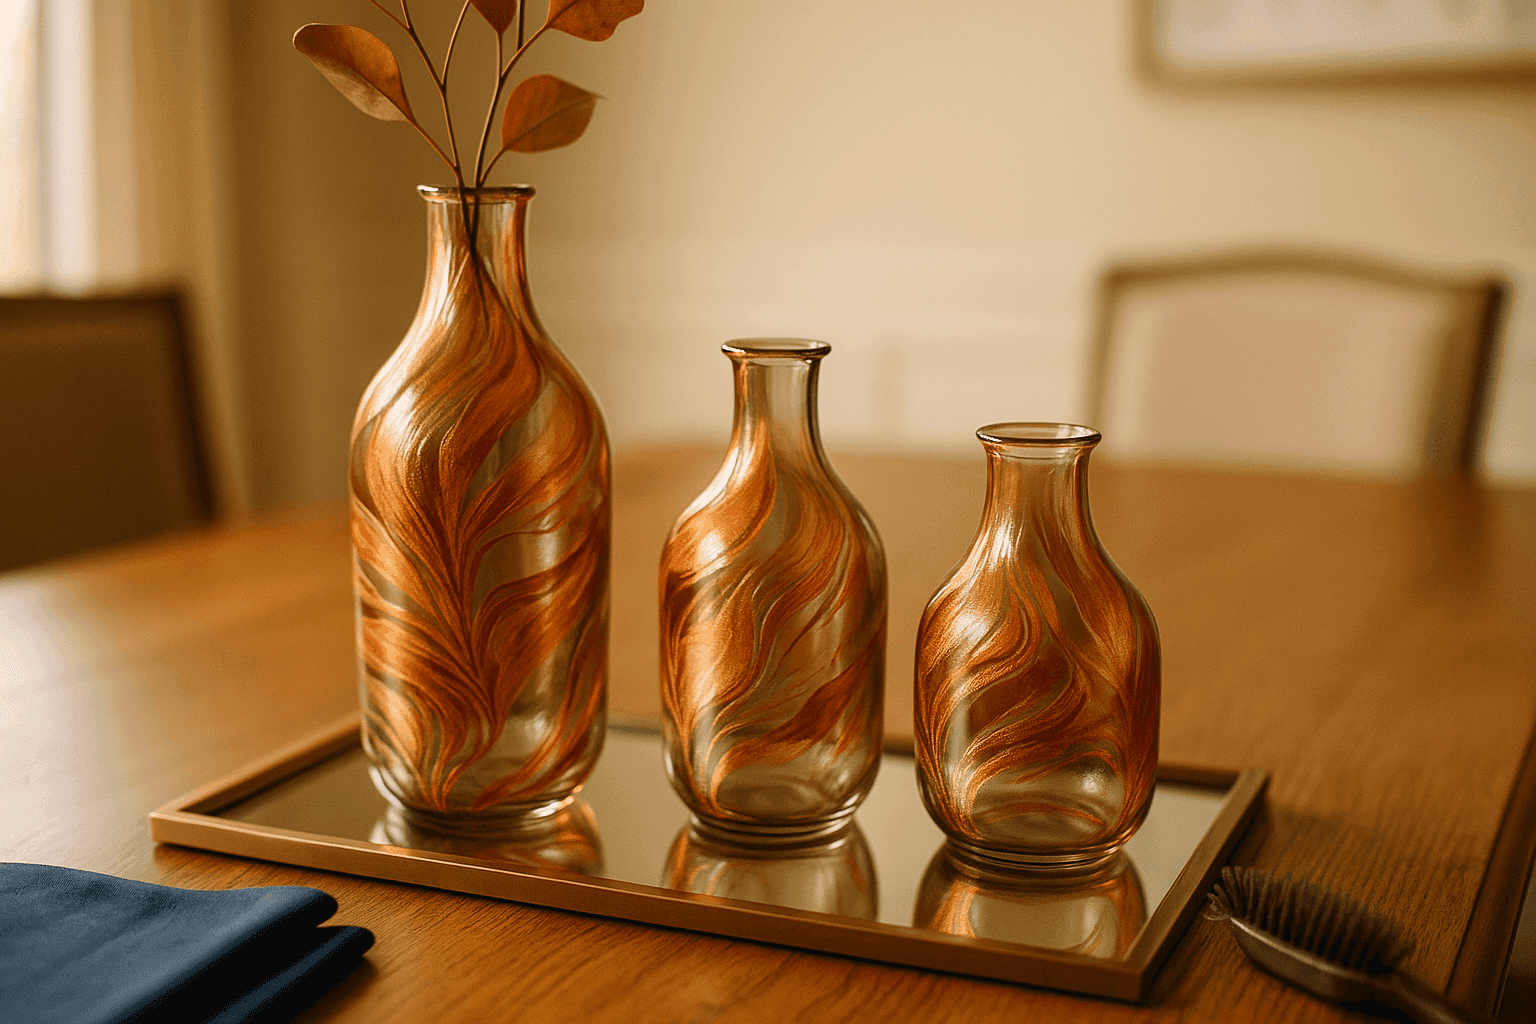
Plain glass vases from thrift stores or your cabinet can transform into absolutely stunning statement pieces that look like expensive boutique finds using nothing more than metallic nail polish, water, and a surprisingly simple dipping technique that creates mesmerizing swirled patterns you cannot replicate or predict. This water marbling method exploits nail polish's unique properties—it floats on water's surface without dissolving, maintains vibrant color, and adheres permanently to glass when dipped through the floating film, creating organic flowing patterns that genuinely look like liquid metal frozen mid-swirl. The project costs under $15 per vase if you're using dollar store glass and drugstore nail polish, takes about 30 minutes including drying time, and produces results so impressive that guests consistently ask where you bought them rather than believing you made them yourself in your kitchen sink. What makes this craft irresistible for fall and holiday decorating is how metallic copper, gold, and bronze create that perfect luxe autumnal vibe that transitions seamlessly from Thanksgiving table centerpieces to Christmas mantel displays without feeling too seasonal or specific to any single holiday. The unpredictability is actually the best part—no two vases ever turn out identical because the polish swirls differently each time, meaning you're creating genuinely one-of-a-kind pieces rather than churning out cookie-cutter crafts that look obviously homemade. You're not just decorating vases, you're working with surface tension physics and fluid dynamics to create functional art that catches light like precious metal while costing practically nothing to produce.
Marbling Supplies
- Glass Vessels:
- Clear glass vases in various heights ($1-3 each at thrift stores)
- Wine bottles with labels removed (free)
- Clear glass bottles or jars ($2-5 at dollar stores)
- Look for smooth glass without texture for best results
- Metallic Nail Polishes:
- Copper or rose gold metallic ($3-5 per bottle)
- Gold or champagne metallic ($3-5 per bottle)
- Bronze or antique gold ($3-5 per bottle)
- Optional: deep burgundy or forest green metallics for accent
- Must be nail polish, not acrylic paint (won't float properly)
- Dipping Setup:
- Large plastic container or bucket (wider than your tallest vase)
- Room temperature water to fill container
- Toothpicks or wooden skewers for swirling ($1-2)
- Newspaper or drop cloth for workspace protection
- Disposable gloves to keep hands clean
- Prep and Finish Materials:
- Rubbing alcohol for cleaning glass ($2-3)
- Paper towels or lint-free cloths
- Nail polish remover for mistakes ($3-4)
- Clear spray sealer for extra durability (optional, $8-10)
- Painter's tape to protect areas you don't want marbled
Water Marbling Process
- Clean Glass Thoroughly: Wash your glass vase with soap and water, then wipe down with rubbing alcohol to remove any oils, fingerprints, or residue—nail polish won't adhere properly to dirty glass, so this cleaning step is absolutely critical for permanent results that won't chip or peel off after a few uses.
- Prepare Water Container: Fill your plastic container with room temperature water at least 4-5 inches deep, making sure the container is wide and deep enough to accommodate your vase's size—water that's too cold or too hot affects how nail polish spreads and floats, ruining your marbling results.
- Drop Polish Colors: Working quickly, drip 3-5 drops of your first metallic polish color onto the water's surface near the center, watching it spread into a thin film, then immediately add drops of your second and third colors directly onto the first—the polishes will push against each other creating natural color boundaries and interesting patterns.
- Swirl the Pattern: Use a toothpick to gently drag through the floating polish film, creating swirls, spirals, or feathered effects by pulling colors together—don't over-mix or you'll muddy the colors, just 3-5 deliberate swirls create the most dramatic marbled patterns that look intentional rather than chaotic.
- Dip Your Vase: Holding your vase at an angle, slowly lower it through the floating polish film in one smooth continuous motion, rotating slightly as you dip to ensure even coverage—the polish will wrap around the glass surface adhering instantly as it passes through the water creating that signature marbled effect.
- Remove Excess Film: Before lifting your vase completely out of the water, use a toothpick to gather any remaining floating polish and push it to the container's edge, clearing the surface so excess polish doesn't attach to your vase as you lift it—this keeps the bottom clean and prevents unwanted drips.
- Dry Upside Down: Immediately turn your vase upside down on newspaper or paper towels, allowing gravity to pull the wet polish downward creating drip effects and preventing pooling at the rim—nail polish dries quickly so this position sets within 10-15 minutes though full curing takes several hours for maximum durability.
- Clean Between Dips: After each vase, completely remove all floating polish residue from the water surface using paper towels before starting your next piece—leftover polish creates muddy colors and interferes with new color spreading, ruining the crisp pattern definition you want in finished vases.
Professional crafters who create marbled products for boutique sale swear by the "tonal progression" approach that creates cohesive collections rather than random individual pieces. Choose metallics within the same color temperature family—all warm tones like copper, bronze, and antique gold, or all cool tones like silver, platinum, and champagne—then create 3-5 vases in graduated heights where each successive vase has slightly more of one dominant color. For example, vase one might be 70% copper with bronze and gold accents, vase two shifts to 70% bronze with copper and gold, and vase three becomes 70% gold with the others as accents. This creates a gorgeous gradient effect when grouped together that looks intentionally designed rather than haphazardly crafted. The technique secret that elevates these from craft-fair quality to gallery-worthy is the "negative space" concept where you deliberately leave portions of clear glass visible rather than covering every surface with marbling. Use painter's tape to mask off the bottom third of your vase or create geometric patterns before dipping, then remove the tape after drying to reveal crisp lines where marbled metallic meets clear glass. This contrast makes the marbling appear even more luxurious and intentional while also making vases more versatile since you can see flower stems and water through the clear sections. For maximum impact in displays, group your finished vases in odd numbers (3, 5, or 7) at varying heights on a mirrored tray or metallic charger that reflects the marbled patterns and amplifies the liquid metal effect. Fill them with single-stem flowers, bare branches, or leave them empty as pure sculptural objects—the marbling itself is stunning enough that you don't need elaborate florals competing for attention, and simpler arrangements actually let the vase artistry remain the focal point of your display.














