
Color Revival: Transforming Furniture with Spring-Inspired Pastels
Breathe new life into tired furniture pieces with soft, sophisticated pastel finishes that brighten any space
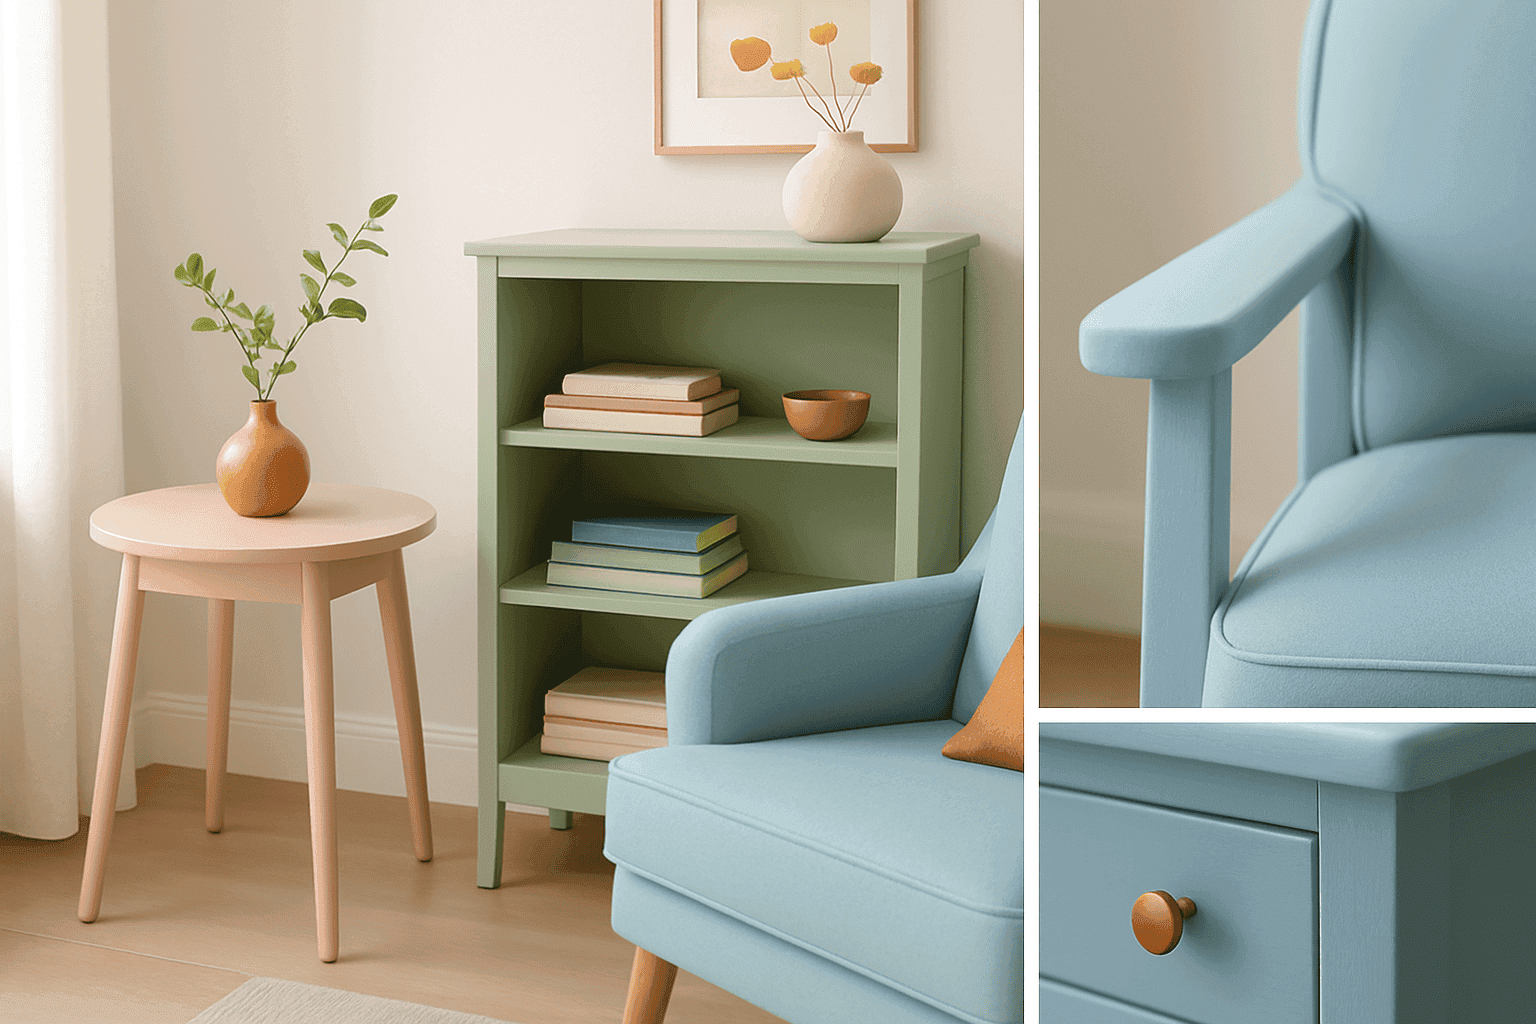
Transforming a tired piece of furniture with pastel paint creates an instant spring refresh that can completely shift a room's mood without a major investment. Unlike bold primary colors that dominate a space, today's sophisticated pastels—soft blush, muted sage, pale sky blue—act as "new neutrals" that blend harmoniously with existing decor while adding subtle color interest. This approach offers particular value for quality but dated wooden pieces with good bones but worn finishes. Beyond the aesthetic transformation, the act of refinishing becomes a symbolic spring ritual—sanding away the old to reveal fresh possibilities beneath. With modern paint formulations that require minimal preparation, even furniture painting novices can achieve professional-looking results that will provide lasting satisfaction.
What You'll Need
| Furniture Selection: |
| • Small wooden side table or nightstand |
| • Wooden chair or stool |
| • Small dresser or chest of drawers |
| • Bookcase or shelf unit |
| • Picture frames or mirror frames |
| Preparation Supplies: |
| • Tack cloths for dust removal |
| • Fine-grit sandpaper (180-220 grit) |
| • Medium-grit sandpaper for damaged areas |
| • Sanding block or electric sander |
| • Wood filler for repairing imperfections |
| • Screwdriver for removing hardware |
| • Cleaner appropriate for your furniture type |
| Paint & Primers: |
| • Primer suitable for your furniture material |
| • Chalk paint in pastel shades |
| • Pastel-tinted furniture paint (water or oil-based) |
| • Clear topcoat sealer (matte, satin, or gloss) |
| • Small sample pots for testing colors |
| Painting Tools: |
| • Quality paintbrushes in various sizes |
| • Small foam rollers for smooth surfaces |
| • Paint trays or containers |
| • Painter's tape for edges or details |
| • Stir sticks and can opener |
| Finishing Supplies: |
| • Fine steel wool for between-coat smoothing |
| • Soft cloths for applying wax or wiping |
| • New hardware or cleaned original pieces |
| • Clear furniture wax (optional) |
| • Fine-tip artist brushes for details |
| Protection Supplies: |
| • Drop cloths or plastic sheeting |
| • Protective gloves |
| • Face mask for sanding |
| • Safety glasses |
| • Ventilation fans if working indoors |
How To Do It
- Select appropriate furniture pieces:
- Choose solid wood furniture for best results
- Look for pieces with interesting shapes or details
- Ensure the piece is structurally sound
- Start with smaller items if you're a beginner
- Consider how the piece will fit with your existing décor
- Choose spring-inspired pastel colors:
- Soft blush pink for romantic, warm spaces
- Pale sage green for natural, calming areas
- Powder blue for fresh, airy rooms
- Soft lavender for gentle, creative spaces
- Buttery yellow for cheerful, sunny effects
- Test your color choices:
- Purchase small sample pots of your chosen colors
- Paint swatches on inconspicuous areas of the furniture
- View the color in different lighting conditions
- Consider how the color works with your existing space
- Adjust tint as needed before committing to full coverage
- Prepare your workspace:
- Choose a well-ventilated area with good lighting
- Cover floors and nearby surfaces with drop cloths
- Ensure you have space to maneuver around the piece
- Set up a drying area away from dust and debris
- Organize your supplies for easy access
- Remove hardware and disassemble if needed:
- Remove drawer pulls, knobs, and hinges
- Store hardware in labeled bags or containers
- Take photos of assembly for reference
- Remove drawers and doors if applicable
- Cover hinges with tape if they cannot be removed
- Clean and prepare the surface:
- Clean thoroughly with appropriate cleaner
- Allow to dry completely
- Sand surfaces lightly to create tooth for the paint
- Fill holes or damage with wood filler
- Wipe away all dust with tack cloth
- Apply primer if needed:
- Use primer for dark wood or glossy finishes
- Apply thin, even coats with a brush or roller
- Allow to dry completely according to manufacturer's instructions
- Sand lightly between coats
- Ensure full coverage, especially on end grain
- Apply pastel paint:
- Stir paint thoroughly before using
- Apply using high-quality brushes for a smooth finish
- Paint in the direction of the wood grain
- Use light, even coats rather than one thick coat
- Allow proper drying time between coats
- Consider decorative techniques (optional):
- Create ombré effects by blending related pastels
- Try color blocking for modern geometric looks
- Use stencils to add subtle patterns
- Consider distressing edges for shabby chic style
- Try two-tone approaches with contrasting interior spaces
- Protect your finish:
- Apply clear sealer or wax for durability
- Choose matte finishes for a chalk paint look
- Select satin or semi-gloss for more traditional styles
- Apply sealer in thin, even coats
- Allow full curing time before normal use
- Reassemble and style your piece:
- Reattach original hardware or install new pieces
- Reassemble any removed components
- Position in your space and style around it
- Consider complementary accessories in coordinating colors
- Take "after" photos to document your transformation
Professional furniture refinishers use a technique called "color complexity" to elevate pastel furniture beyond the flat, nursery-room look that amateurs often achieve. This approach involves layering slightly different tints of the same pastel family—perhaps a pale blue base with a barely-there wash of periwinkle over the top—creating subtle depth that reads as a single sophisticated color rather than a basic pastel. Another industry secret is what experts call "strategic finish variation"—applying different sheens to different parts of the same piece. For instance, a dresser might feature satin-finished drawer fronts with slightly more matte side panels, creating subtle textural contrast that catches light differently across the piece. For the most elegant results, top refinishers recommend "undertone alignment"—choosing pastels with the same underlying warm or cool base notes as your existing room elements. Warm pastels (with yellow or red undertones) suit spaces with warm woods and metals, while cool pastels (with blue or green undertones) complement cooler materials like marble or chrome, ensuring your freshly painted furniture feels intentionally curated rather than arbitrarily added.














