DIY Projects

Recent Content

Wooden Boot Tray: The Slat Gap That Drains Right

Wooden Boot Tray: The Slat Gap That Drains Right

Build a slatted pine boot tray for about $20 in an afternoon. The slat gap is what lets meltwater drain instead of pooling and rotting your entryway floor.

Magnetic Window Sill Herb Garden: Renter-Safe Trick

Magnetic Window Sill Herb Garden: Renter-Safe Trick

Grow fresh herbs on a bare rental window with a no-drill hanging trick. Zero holes, zero residue, deposit safe. Winter greens for your tiny kitchen!

Build a Wooden Gift Wrap Station in 2 Hours for $28

Build a Wooden Gift Wrap Station in 2 Hours for $28

Stop wrestling curling paper on the floor! Build a slim wooden gift wrap station with a paper rod and ribbon pegs in 2 hours for $28, just in time for gifting.

Dollar Store Spice Tiers: The Riser Lip That Holds

Dollar Store Spice Tiers: The Riser Lip That Holds

Turn $1 plastic risers into a tiered cabinet spice organizer for about $8. The lip height is what stops jars from sliding forward.

Under-Bed Rolling Bins: Renter Storage Hack

Under-Bed Rolling Bins: Renter Storage Hack

Tiny space, big stash. Rolling under-bed bins add hidden storage with zero drilling, zero residue, and a safe deposit. Set up in 15 minutes!

logo
  • Home Improvement
  • DIY Projects
  • Interior Design
  • Gardening & Outdoor
  • Real Estate
  • Home Improvement
  • DIY Projects
  • Interior Design
  • Gardening & Outdoor
  • Real Estate
  • ​

Build a Wooden Slush Tray With Drip Grate in 2 Hours for $30

A slatted grate that lifts boots above the meltwater is what separates a dry entry from a warped, stained floor.

[#~image_alt_1~#]
DIY projects

Every November, wet boots turn the entry floor into a slow-motion disaster. Meltwater pools under plain rubber trays, soaks the sole, and sits against the floor, which is how stains and warped boards start. The variable that separates a tray that works from one that fails is the gap between the slats and the basin. When boots rest on a raised grate with 1/4-inch gaps, water drains away from the sole and evaporates, instead of wicking back up into the boot and spreading across the floor. Seal the basin edges properly and nothing leaks. This build takes about 2 hours and costs $30 total, using basic pine and a sealed plastic liner, no special tools needed.

What You'll Need

  • Materials (~$30 total):
  • Two 1x4 pine boards, 8 feet long, for the frame and slats (~$12)
  • One 1x2 pine board, 6 feet long, for the slat supports (~$4)
  • One shallow plastic under-bed or paint tray liner, about 30 x 16 inches (~$8)
  • 1 1/4-inch exterior wood screws, box of 25 (~$4)
  • Clear water-based polyurethane, small sample can (~$6, optional if you already own some)
  • Tools:
  • Hand saw or miter saw
  • Drill with a 1/8-inch bit and a Phillips bit
  • Tape measure and pencil
  • 120-grit sandpaper
  • Small paintbrush

How to Do It

  1. Measure the inside floor of your plastic liner. The grate must sit just inside the rim so it rests level and doesn't rock, which would let boots tip and spill water.
  2. Cut the 1x4 boards into slats about 1/2 inch shorter than the liner's inside width. Cut 8 to 10 slats, depending on length. Slightly shorter slats make dropping the grate in and lifting it out easy for emptying.
  3. Cut two 1x2 supports to the grate length. These run underneath the slats and keep them evenly spaced, so the grate stays rigid under wet boots.
  4. Sand every cut edge and the top faces with 120-grit paper. Rough wood snags laces and holds water, and smooth surfaces take sealer much better.
  5. Seal all pieces with two coats of water-based polyurethane, letting each dry per the can. Bare pine soaks up meltwater, swells, and eventually rots or smells, so sealing is what makes this last all winter.
  6. Assemble by laying the supports parallel, then predrilling and screwing each slat down with two 1 1/4-inch screws, using a 1/4-inch scrap as a spacer. Predrilling prevents splitting, and even gaps let water drain fast.
  7. Place the grate inside the liner by the door and test it with a cup of water poured across the slats. If it pools anywhere, shim or re-level it so water flows into the basin rather than sitting on the wood.
  8. Empty the basin when it's half full and wipe the grate weekly. Standing water breeds mildew, so a quick dump keeps the tray fresh through the whole slushy season.
DESIGNER TIP

Professional mudroom installers often add a small sloped spacer under one end of the tray so water travels toward a single corner. Slip a 1/2-inch wood shim under the back edge of the liner, and meltwater collects in one spot where it's simple to pour out, instead of sloshing across the whole basin.
Related Content

DIY Projects

02 December 2026

Post

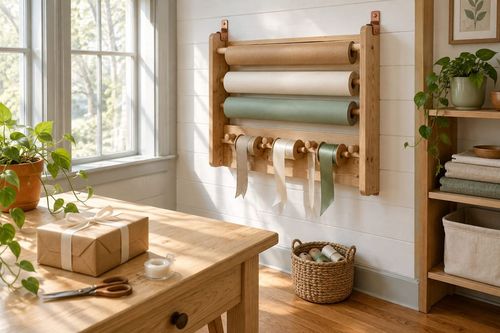
Build a Wooden Gift Wrap Station in 2 Hours for $28

Stop wrestling curling paper on the floor! Build a slim wooden gift wrap station with a paper rod and ribbon pegs in 2 hours for $28, just in time for gifting....

DIY Projects

30 November 2026

Post

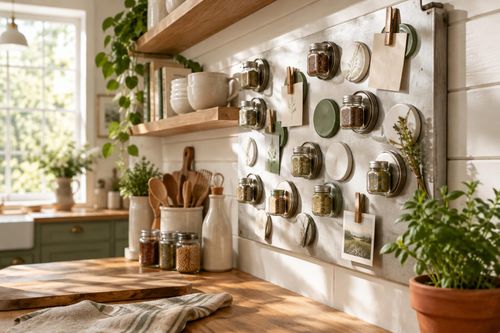
Jar Lid Magnet Board: The Backing That Holds

Turn old jar lids into a magnetic spice and note board for about $12. The right magnet backing is what keeps lids from sliding off. Easy Monday upcycle!...

DIY Projects

30 November 2026

Post

Make Felted Wool Dryer Sachets in 45 Minutes for $12

Skip the pricey scented sheets! Sew wool-and-lavender dryer sachets in 45 minutes for $12 and give every winter laundry load a fresh, cozy upgrade....

DIY Projects

28 November 2026

Post

Make Hand-Stamped Wooden Ornaments in 2 Hours for $18

Wood slices, a wood-burning-free stamp trick, and sealant turn into keepsake ornaments that survive decades of holiday boxes. Cute, cheap, and totally doable!...

DIY Projects

27 November 2026

Post

Make Salt Dough Gift Ornaments in 2 Hours for $12

Flour, salt, and a low oven turn into keepsake ornaments that last for decades. Beginner-friendly, kid-approved, and ready to hang in about 2 hours for $12....

DIY Projects

26 November 2026

Post

Thread Spool Garland: Why Tension Ties Matter

Turn a hand-stitched wreath into calm: a mindful beaded-thread garland for $9 where even tension is what keeps every bead from sliding into a slump....

DIY Projects

26 November 2026

Post

Build a Wooden Cutting Board Oil Kit in 1 Hour for $20

Dry cutting boards crack and harbor bacteria. Whip up a food-safe board butter in an hour for $20 and keep your boards gorgeous for years....

DIY Projects

25 November 2026

Post

Wooden Spice Rack: The Shelf Lip Height That Holds

Build a slim pine wall spice rack in an afternoon for about $18. The shelf lip height is what keeps jars from sliding off. Beginner-friendly....

DIY Projects

24 November 2026

Post

Foil Pan Light Reflector: The Tab Fold That Holds

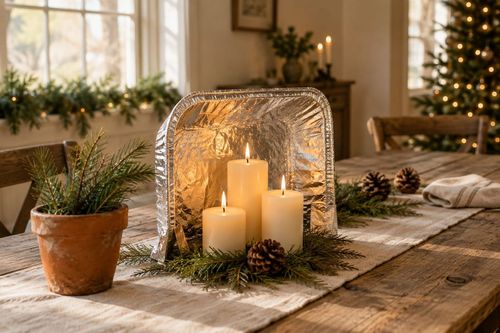
Turn a $1 foil pan into a Christmas-ready tabletop candle reflector for under $5. The tab fold is what keeps it standing, not slumping....

DIY Projects

24 November 2026

Post

Sew a Rice-Weighted Hand Warmer Set in 1 Hour for $14

Cold hands at the bus stop? Sew reusable flannel hand warmers filled with rice and cloves in an hour for $14. Zap, pocket, and enjoy cozy fingers all winter....

DIY Projects

22 November 2026

Post

Build a Wooden Napkin Holder in 1 Hour for $15

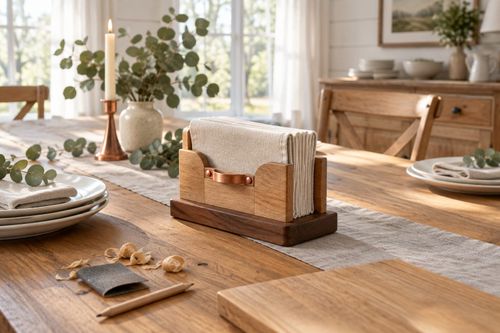
Stop napkins from flying off the table! Build a weighted wooden napkin holder in an hour for $15 and be ready for holiday hosting. Beginner friendly....

DIY Projects

21 November 2026

Post

Build a Wooden Knife Block in 2 Hours for $28

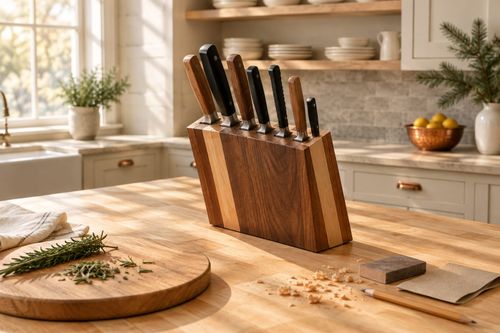
Ditch the dull-blade drawer shuffle! Build a slotted hardwood knife block in 2 hours for $28 and get holiday-ready prep space with safer, sharper knives....

DIY Projects

20 November 2026

Post

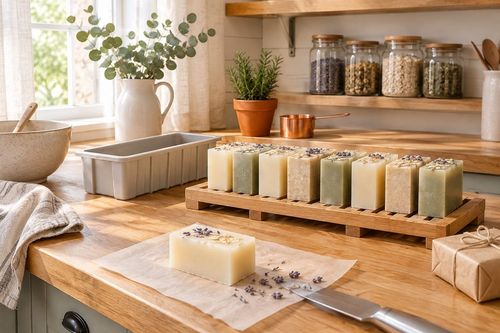
Make Hand-Poured Soap Bars in 1 Hour for $20

Skip the pricey boutique bars! Melt, scent, and pour your own glycerin soap in about an hour for $20. Cure-time secrets included, bubbles guaranteed....

DIY Projects

19 November 2026

Post

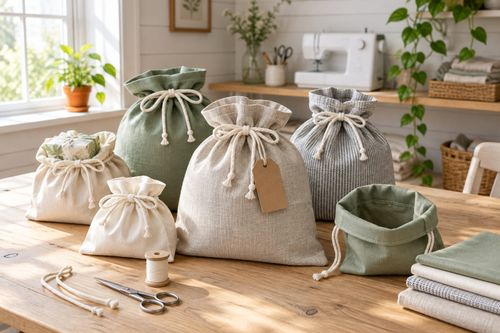
Sew Reusable Fabric Gift Bags in 90 Minutes for $15

Ditch the wrapping paper landfill! Sew drawstring fabric gift bags with French-folded hems in 90 minutes for $15 and reuse them every holiday for years....

DIY Projects

18 November 2026

Post

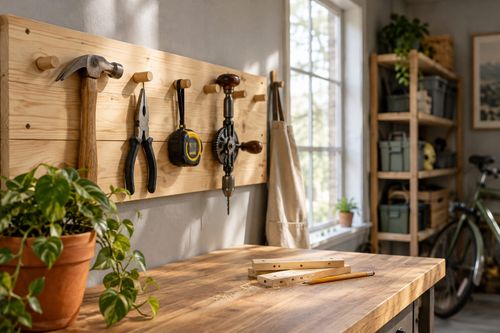
Wooden Tool Wall: The Pilot Hole Depth That Holds

Build a pine wall-mounted tool rack for about $22. Pre-drilling pilot holes to the right depth keeps the wood from splitting and the pegs holding....
Terms and ConditionsDo Not Sell or Share My Personal InformationPrivacy PolicyPrivacy NoticeAccessibility NoticeUnsubscribe
Copyright © 2026 DIY HomeBoost