
Build a Wooden Ladder Plant Stand for $18
Two hours, a handful of lumber, and four graduated shelves — the plant display that makes every corner look like a greenhouse boutique
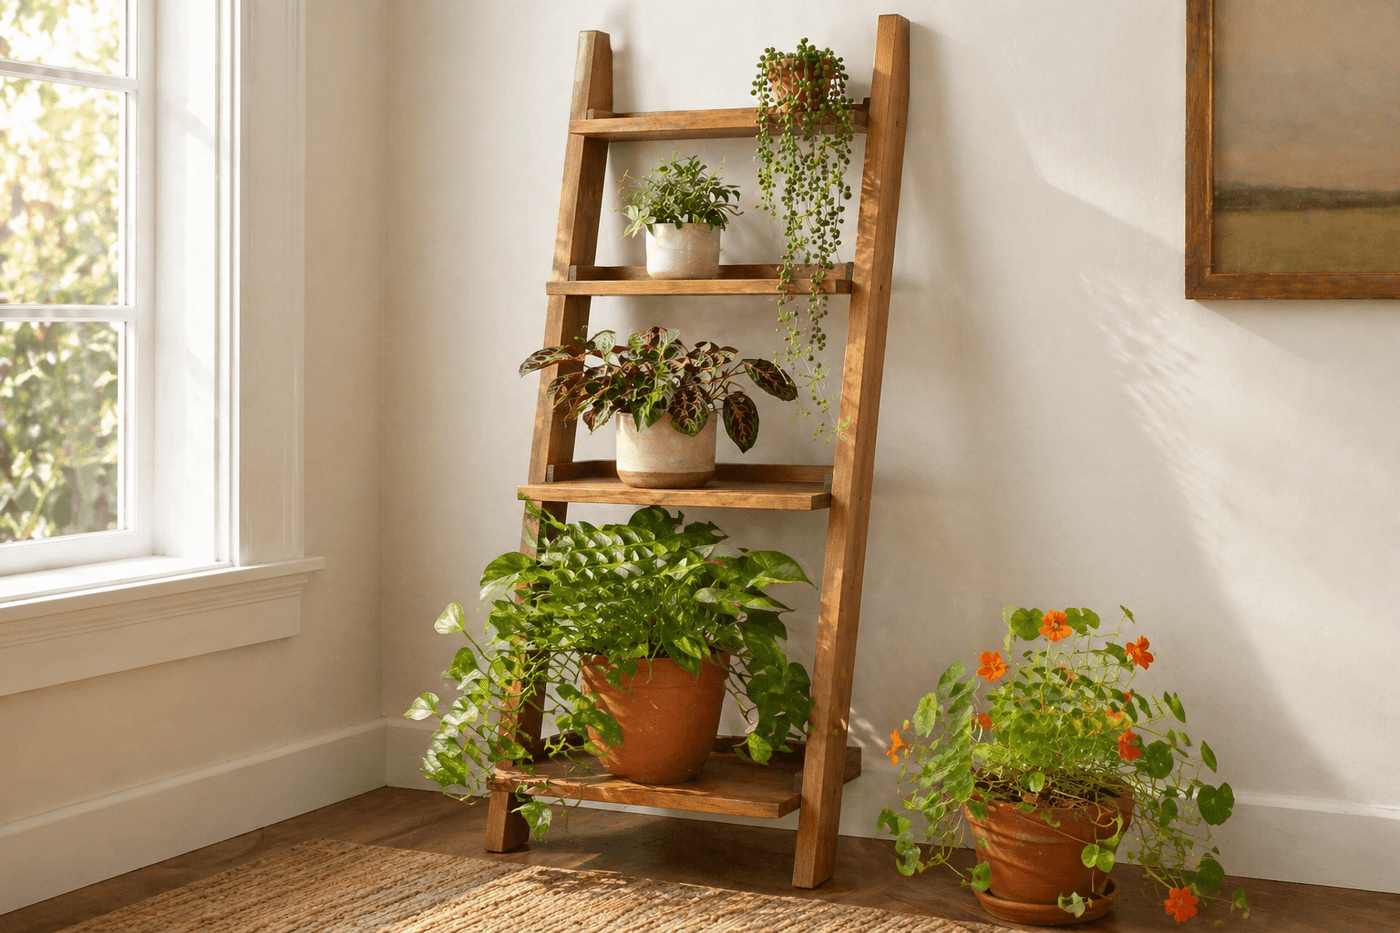
A ladder plant stand does something that a collection of individual plant pots on a windowsill or floor cannot: it creates a vertical composition with the plants themselves, using height and scale variation to make even a modest plant collection look intentional and abundant rather than casually assembled. The graduated shelf widths — wide at the bottom, narrowing toward the top — create a tapered profile that mirrors the natural growth habit of the plants it displays, and the slight lean of the ladder against the wall gives every shelf a natural upward tilt that keeps pots stable without any additional securing. The build costs $18 in lumber, takes two hours, and produces a display piece that retailers sell for $60 to $120 with identical joinery and considerably less personality than something you cut and assembled yourself. Build one for the porch, build one for the living room corner, build one for a houseplant-loving friend — the design is simple enough that the second one takes half the time of the first.
What You Need
- 2×2 lumber, 8-foot lengths, qty 2 — for the two side rails; 2×2 provides sufficient rigidity for a plant stand carrying pot weight while remaining visually slender enough to read as a furniture piece rather than a construction element (~$4–5 each, ~$8–10 total)
- 1×8 lumber, 6-foot length, qty 1 — yields all four shelf pieces cut to graduated widths; one board is sufficient for the full set of shelves at standard ladder plant stand dimensions (~$6–8)
- Exterior or interior wood screws, 1⅝", qty ~20 — for driving through the rail faces into the shelf ends; pre-drill every fastener location to prevent splitting in the 2×2 rail material
- Wood glue — for reinforcing every shelf-to-rail joint before screwing; a plant stand that gets moved regularly between indoor and outdoor positions experiences significant joint stress, and glued-and-screwed joints remain solid through that movement in a way that screws alone gradually loosen under
- Miter saw or handsaw — for cutting rail lengths and the graduated shelf widths accurately
- Drill with pilot bit and driver bit — for pre-drilling and driving screws at all joint locations
- Sandpaper, 120-grit and 220-grit — for smoothing all surfaces and edges; 220-grit on the shelf surfaces specifically produces a smooth finish that doesn't snag on pot bases
- Exterior wood stain, paint, or clear sealer — for finishing; natural cedar stain, white paint for a Scandinavian look, or clear outdoor sealer to let the wood grain show all work beautifully (~$6–10 for a sample pot that covers multiple ladder stands)
- Level and measuring tape — for marking consistent, level shelf positions on both rails before drilling any pilot holes
How to Build It
- Cut both side rails to your chosen length — 48 to 60 inches works well for a four-shelf stand that displays plants at comfortable viewing heights without towering over a standard room. Cut both rails from the same board section if possible so they're identical in length and wood character, then cut all four shelf pieces from the 1×8 at graduated widths: 24 inches for the bottom shelf, 20 inches for the second, 16 inches for the third, and 12 inches for the top shelf.
- Mark shelf positions on both rails simultaneously by clamping or taping them together face-to-face and marking across both at once — this ensures the shelf height marks are identical on both rails, which is what keeps shelves level across the finished stand. Space the shelf marks 12 to 15 inches apart vertically, starting the bottom shelf 2 to 3 inches from the bottom end of the rails to create a visual base and keep the lowest pot at a comfortable viewing height above the floor.
- Pre-drill pilot holes at each shelf mark on both rails — two pilot holes per shelf position, spaced to align with the center of the shelf thickness when the shelf end is butted against the rail face. Drilling at a very slight downward angle (about 5 degrees) rather than perfectly horizontal angles the screw slightly downward into the shelf end grain, which produces a stronger mechanical connection than a perfectly horizontal screw into end grain alone.
- Assemble the stand by attaching shelves to one rail first — apply wood glue to the shelf end face and the rail contact area, press firmly together with the shelf centered on its marked position, and drive two screws through the pre-drilled pilot holes. Work from the bottom shelf upward, allowing each joint thirty seconds to begin setting before moving to the next, so the assembly holds its geometry while you work.
- Attach the second rail to the opposite ends of all four shelves using the same glue-and-screw process, working with the partially assembled stand lying flat on your work surface. Confirm that the shelf ends align precisely with the shelf position marks on the second rail before driving any screws — a shelf that's even slightly off its mark on one side produces a visible twist in the assembled stand that cannot be corrected without unscrewing and repositioning.
- Check the assembled stand for square by measuring diagonally across the full structure from the bottom-left corner to the top-right corner, then from the bottom-right to the top-left — equal diagonal measurements confirm the stand is square. If the measurements differ, apply gentle pressure to the longer diagonal while the glue is still workable to rack the structure into square before it cures. A stand that is out of square will rock against the wall rather than leaning stably.
- Sand the entire assembled stand at 120-grit and follow with 220-grit on all shelf surfaces and the rail faces — the shelf surfaces specifically need 220-grit smoothness so pot bases slide onto and off the shelves without catching on rough grain, and so water drips from watering don't raise the grain at the shelf surface level where they'll be most visible.
- Finish with your chosen stain, paint, or sealer, applying two coats and allowing full drying time between coats. Lean the finished stand against the wall at a 10 to 15-degree angle — the slight lean is what causes the shelves to tilt slightly upward at the front, keeping pots stable without any stops or lips on the shelf edges. Load the shelves from bottom to top with your heaviest plants on the lowest shelf and the smallest, lightest plants at the top, which keeps the center of gravity low and the stand stable through the full season.
Interior plant stylists who design plant displays for professional shoots and showrooms always style ladder stands with the plant selection following the same tapered logic as the shelf widths — a large, dramatic statement plant on the widest bottom shelf, medium-scale plants with interesting foliage texture on the middle shelves, and a small trailing or compact plant on the narrowest top shelf that softens the ladder silhouette by spilling slightly over the shelf edge. The visual logic of the plant selection mirroring the tapering structure of the stand is what makes the whole composition read as designed rather than filled — and placing a trailing plant on the top shelf so its stems cascade downward alongside the stand rails adds a living architectural quality that no styling arrangement of pots alone quite achieves.














