Build a Glove and Hat Drying Rack in 1 Hour for $18
Spacing the dowels so air can circulate around each mitten is what separates gear that dries overnight from gear that stays damp and sour.

Wet gloves piled on a radiator or heaped by the door rarely dry. They just get warm and musty. The difference between a rack that dries gear overnight and one that fails comes down to spacing: when dowels sit at least 3 inches apart and every item hangs open, air moves through the fabric instead of trapping moisture in the folds. Mildew starts growing in damp wool within about 24 hours, so airflow matters more than heat. This freestanding-style wall rack uses a pine board and hardwood dowels, takes about 1 hour, and costs around $18 total. It is a beginner build, and you only need a drill and a tape measure.
What You'll Need
- Materials (~$18 total):
- One 1x4 pine board, 36 inches long (~$7)
- Five 3/8-inch hardwood dowels, 12 inches long (~$5)
- Wood glue, small bottle (~$3)
- Two 2-inch wood screws and two wall anchors rated for 25 lbs (~$3)
- Fine-grit sandpaper, 120 grit (use what you have)
- Tools:
- Drill with 3/8-inch bit and a bit for pilot holes
- Tape measure and pencil
- Level
- Handsaw or hardware store cut service if boards need trimming
How to Do It
- Mark five dowel positions along the center line of the board, 6 inches apart, starting 3 inches from each end. This spacing keeps every glove from touching its neighbor so air reaches both sides.
- Tilt your drill slightly upward, about 10 degrees, as you prepare to drill. Angled holes make the dowels slope up so wet items slide toward the wall rather than dripping off the ends.
- Drill each hole about 1/2 inch deep with the 3/8-inch bit. Wrap a piece of tape around the bit as a depth stop so you never punch through the front of the board.
- Sand the board and the dowel ends until smooth. Rough edges snag knit fibers and pull yarn loose from your favorite hat.
- Glue each dowel into its hole with a dab of wood glue, then wipe away squeeze-out right away. Let the glue set for at least 30 minutes so the dowels hold wet, heavy wool without wiggling.
- Drill two pilot holes through the board near each end, then hold the rack against the wall and mark anchor spots with a level. A level rack keeps items from sliding sideways into each other.
- Mount the rack using wall anchors and 2-inch screws, driving into a stud if you can find one. Wet winter gear is heavier than it looks, so solid anchoring prevents a rack-and-mittens crash.
- Hang gloves with fingers pointing down and open, and put hats on the dowels inside out. Open cuffs and exposed linings dry fastest, usually overnight.
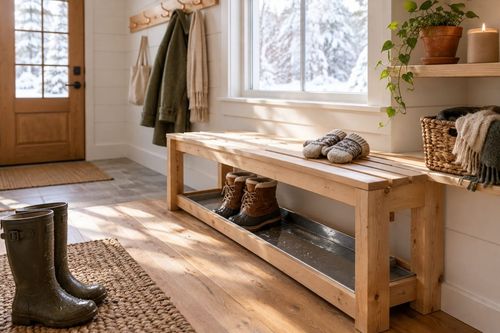
Mudroom organizers and ski-lodge gear managers dry wet equipment from the inside out: they hang gloves fingers-down with cuffs flared open and turn hat brims up. Place the rack within a few feet of a heating vent, but never directly over it, so warm air circulates without scorching leather or melting synthetic insulation.