
DIY Projects

Recent Content

Shoe Bench Build: The Cubby Depth That Keeps Pairs Upright

Shoe Bench Build: The Cubby Depth That Keeps Pairs Upright

Build a wooden entryway shoe bench for $35—the cubby depth is what keeps boots standing instead of toppling into a pile every morning.

Style a Layered Nightstand Vignette in 1 Hour for $35

Style a Layered Nightstand Vignette in 1 Hour for $35

Turn a cluttered nightstand into a cozy styled vignette with the height-rule trick—1 hour, $35, instant bedroom upgrade.

The Cafe Rod Trick for a Fake Built-In Vanity

The Cafe Rod Trick for a Fake Built-In Vanity

Fake a built-in bathroom vanity shelf with a tiny cafe rod and basket—zero drilling, zero suction cups, full deposit intact.

Tension Rod Shelf: The Rod Width That Won't Slip

Tension Rod Shelf: The Rod Width That Won't Slip

Build a hidden double-decker shelf under your sink for $6—the rod tension width is what keeps it from crashing down on cleaning day.

Mulch Perennial Beds for Winter in 1 Hour for $25

Mulch Perennial Beds for Winter in 1 Hour for $25

Tuck your perennials in right! A 3-inch mulch blanket now saves roots from winter heave for about $25.

logo
  • Home Improvement
  • DIY Projects
  • Interior Design
  • Gardening & Outdoor
  • Real Estate
  • Home Improvement
  • DIY Projects
  • Interior Design
  • Gardening & Outdoor
  • Real Estate
  • ​

Budget Brilliance: Foam Board Faux Shiplap

Get the farmhouse look everyone loves for a fraction of real shiplap costs
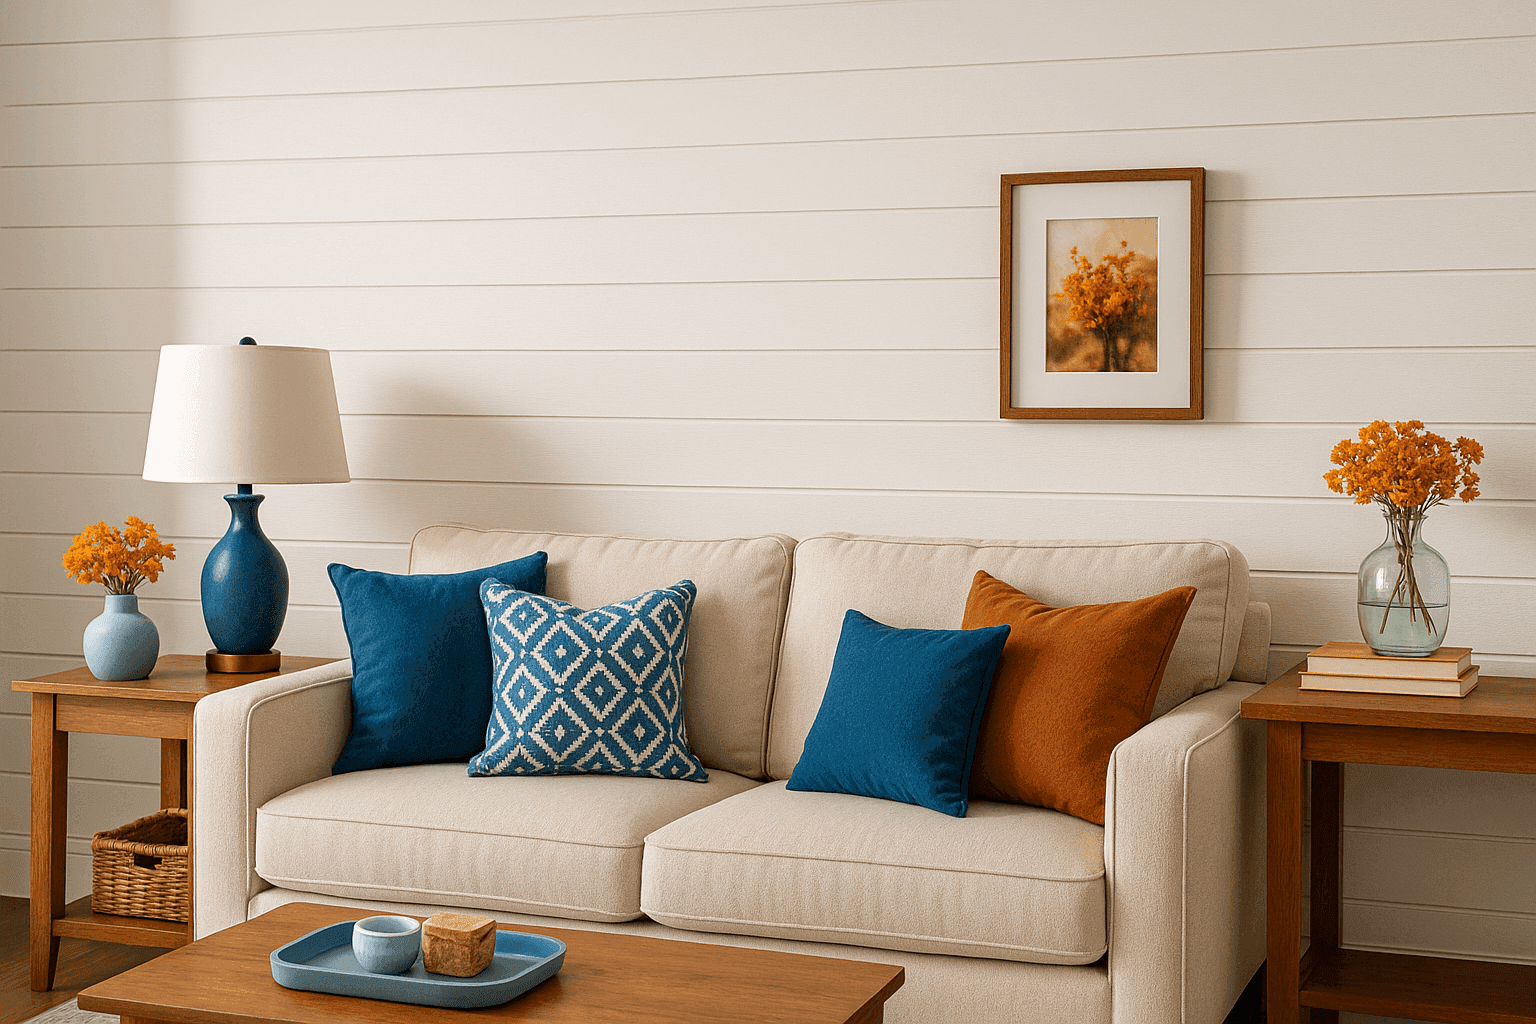
Beautiful white foam board faux shiplap wall treatment creating farmhouse style accent wall for budget-friendly room transformation
DIY Projects

Shiplap has become the holy grail of farmhouse style, but real wood shiplap can cost $200-400 per accent wall once you factor in materials, tools, and the complexity of installation—not to mention the commitment since it's basically permanent. Foam board faux shiplap gives you that same coveted horizontal-lined look for under $15 per wall, and the best part is that it's completely removable and renter-friendly since it goes up with double-sided tape. The transformation is so convincing that guests will assume you invested in expensive wood paneling, but you'll know the secret of this genius budget hack that takes just a few hours to complete. This project proves that achieving the designer farmhouse aesthetic doesn't require a farmhouse budget—just a little creativity and some strategic shopping at the dollar store.

Materials & Tools

Foam Board Supplies ($12-15)

  • White foam board sheets (20" x 30" size)
  • Calculate: wall width ÷ 6 inches = number of strips needed
  • Add 10% extra for mistakes and future repairs
  • Look for smooth, consistent texture boards

Installation Materials ($8-12)

  • Heavy-duty double-sided mounting tape
  • Small foam spacers (optional for consistent gaps)
  • Corner trim pieces (if desired)
  • Touch-up white paint (optional)

Tools

  • Sharp utility knife with extra blades
  • Metal ruler or straight edge
  • Level (2-foot minimum)
  • Pencil for marking
  • Measuring tape

Creating Your Faux Shiplap

  1. Measure your wall height and mark foam boards for 6-inch wide horizontal strips
  2. Cut strips using a sharp utility knife and metal ruler, scoring multiple times for clean edges
  3. Plan your layout starting from the bottom, ensuring the top strip fits proportionally
  4. Apply double-sided tape to the back of each strip in three places: both ends and center
  5. Install bottom strip first, using level to ensure perfect horizontal alignment
  6. Continue upward, maintaining consistent 1/8-inch gaps between strips for authentic shiplap look
  7. Trim around outlets and switches carefully with utility knife for professional finish
  8. Touch up any visible tape edges or cut marks with white paint if needed
DESIGNER TIP

Use a nickel as your spacer for consistent gaps between strips—it's exactly the right thickness for authentic shiplap spacing. Start installation from the bottom up to ensure your top piece looks proportional, and don't worry about making it perfect—real shiplap has slight imperfections that add character. For extra durability in high-traffic areas, reinforce corners and edges with tiny dots of removable adhesive caulk that can be painted over for seamless blending.


Related Content

DIY Projects

04 November 2026

Post

Shoe Bench Build: The Cubby Depth That Keeps Pairs Upright

Build a wooden entryway shoe bench for $35—the cubby depth is what keeps boots standing instead of toppling into a pile every morning....

DIY Projects

03 November 2026

Post

Tension Rod Shelf: The Rod Width That Won't Slip

Build a hidden double-decker shelf under your sink for $6—the rod tension width is what keeps it from crashing down on cleaning day....

DIY Projects

01 November 2026

Post

Sew Flannel Pajama Pants in 3 Hours for $25

Ditch store PJs! Sew cozy flannel pajama pants with an elastic waist in 3 hours for about $25 — perfect for chilly November nights....

DIY Projects

31 October 2026

Post

Build a Trick-or-Treat Bucket Lantern in 1 Hour for $15

Light up Halloween night with a glowing trick-or-treat bucket lantern—1 hour, $15, and way safer than a candle in a pumpkin....

DIY Projects

30 October 2026

Post

Pour Pumpkin Spice Candles in 1 Hour for $15

Ditch the $28 mall candle—pour your own pumpkin spice soy candles at home for $15 and fill your house with fall in an hour....

DIY Projects

29 October 2026

Post

Tabletop Zen Garden: The Sand Depth That Holds Lines

Build a calming tabletop zen garden for $15—the sand depth is the one thing that decides if your rake lines actually hold or vanish....

DIY Projects

28 October 2026

Post

Wooden Dish Rack: The Dowel Angle That Drains Right

Build a slatted wood dish rack for $18—the dowel tilt angle is what actually drains water into the tray instead of pooling on your counter....

DIY Projects

27 October 2026

Post

Pool Noodle Knife Block: The Slice Depth That Stops Wobble

Turn a $1 pool noodle into a safe knife block—the slice depth is what keeps blades from wobbling loose or slicing through the foam....

DIY Projects

27 October 2026

Post

Build a Wooden Pie Carrier in 2 Hours for $25

Never smash a pie in the car again! Build a snug wooden pie carrier in 2 hours for $25—perfect timing for fall potlucks....

DIY Projects

26 October 2026

Post

Make Herb-Infused Honey in 30 Minutes for $12

Turn raw honey into a cold-season secret weapon—infuse it with thyme and ginger in 30 minutes for about $12, no fancy gear needed....

DIY Projects

25 October 2026

Post

Make Homemade Fire Cider in 20 Minutes for $15

Steep this spicy apple cider vinegar tonic now so it's ready to fight off fall colds in 4 weeks—20 minutes, $15, zero cooking skills....

DIY Projects

23 October 2026

Post

Build a Freestanding Coat Rack in 2 Hours for $35

Sick of coats piled on chairs? Build a sturdy freestanding coat rack in 2 hours for $35 — no wall drilling, just solid joinery....

DIY Projects

22 October 2026

Post

Window Frame to Pet Gate: The Hinge Set That Holds

Turn an old wooden window frame into a swinging pet gate for $22 — the hinge mortise depth is what keeps it from sagging open over time....

DIY Projects

22 October 2026

Post

Make Spiced Homemade Applesauce in 1 Hour for $12

Turn a bag of fall apples into silky spiced applesauce in an hour for $12 — no peeling required if you've got the right tool....

DIY Projects

21 October 2026

Post

Floating Nightstand: The Bracket Depth That Holds Weight

Build a wall-mounted wooden nightstand for $25 — the bracket depth inside the wood is what stops it from sagging under a lamp and books....
Terms and ConditionsDo Not Sell or Share My Personal InformationPrivacy PolicyPrivacy NoticeAccessibility NoticeUnsubscribe
Copyright © 2026 DIY HomeBoost












