Bridge Riser Shelf: Instant Second Level, Any Counter
A riser without a stretcher board looks fine standing still but racks side to side the first time it's bumped — the piece most tutorials list as optional is actually what keeps a tall, narrow riser stable long-term.
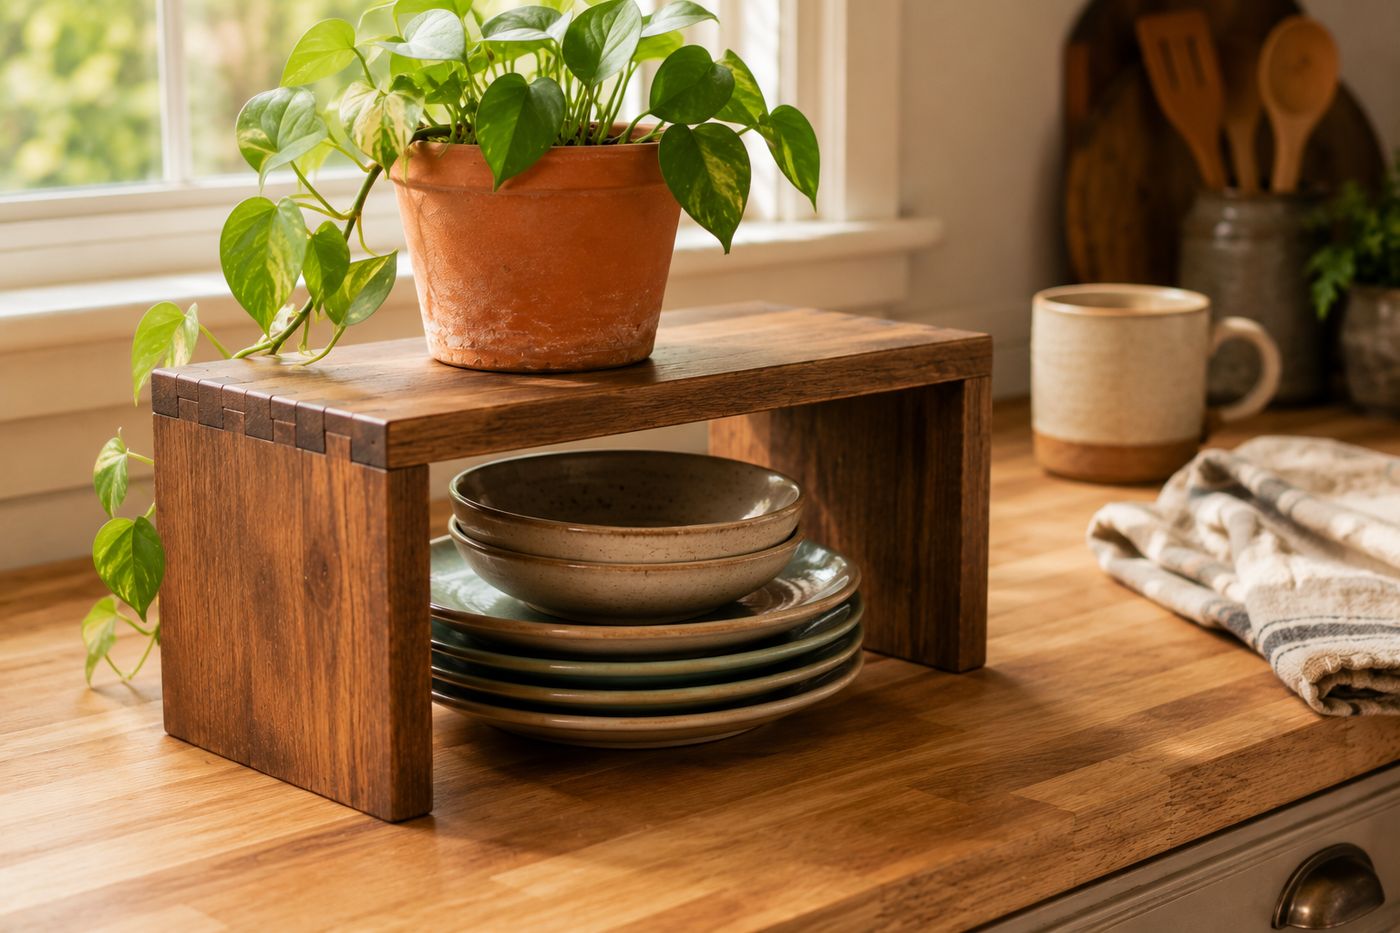
A basic bridge riser — one platform on two legs — is structurally just two separate joints holding all the weight, and with nothing connecting those legs to each other, the whole structure can rack side to side under any lateral pressure, like nudging it while wiping the counter. A stretcher board connecting the two legs near the bottom turns those two independent joints into one braced frame, which is the actual difference between a riser that wobbles after a few weeks of use and one that stays solid indefinitely. Taller risers, in the 7-8 inch range, need that stretcher more than shorter ones simply because more height means more leverage working against those top joints. Skip it on a short riser and you might get away with it; skip it on a tall one and the wobble shows up fast. Once that structural piece is in place, the rest of the build is genuinely simple — about $6-12 in lumber and roughly 45 minutes of work for a shelf you'll find a use for in nearly every room.
What You'll Need
- 1x8 or 1x10 lumber, for the top platform, cut to 12-24" — about $5
- 1x6 lumber, for the two legs, cut to 5-8" tall — about $3
- Thin board scrap, for the bottom stretcher between the legs — about $2, or use leftover material
- Wood glue
- Wood screws
- Sandpaper, progressive grits
- Paint, stain, or food-safe oil, depending on intended use — about $2-4
- Drill/driver
- Square, for checking legs are perpendicular to the platform
How to Build It
- Cut your top platform from 1x8 or 1x10 lumber to your desired length, and your two leg pieces from 1x6 lumber to your desired height.
- Sand all cut pieces before assembly, since it's much easier to smooth flat boards now than to sand into corners once the structure is glued and screwed together.
- Apply wood glue to the top edge of each leg, then position them at each end of the platform's underside, checking with a square that each leg sits perpendicular to the platform.
- Drive screws down through the platform into each leg's top edge, securing the bridge shape.
- Cut a thin stretcher board sized to span the distance between the two legs near their bottom edges.
- Attach the stretcher between the two legs with glue and screws — this is the piece that actually locks the whole structure against side-to-side racking, so don't treat it as skippable even though it's easy to leave off for the sake of a cleaner look.
- Sand the entire assembled riser once more, rounding all edges and corners smooth.
- Finish with paint, stain, or food-safe oil depending on where the riser will be used — food-safe oil for anything near food prep, paint or stain for purely decorative display use.
Woodworkers who build display staging for kitchens and shops often make three risers in graduating heights rather than one, since a set of ascending platforms creates a tiered display that reads as intentional merchandising or styling rather than a single functional shelf. The height difference between each riser matters less than keeping it consistent — roughly two inches taller at each step reads as a deliberate progression rather than a random assortment.