Zen Sand Garden: Desk Reset for $15
A shallow tray, fine sand, a few river stones, and a handmade rake — and your desk becomes the calmest place in the house.
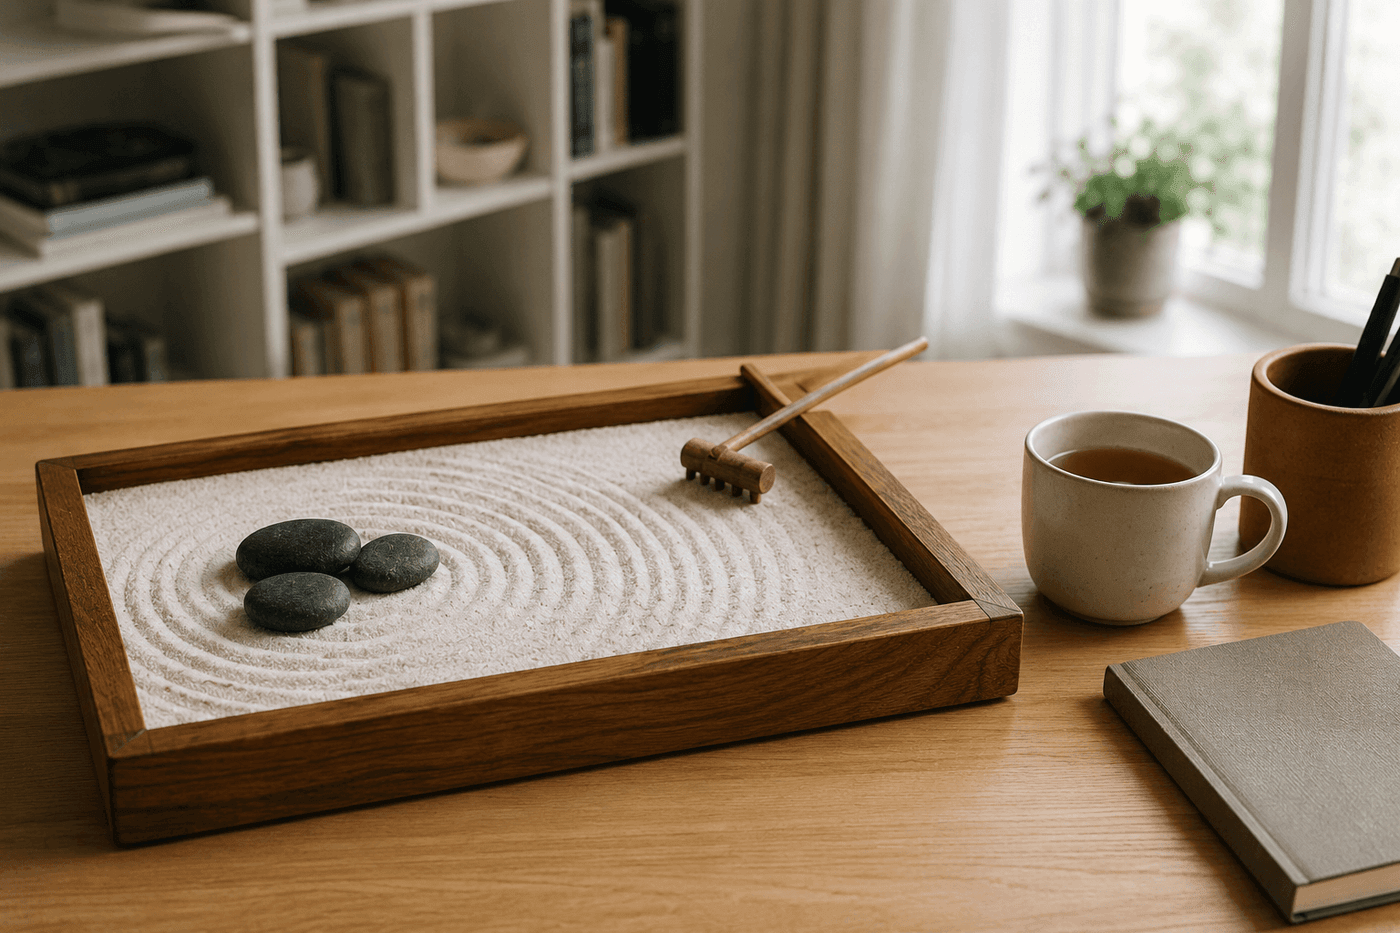
The $12 gift shop zen garden is a trap — flimsy plastic rake, sand that clumps, a tray so shallow the stones sit higher than the sides — and once yours breaks or disappoints, the whole idea feels like a gimmick. It isn't. The practice of raking fine sand into patterns around smooth stones is genuinely, measurably calming, and the version you build yourself for about $15 is so far superior to the commercial one that they barely belong in the same category. A shallow unfinished wood tray finished with danish oil, an inch of fine white sand, a small asymmetric grouping of river stones, and a handmade wooden rake with notched teeth come together in about an hour — and what you end up with is a desk object that earns its space every single day. Two minutes of raking during a stressful phone call or between meetings does something real for your focus and your nervous system, and having made the thing yourself makes you actually reach for it.
What You'll Need
- Shallow unfinished wood tray — 10–14" is ideal for a desk; craft stores and hobby shops carry these for $5–8
- Fine white sand — play sand works; craft sand is finer and rakes more beautifully (~$3–4 for a small bag)
- Smooth river stones — 3–5 stones in varied sizes; craft stores or dollar stores carry bags of these (~$2–3)
- Danish oil or mineral oil — for finishing the tray; danish oil brings out wood grain most richly (~$6–8, goes a long way)
- Flat scrap wood, ½" thick — about 3" wide by 3" long for the rake head; any offcut works
- Wooden dowel, ¼" diameter — 8–10" long for the rake handle (~$1–2)
- Craft knife or small chisel — for cutting notches along the rake head edge
- Small wood screw — to attach rake head to dowel handle
- Sandpaper — 120- and 220-grit for tray prep and rake finishing
How to Make It
- Sand the tray lightly with 120-grit followed by 220-grit, working with the wood grain to remove any rough spots or mill marks. Unfinished craft trays often have sharp edges at the rim — round these slightly with sandpaper so the finished piece feels intentional and refined rather than raw.
- Finish the tray with danish oil, applying a generous coat with a rag and letting it soak in for 15–20 minutes before wiping away the excess. Danish oil penetrates rather than sitting on the surface, which means it won't peel or chip over time and brings out wood grain in a way that looks warm and handcrafted rather than plastic-coated. Let cure at least an hour before adding sand.
- Cut the rake head by marking 4–6 evenly spaced notches along one long edge of your scrap wood piece — notches about ¼" wide and ¼" deep create tines that pull clean, defined lines through fine sand. Score each notch with a craft knife and remove the material with a chisel or repeated knife passes; the spacing between notches determines the line pattern your rake will produce.
- Attach the dowel handle to the flat (non-notched) face of the rake head by drilling a pilot hole and driving a small screw through the dowel end into the wood — angle the handle slightly upward from the rake head so your wrist sits comfortably while raking rather than pressing flat against the sand surface.
- Sand the finished rake thoroughly with 220-grit, paying particular attention to the tine edges and the dowel handle where your hand will rest. A smooth handle is the difference between a tool you reach for and one that sits unused — splinters, however small, are enough to break the habit.
- Pour fine sand into the finished tray to a depth of about one inch — deep enough for the rake tines to draw clean lines without scraping the tray bottom, shallow enough that stones sit partially proud of the surface rather than disappearing into the sand.
- Arrange your river stones in an asymmetric grouping that feels balanced without being perfectly symmetrical — odd numbers of stones (three or five) read as more natural than even groupings, and clustering stones of varied sizes together in one area rather than distributing them evenly creates the sense of intentional composition that defines the aesthetic.
- Rake your first pattern by drawing the tines slowly through the sand in long parallel strokes, then experiment with concentric circles around the stones — the traditional pattern that takes about thirty seconds to learn and never gets old. Set the garden on your desk within arm's reach, and treat the first rake of the morning as the signal that the workday has begun.
Interior stylists who design meditation spaces and wellness-focused home offices consistently follow one placement principle borrowed directly from traditional karesansui garden design: never center the stone grouping. Place your stones in the left or right third of the tray rather than the middle, which creates negative space — the large uninterrupted area of rakeable sand — that is itself the most visually and psychologically important part of the composition. A centered arrangement leaves equal sand on both sides and reads as static and decorative; an off-center grouping creates visual tension and a sense of landscape that makes the raking feel purposeful rather than merely repetitive. This single adjustment is what separates a sand garden that genuinely calms the mind from one that just sits on your desk looking nice.