Interior Design

Recent Content

Sew Reusable Fabric Gift Bags in 90 Minutes for $15

Sew Reusable Fabric Gift Bags in 90 Minutes for $15

Ditch the wrapping paper landfill! Sew drawstring fabric gift bags with French-folded hems in 90 minutes for $15 and reuse them every holiday for years.

Wooden Tool Wall: The Pilot Hole Depth That Holds

Wooden Tool Wall: The Pilot Hole Depth That Holds

Build a pine wall-mounted tool rack for about $22. Pre-drilling pilot holes to the right depth keeps the wood from splitting and the pegs holding.

Build a Wooden Cookie Cutter Display Rack in 2 Hours for $22

Build a Wooden Cookie Cutter Display Rack in 2 Hours for $22

Holiday baking is coming! Build a slim wooden cutter rack in 2 hours for $22 and stop digging through the tangled drawer of tin cutters for the star.

Pot Lid Organizer Trick for Renter Kitchens

Pot Lid Organizer Trick for Renter Kitchens

Tame chaotic pot lids with a freestanding, no-drill organizer trick. Zero holes, zero residue, deposit safe. Your tiny kitchen just got calmer!

Thrifty Tuesday: Tension Rod Curtain Closet for $8

Thrifty Tuesday: Tension Rod Curtain Closet for $8

Turn a doorless closet into a clean, hidden space for about $8. The rod placement is what keeps your dollar-store curtain from sagging or popping down.

logo
  • Home Improvement
  • DIY Projects
  • Interior Design
  • Gardening & Outdoor
  • Real Estate
  • Home Improvement
  • DIY Projects
  • Interior Design
  • Gardening & Outdoor
  • Real Estate
  • ​

Painted Bookcase Backs: Why Tape Edges Need Sealing

Painted Bookcase Backs: Why Tape Edges Need Sealing

Sealing the tape edge with base color first is what stops bright paint from bleeding under and turning your bold stripes into a muddy mess.

[#~image_alt_1~#]
Interior design

I once taped off a bookcase back, rolled on hot pink, and peeled the tape to find fuzzy, bleeding edges everywhere. The culprit is capillary action: liquid paint wicks under tape through microscopic gaps. The fix is sealing the tape edge with a thin coat of the base color first. That coat dries into the gap and locks it shut, so your bold color coat sits on top with crisp, gallery-sharp lines. Skip it and the whole Saturday project looks sloppy, no matter how loud the colors are.

What You'll Need

  • Bookcase with removable or open back, thrifted or already owned, $0-$15
  • Sample-size paint in 3 bold colors, such as teal, tangerine, and magenta, about $12 total
  • Painter's tape, 1.5-inch width, about $5
  • Small foam roller and tray, about $4
  • Fine-grit sanding sponge, about $3
  • Clear water-based sealer, small can, about $6
  • Damp rag and drop cloth, already on hand

How to Build It

  1. Empty the bookcase, then lay it on its front or remove the back panel so you can paint on a flat surface.
  2. Scuff the back panel with the sanding sponge, then wipe it with a damp rag and let it dry fully.
  3. Roll one coat of your lightest color across the whole panel as a base and let it dry for one hour.
  4. Tape off your stripes or geometric shapes, pressing each edge down firmly with a fingernail or credit card so there are no lifted corners.
  5. Seal the tape edges by brushing a thin coat of the base color along every taped line, then wait 20 minutes for it to dry.
  6. Paint your bold colors inside the taped sections with light, even roller passes, applying two thin coats rather than one thick one.
  7. Peel the tape slowly at a 45-degree angle while the last coat is still slightly tacky, then let the panel cure for 24 hours.
  8. Finish with one coat of clear sealer, reattach the back, and restyle the shelves with books and decor.
DESIGNER TIP

Pick colors that echo what you already own, such as one shade pulled from a rug or throw pillow, so the loud backdrop feels intentional rather than random. Then group your shelf items in odd numbers and let one bold piece break the pattern for a maximalist look that still feels curated.
Related Content

Interior Design

16 November 2026

Post

Mug Rack from Cutlery Tray: The Hook Spacing Rule

Turn a thrifted silverware tray into a wall mug rack for about $15. Spacing hooks by handle width keeps mugs from clanking and chipping. Done in an hour....

Interior Design

07 November 2026

Post

Painted Vase Trio: Why the Gloss Coat Must Go Last

Turn thrifted vases into a bold, color-blocked trio for under $20. The clear gloss coat is what makes the color pop and keeps the paint from chipping....

Interior Design

04 November 2026

Post

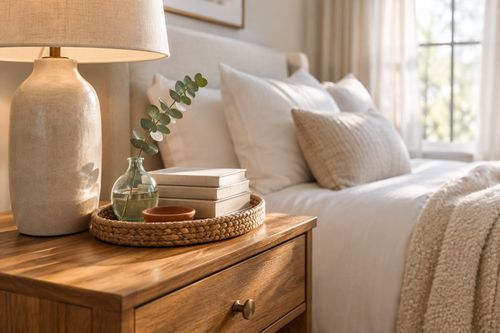
Style a Layered Nightstand Vignette in 1 Hour for $35

Turn a cluttered nightstand into a cozy styled vignette with the height-rule trick—1 hour, $35, instant bedroom upgrade....

Interior Design

02 November 2026

Post

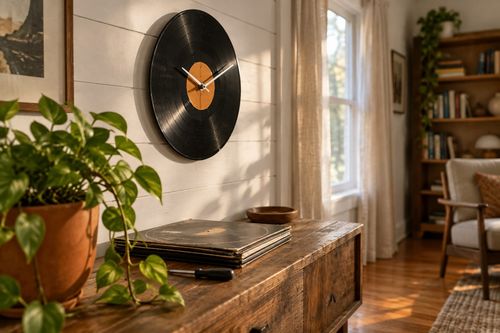
Vinyl Record Clock: The Center Hole Size That Matters

Turn a scratched vinyl record into a working wall clock—the center hole size is what keeps the mechanism snug instead of wobbling off-center. Under $15....

Interior Design

26 October 2026

Post

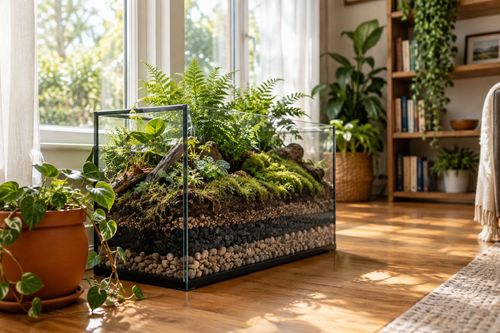
Fish Tank Terrarium: The Drainage Layer That Saves It

Turn a leaky old fish tank into a stunning terrarium—the gravel drainage layer is what stops root rot before your plants ever get a chance....

Interior Design

24 October 2026

Post

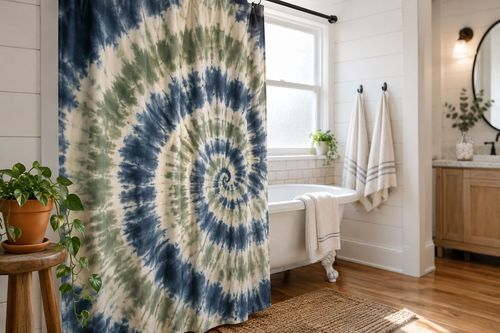
Tie-Dye Shower Curtain: The Fold That Makes Spirals

Turn a plain $8 shower curtain into a wild tie-dye spiral—the fold-and-twist technique is what makes the pattern radiate instead of blotch....

Interior Design

21 October 2026

Post

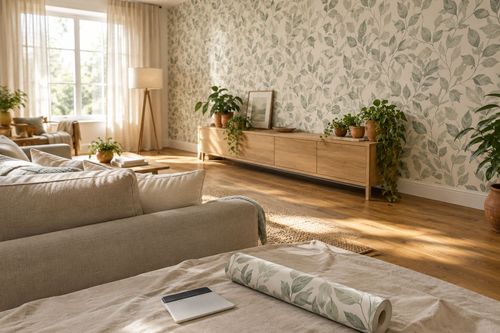
Peel-and-Stick Wallpaper Accent Wall in 3 Hours for $60

Turn one blank wall into a showstopper with peel-and-stick wallpaper—no wet paste, no mess, just a sharp accent wall by dinnertime....

Interior Design

19 October 2026

Post

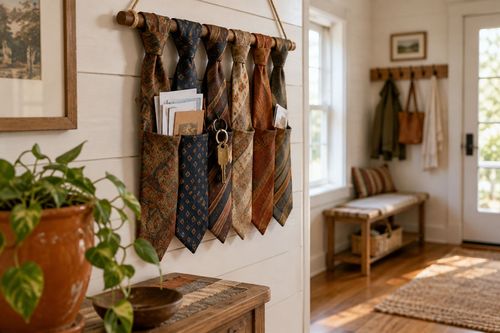
Necktie Wall Organizer: The Knot Spacing That Holds

Turn old neckties into a boho wall organizer for keys and mail—even knot spacing is what keeps the pockets from sagging open. Under $10....

Interior Design

17 October 2026

Post

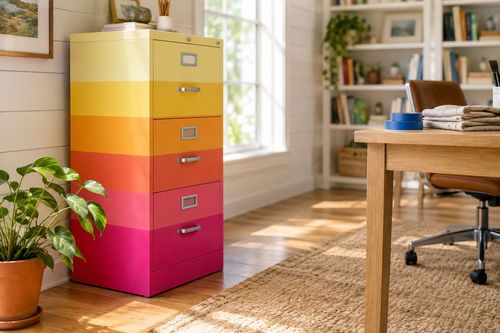
Neon Ombré File Cabinet: The Tape Order That Prevents Bleed

Turn a beige metal file cabinet into a neon ombré showstopper—the tape-layering order is what keeps colors crisp instead of muddy. Under $25....

Interior Design

15 October 2026

Post

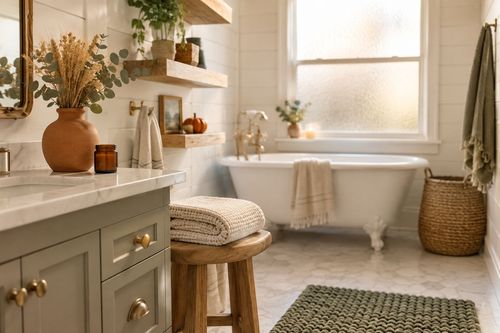
Style a Cozy Fall Guest Bathroom Refresh in 2 Hours for $35

Turn a sterile guest bath into a warm fall retreat with layered textiles and scent—2 hours, $35, zero renovation required....

Interior Design

13 October 2026

Post

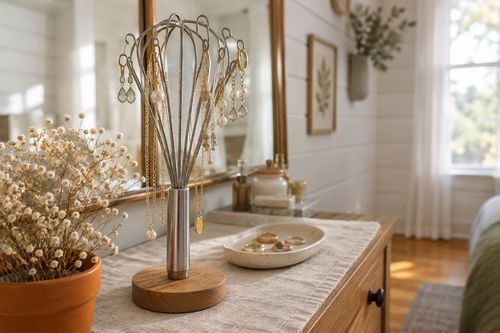
Whisk Jewelry Holder: The Bend That Stops Sagging

Turn a $1 dollar-store whisk into a boutique earring holder—the wire bend angle is what stops it from drooping under real jewelry weight....

Interior Design

12 October 2026

Post

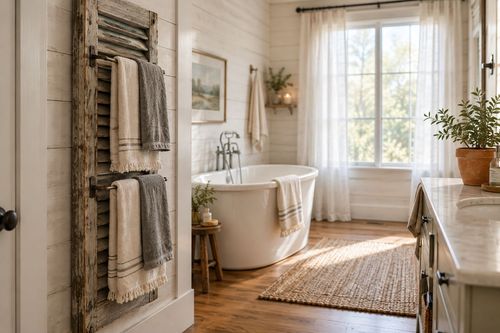
Shutter Towel Rack: The Anchor Screw That Won't Rip Out

Turn a salvaged wood shutter into a bathroom towel rack—the stud anchor is what stops it ripping out under soaked towels....

Interior Design

11 October 2026

Post

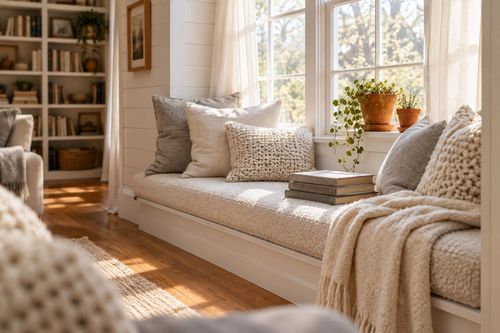
Style a Cozy Window Seat Nook in 2 Hours for $45

Turn a bare window seat into a cozy fall reading nook with the right cushion layering trick—2 hours, $45, instant curl-up energy....

Interior Design

10 October 2026

Post

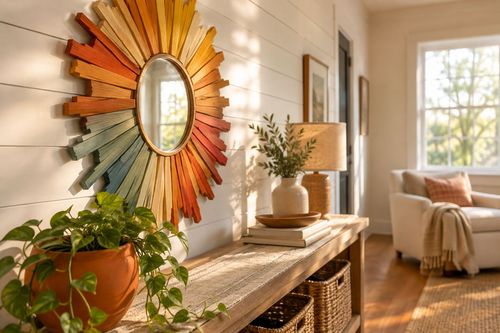
Sunburst Mirror: The Ray Overlap That Hides Gaps

Paint a bold rainbow sunburst mirror for $25—overlapping each ray's base is the trick that hides gaps and makes it look store-bought....

Interior Design

07 October 2026

Post

Style a Cozy Fall Bedroom Refresh in 2 Hours for $50

Layer flannel, wool, and warm light the right way and your bedroom finally feels like fall — 2 hours, $50, zero renovation....
Terms and ConditionsDo Not Sell or Share My Personal InformationPrivacy PolicyPrivacy NoticeAccessibility NoticeUnsubscribe
Copyright © 2026 DIY HomeBoost