Woven Wall Hanging: A Rhythm You Can Feel
The difference between a weave that lies flat and calm and one that puckers and warps in the wrong direction comes down to a single thing you set up before the first pass of yarn ever crosses the loom.
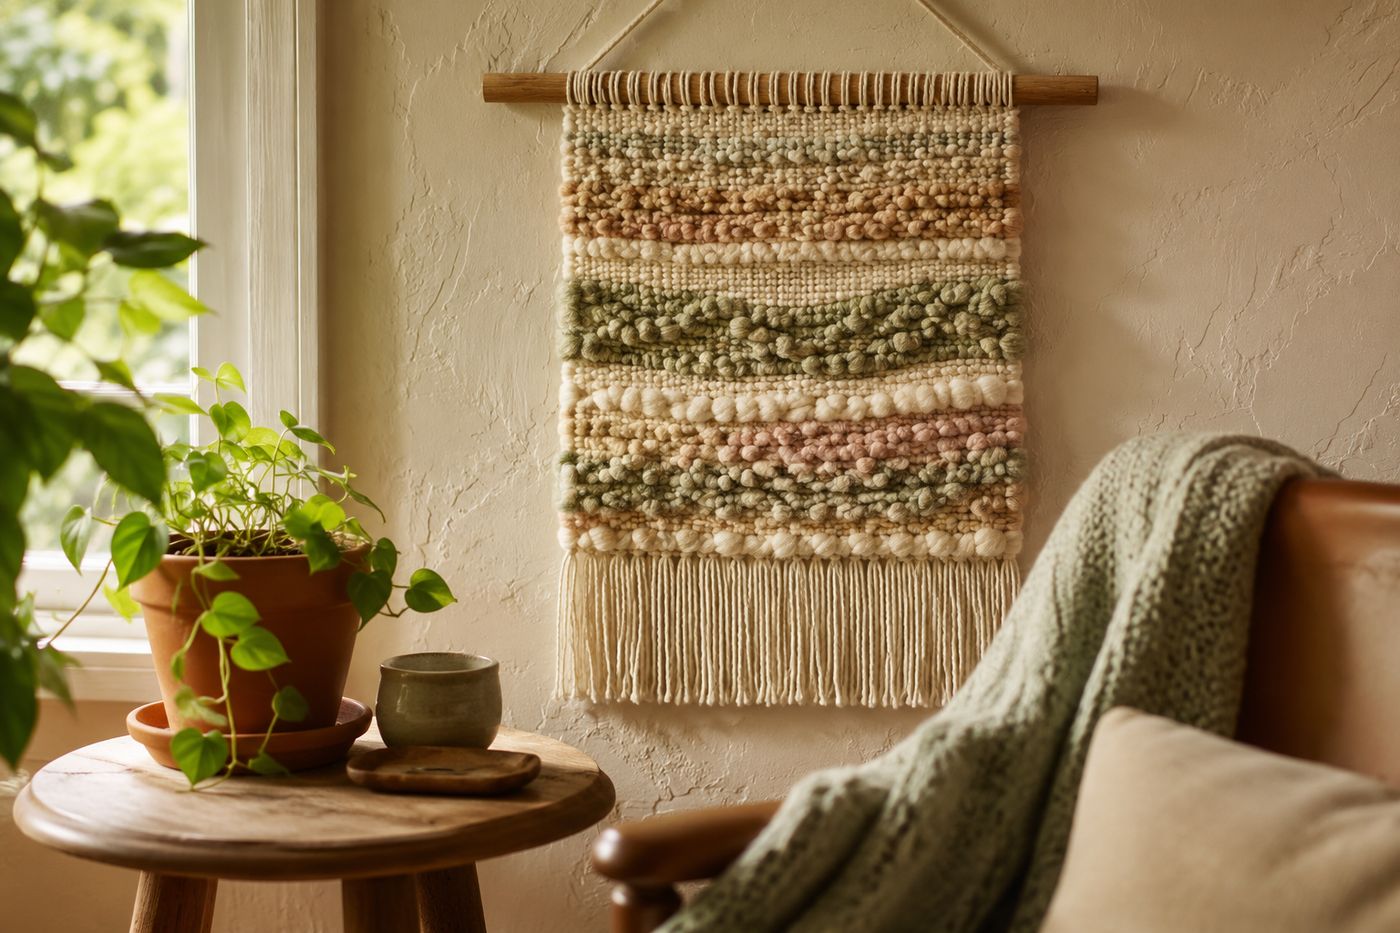
Weaving looks like it's all about the yarn moving over and under, but the part that actually determines whether your finished piece hangs flat or twists and buckles happens before a single strand of yarn touches the loom: warp tension. The vertical threads you string first are the structure everything else depends on, and if they're strung loose or unevenly spaced, every row you weave afterward inherits that instability, pulling the piece crooked no matter how careful your weaving technique is. Evenly spaced, evenly taut warp threads are what let the repetitive over-under rhythm actually be meditative instead of a constant fight to keep the piece square. Once that foundation is right, the weaving itself has no wrong way — change colors when you feel like it, leave loops, add fringe, and let the piece take the shape it wants to. A simple loom and a bundle of soft yarn run about $10-20, and a finished piece takes somewhere between one and two unhurried hours.
What You'll Need
- Frame loom, picture frame with nails, or notched cardboard — about $8-15, or free if repurposing a frame you already own
- Warp thread (a sturdy cotton string or thin cord) — about $2
- Soft yarn in a few colors that feel calming to you — about $8-12 for a small assortment
- Wooden dowel or a small found branch, for hanging the finished piece
- Scissors
- Wide-tooth comb or fork, for pushing rows down snug
- Tapestry needle (optional), for weaving in loose ends
How to Do It
- String your vertical warp threads across the loom or frame, spacing them evenly and pulling each one to the same firm tension — this single step is what determines whether your finished piece hangs flat or pulls crooked, so take your time here even though it isn't the "fun" part yet.
- Check the tension across all threads by running a hand lightly over them; any thread noticeably looser or tighter than its neighbors should be adjusted now, before weaving makes it harder to fix.
- Begin weaving your first row horizontally, going over one warp thread and under the next, all the way across.
- Push each completed row down snug against the one before it using a comb, fork, or your fingers, keeping the weave tight enough to hold its shape without being pulled so hard it distorts the warp threads.
- Continue the over-under pattern row by row, alternating which thread you start on each row so the weave locks together rather than creating a loose vertical seam.
- Change colors whenever you're moved to, simply tying on a new strand of yarn and weaving the tail in along the next few passes.
- Add texture as you go if you'd like — leave a few loops proud of the surface, or let some yarn hang loose for fringe within the weave itself.
- Tie off the final row, remove the piece from the loom, thread the top warp loops over a dowel or branch, and trim the bottom fringe to your preferred length.
Fiber artists who teach beginner weaving classes often have new weavers count their warp threads before stringing rather than eyeballing spacing as they go, because consistent spacing is nearly impossible to correct once weaving has started but takes only a minute to plan up front. Marking evenly spaced points along the top and bottom of your frame with a pencil before stringing a single thread makes the whole foundation symmetrical without any guesswork.